Posted on Leave a comment

Let’s Split!

Author Andrea Pate holding a new book featuring her works

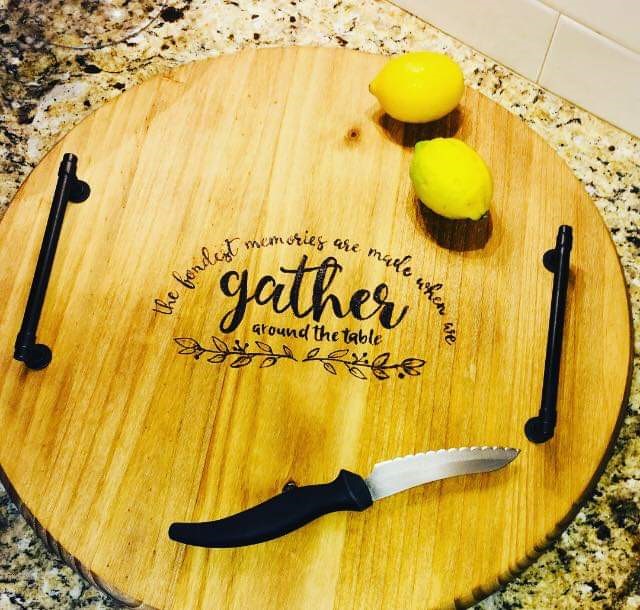
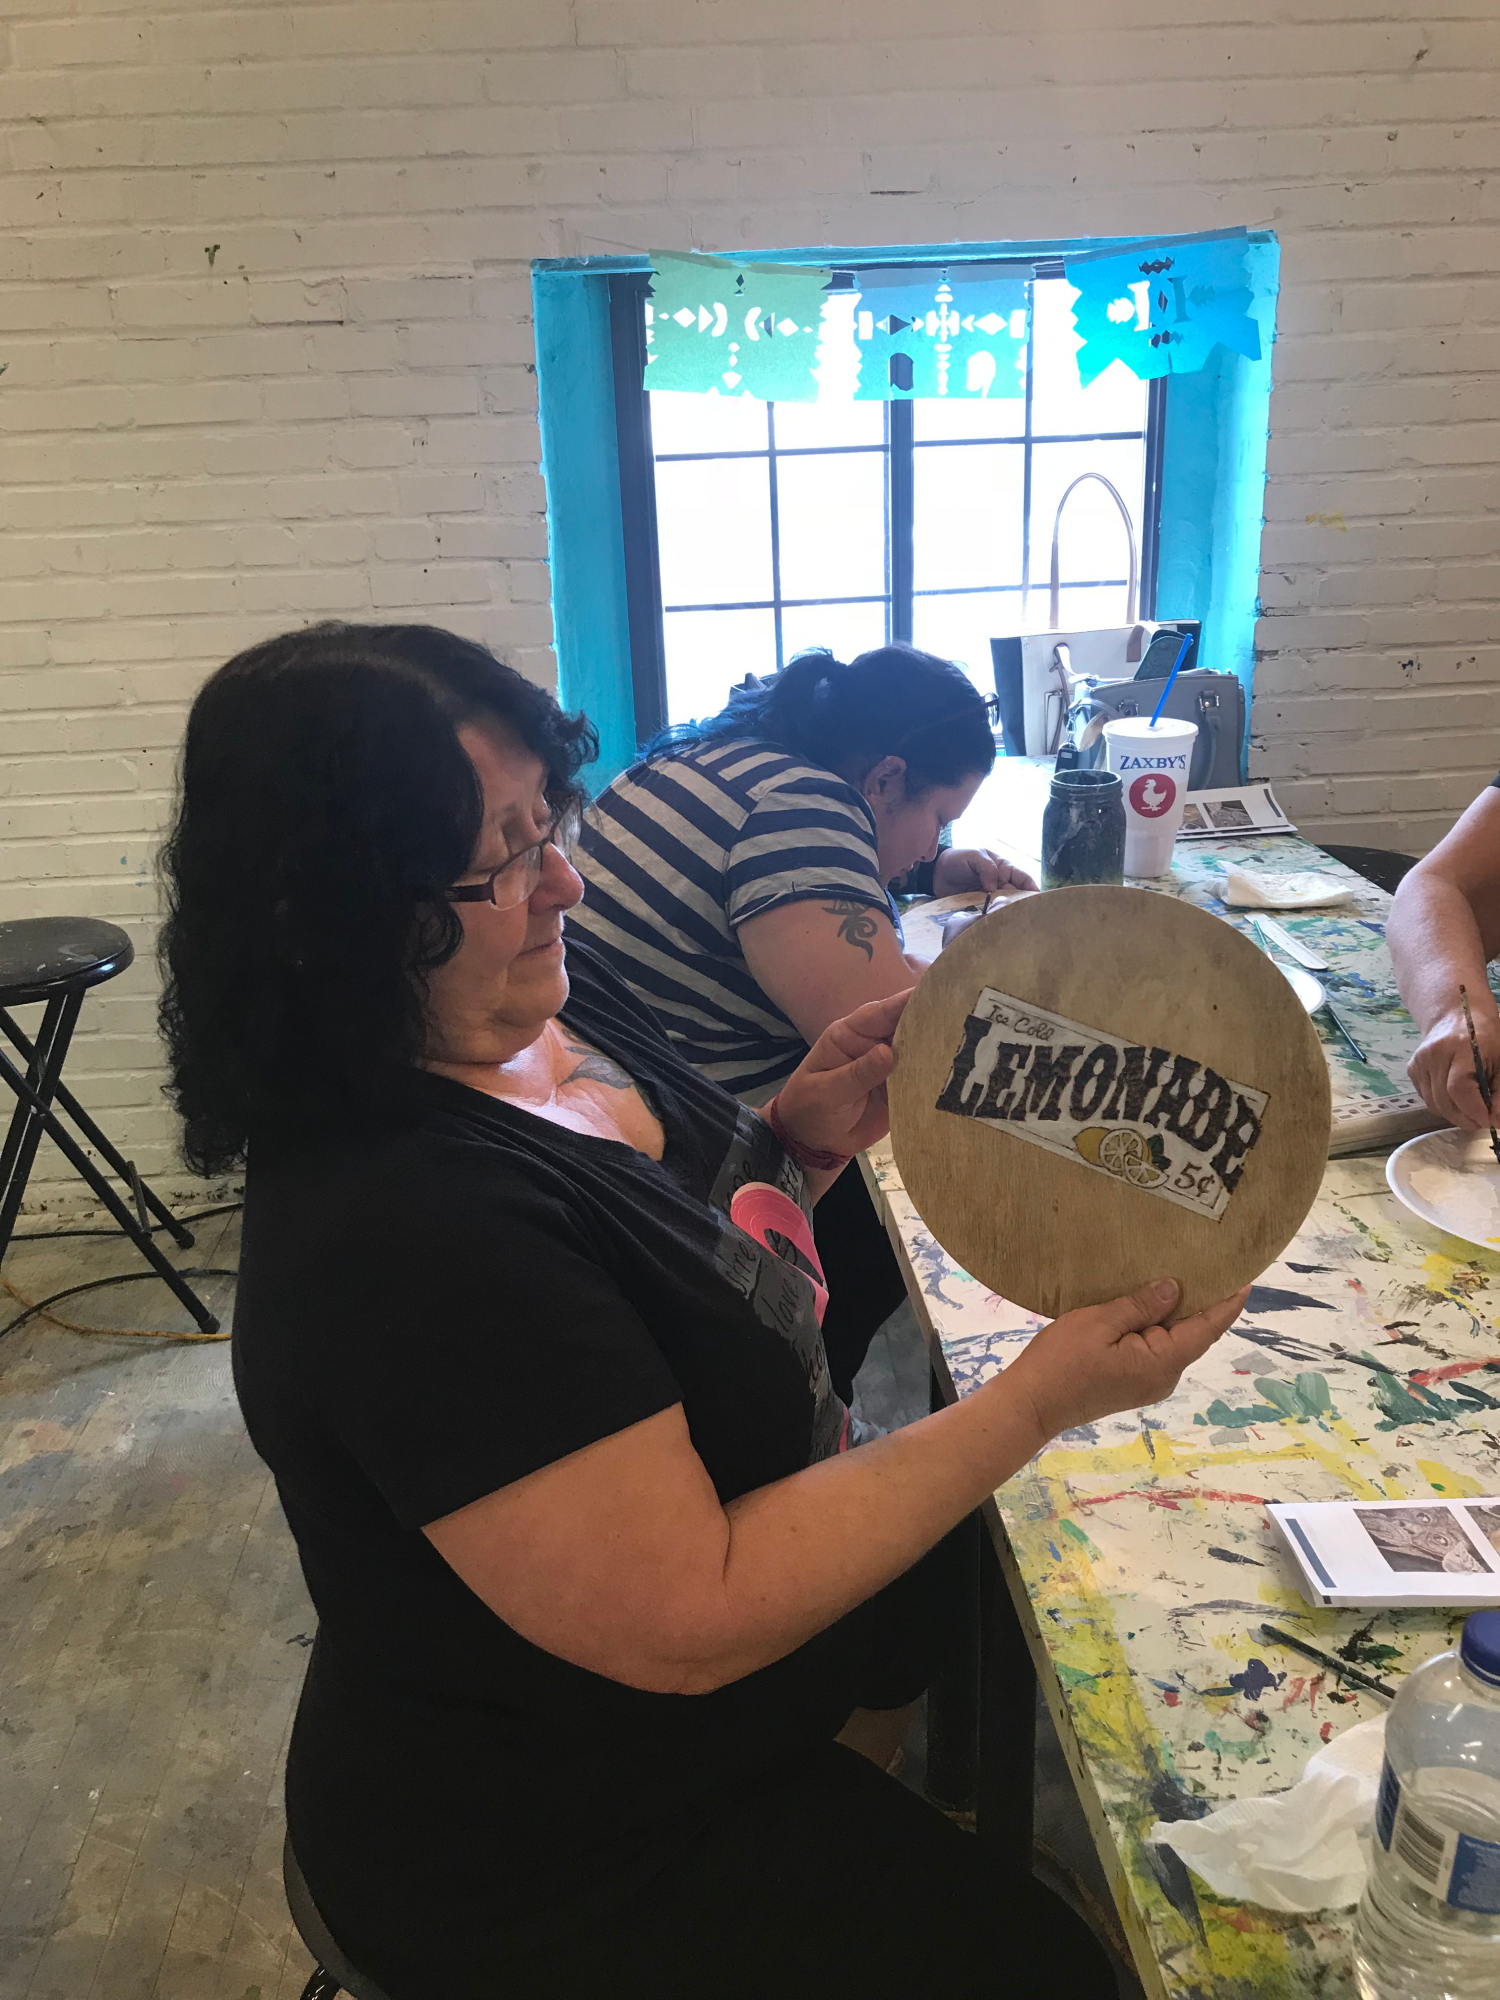
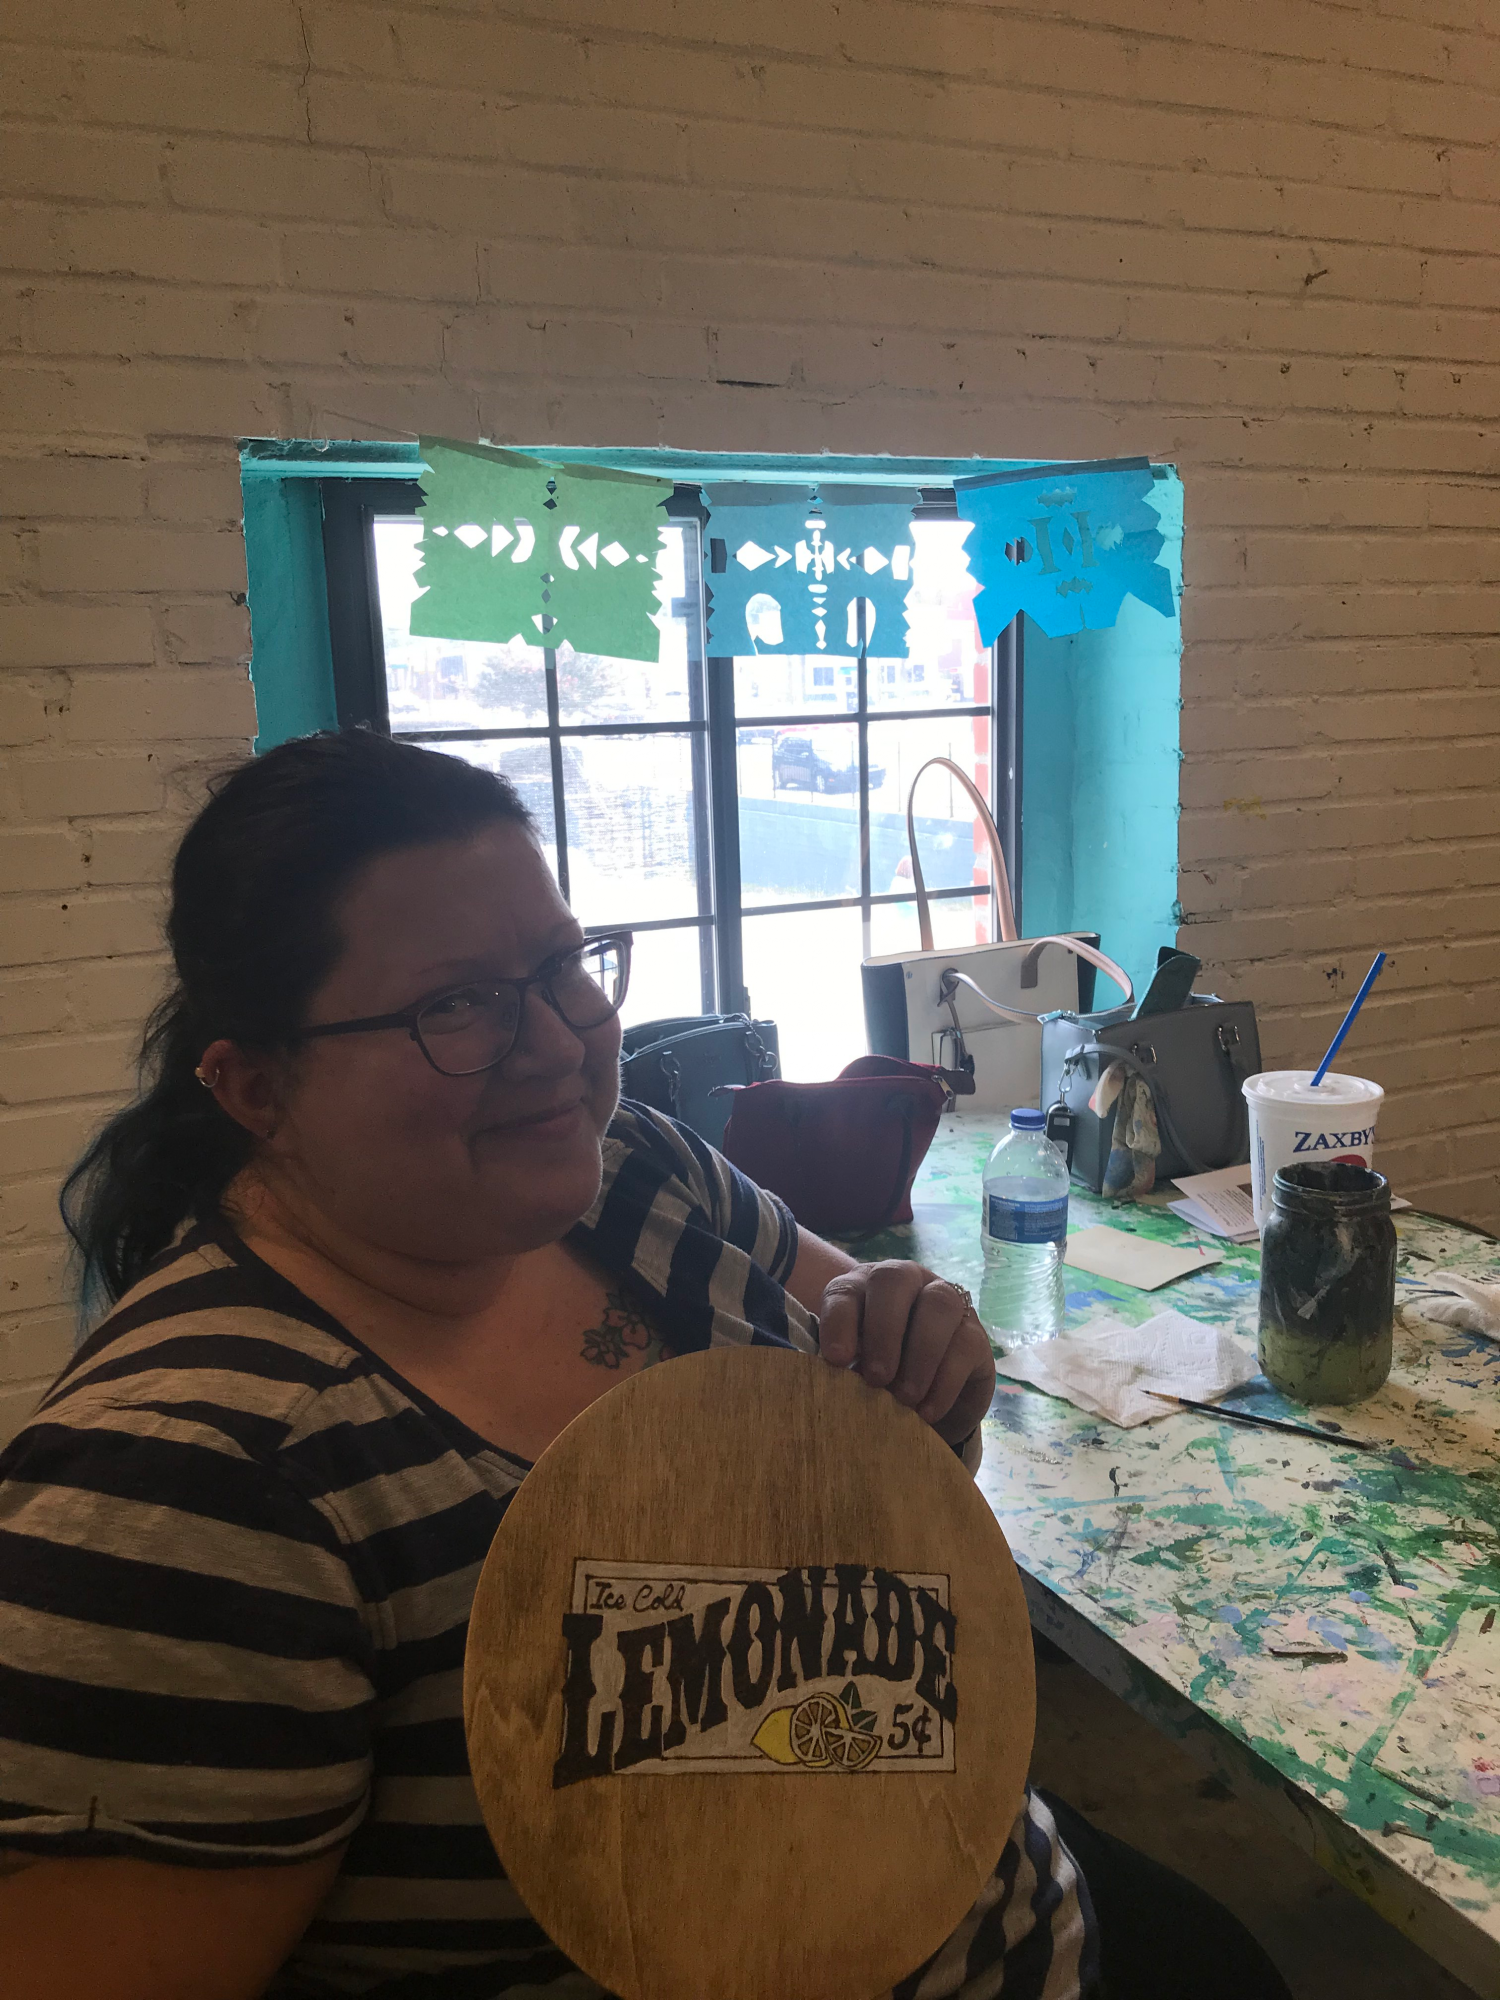
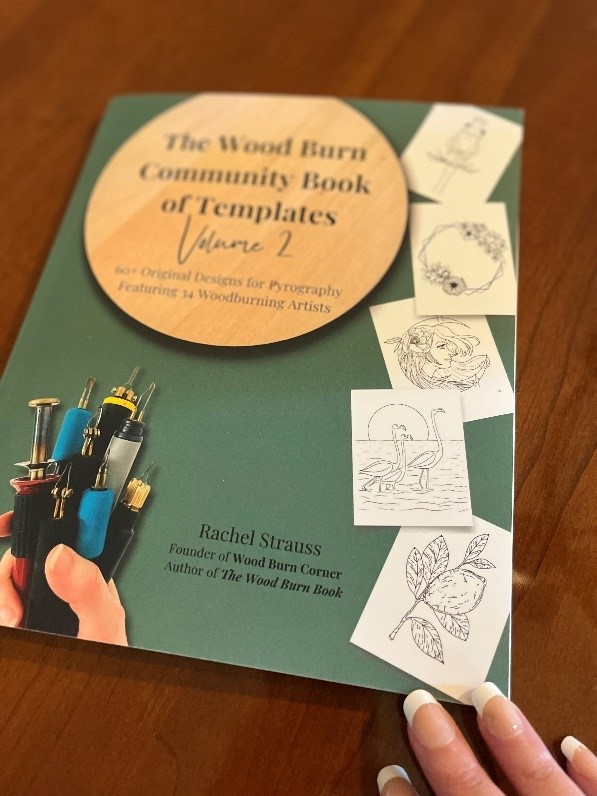
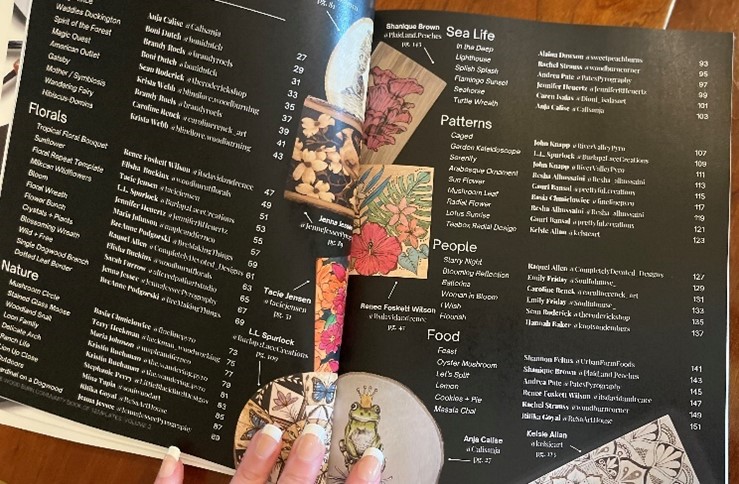
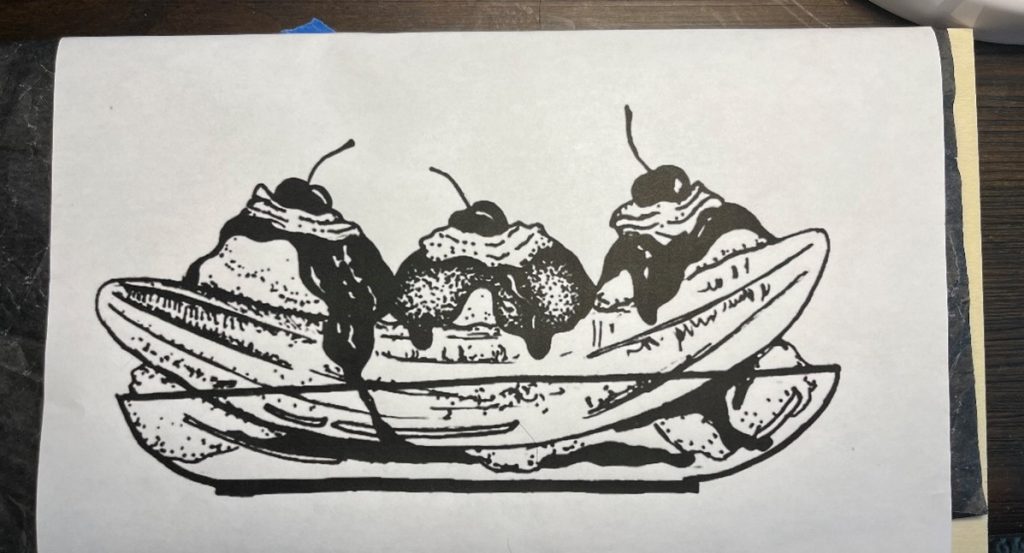
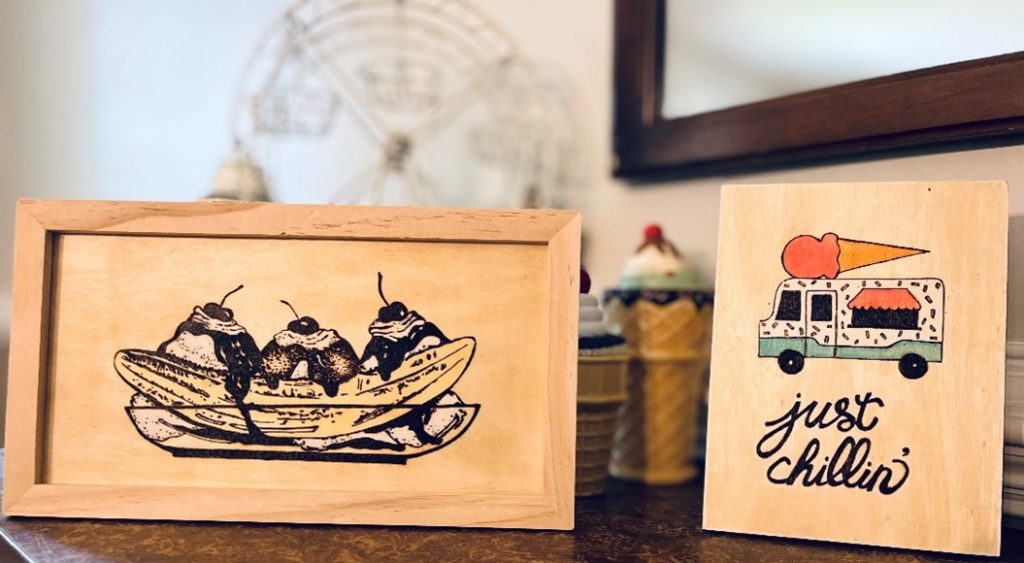
On a hot summery day, nothing cools you off quite like ice cream. Some of my favorite ice cream concoctions are mint chocolate chip with Magic Shell. hot fudge sundaes and banana splits. That was my motivation for this sweet design. This Banana Split template pairs perfectly with my Just Chillin’ Template. I like to display these pieces together during birthday parties, ice cream socials, or with my summer décor. You can find my “Let’s Split” template in The Wood Burn Community Book of Templates Vol 2 by Rachel Strauss.


Author Andrea Pate holding a new book featuring her works

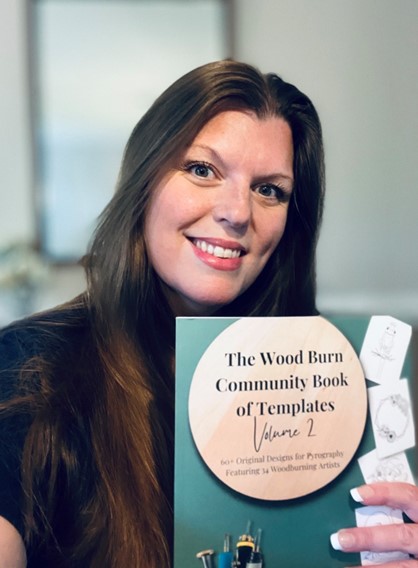
This book features 64 templates created by 34 artists with templates ranging from beginner to advanced skill levels. You can purchase your own copy by clicking on the link below.
https://www.woodburncorner.com/community-book-of-templates-volume-ii


Front side of book

Back side of book

Template content in the book

random book content

random book content


Supplies Needed:

  • Pyrography Pen
  • Template
  • Transfer Paper
  • Pen
  • Tape
  • Wood
  • Varnish
  • Paint or Colored Pencil (Optional)
  • Stain (Optional)

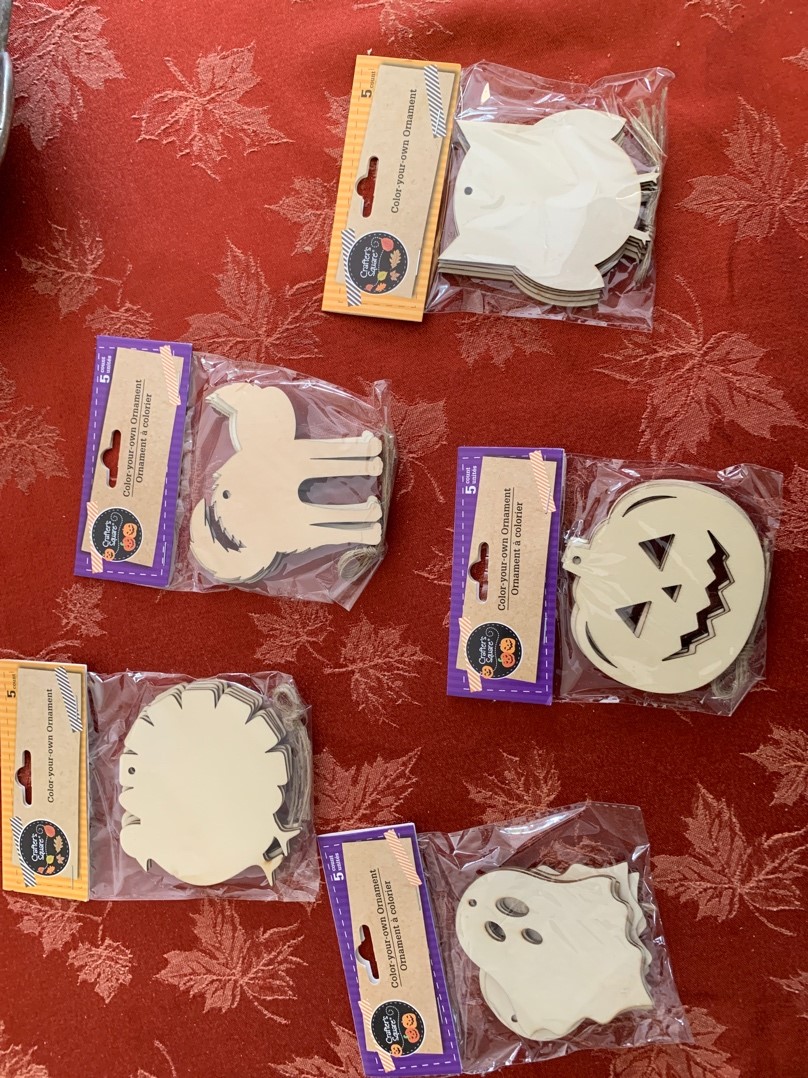
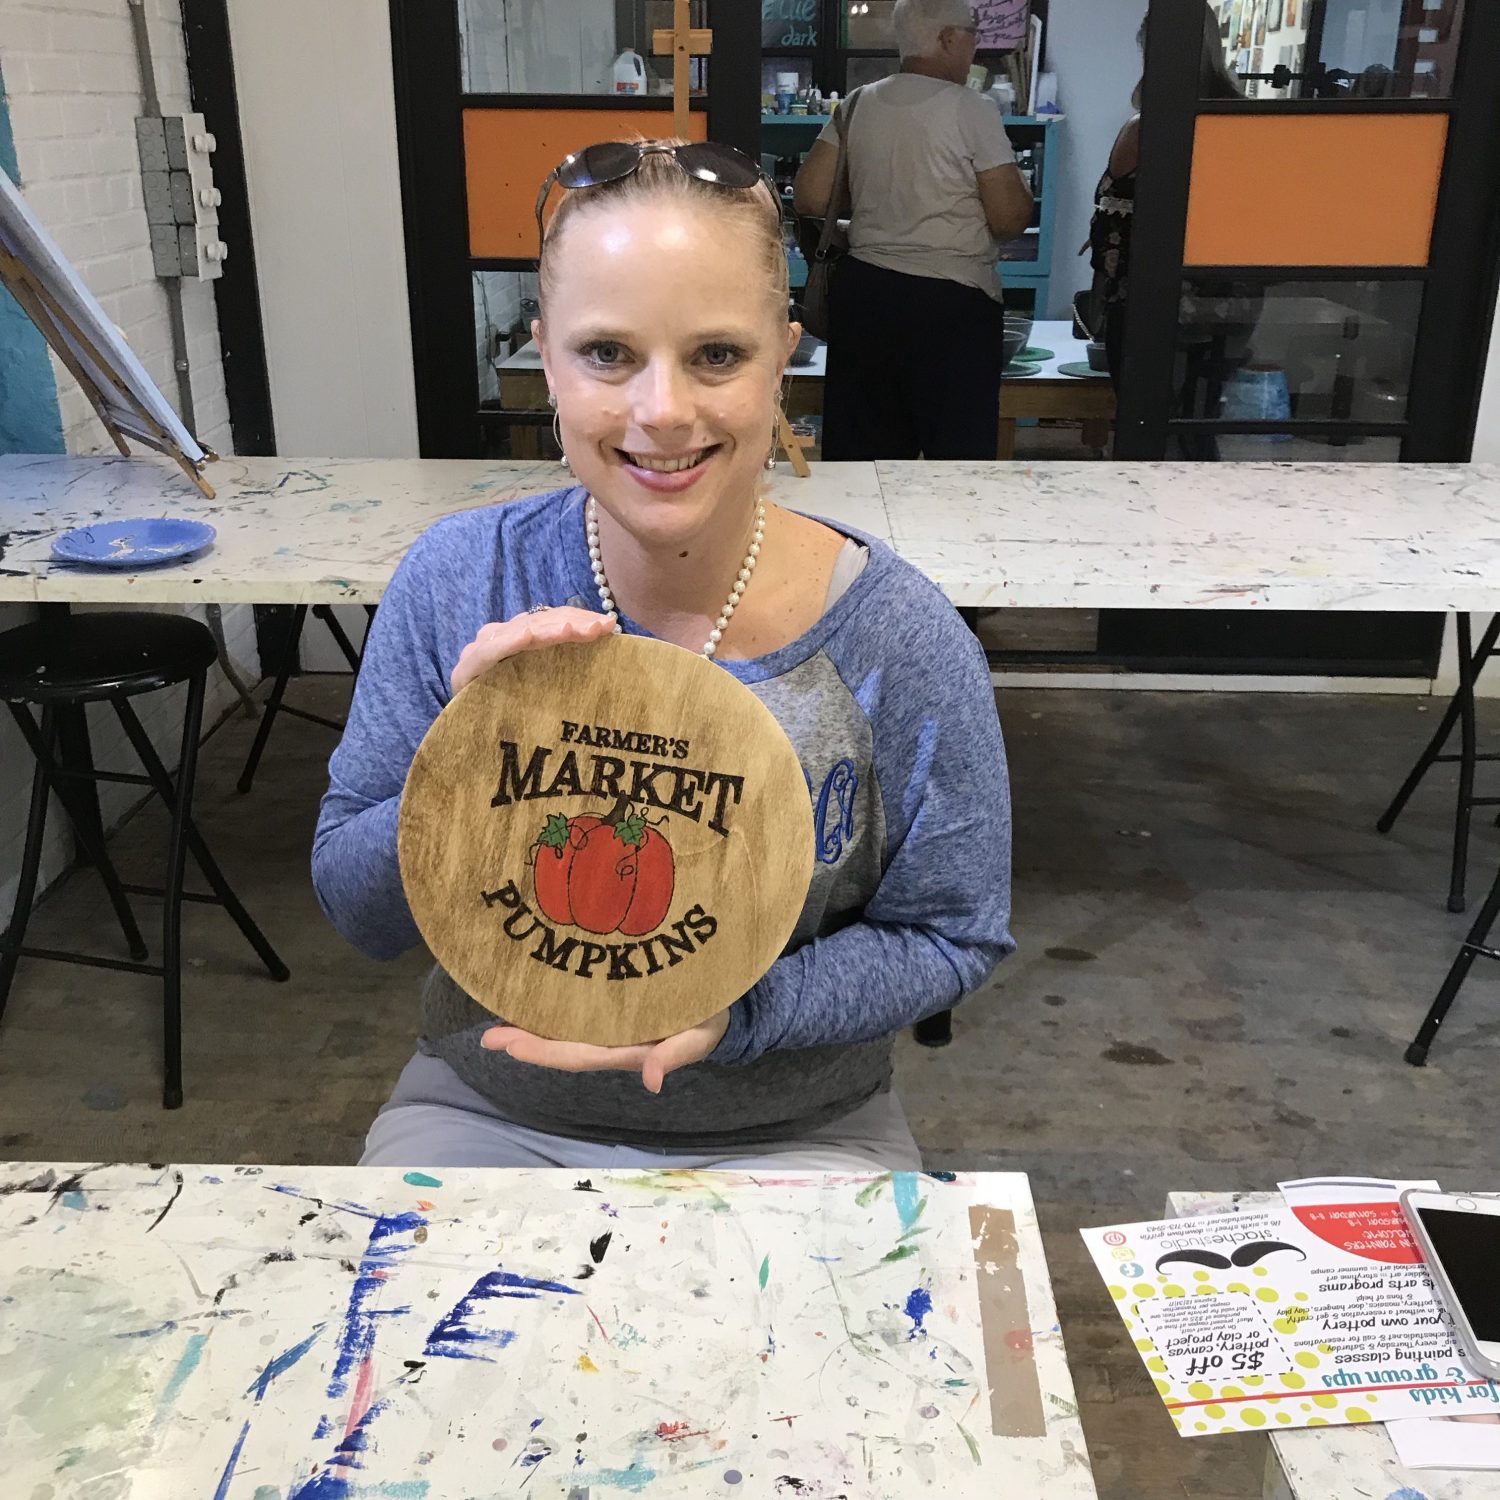
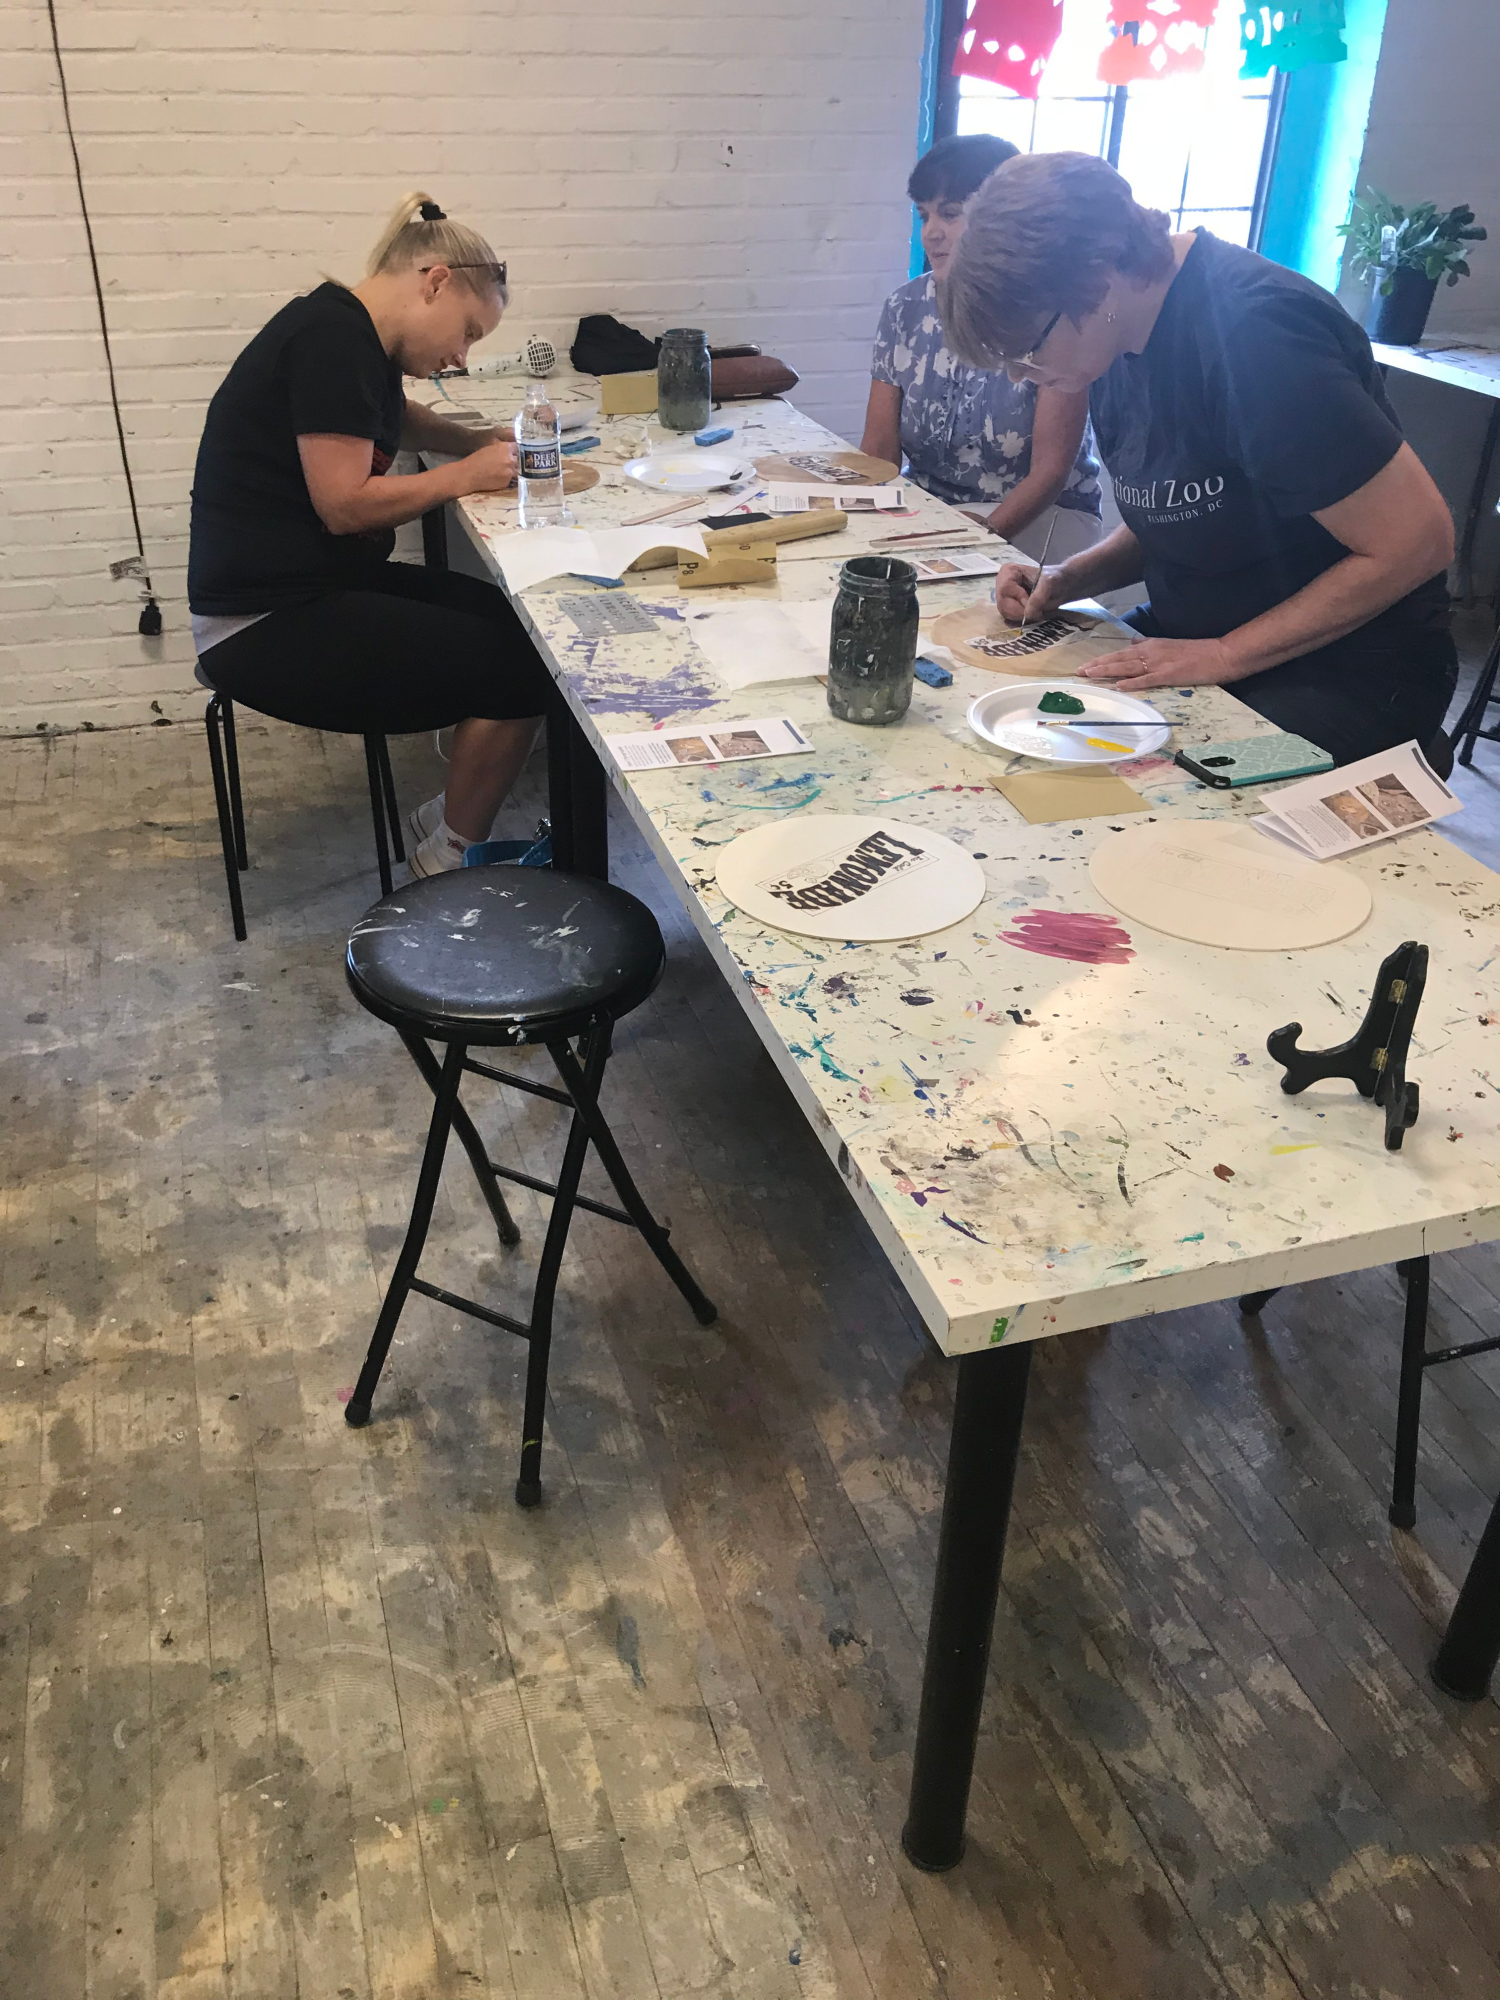
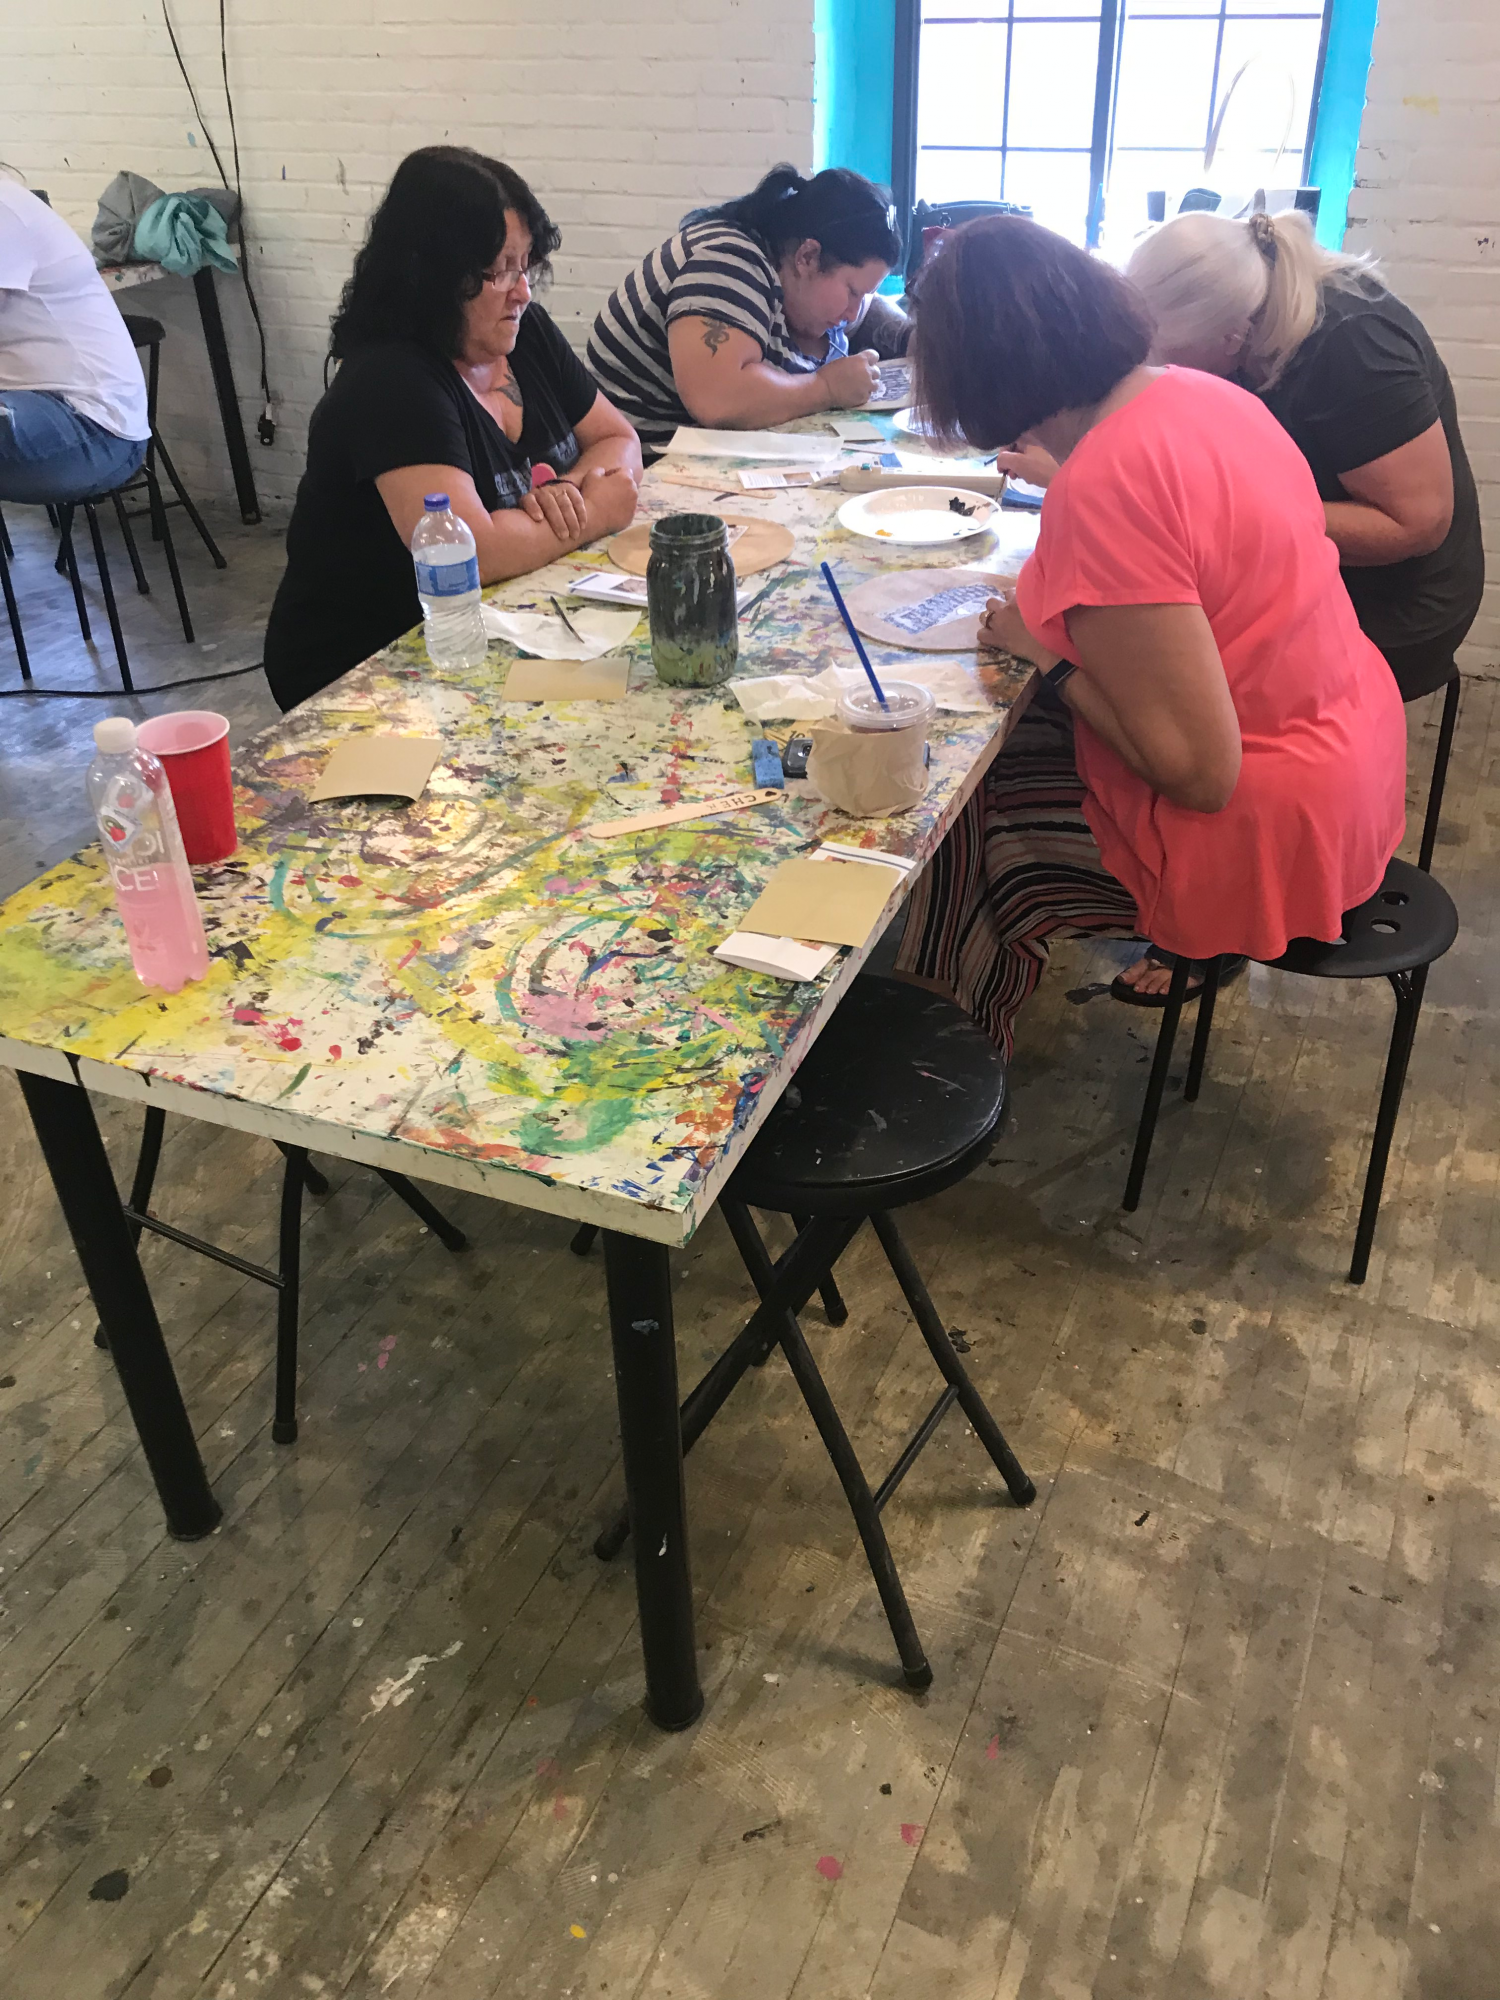
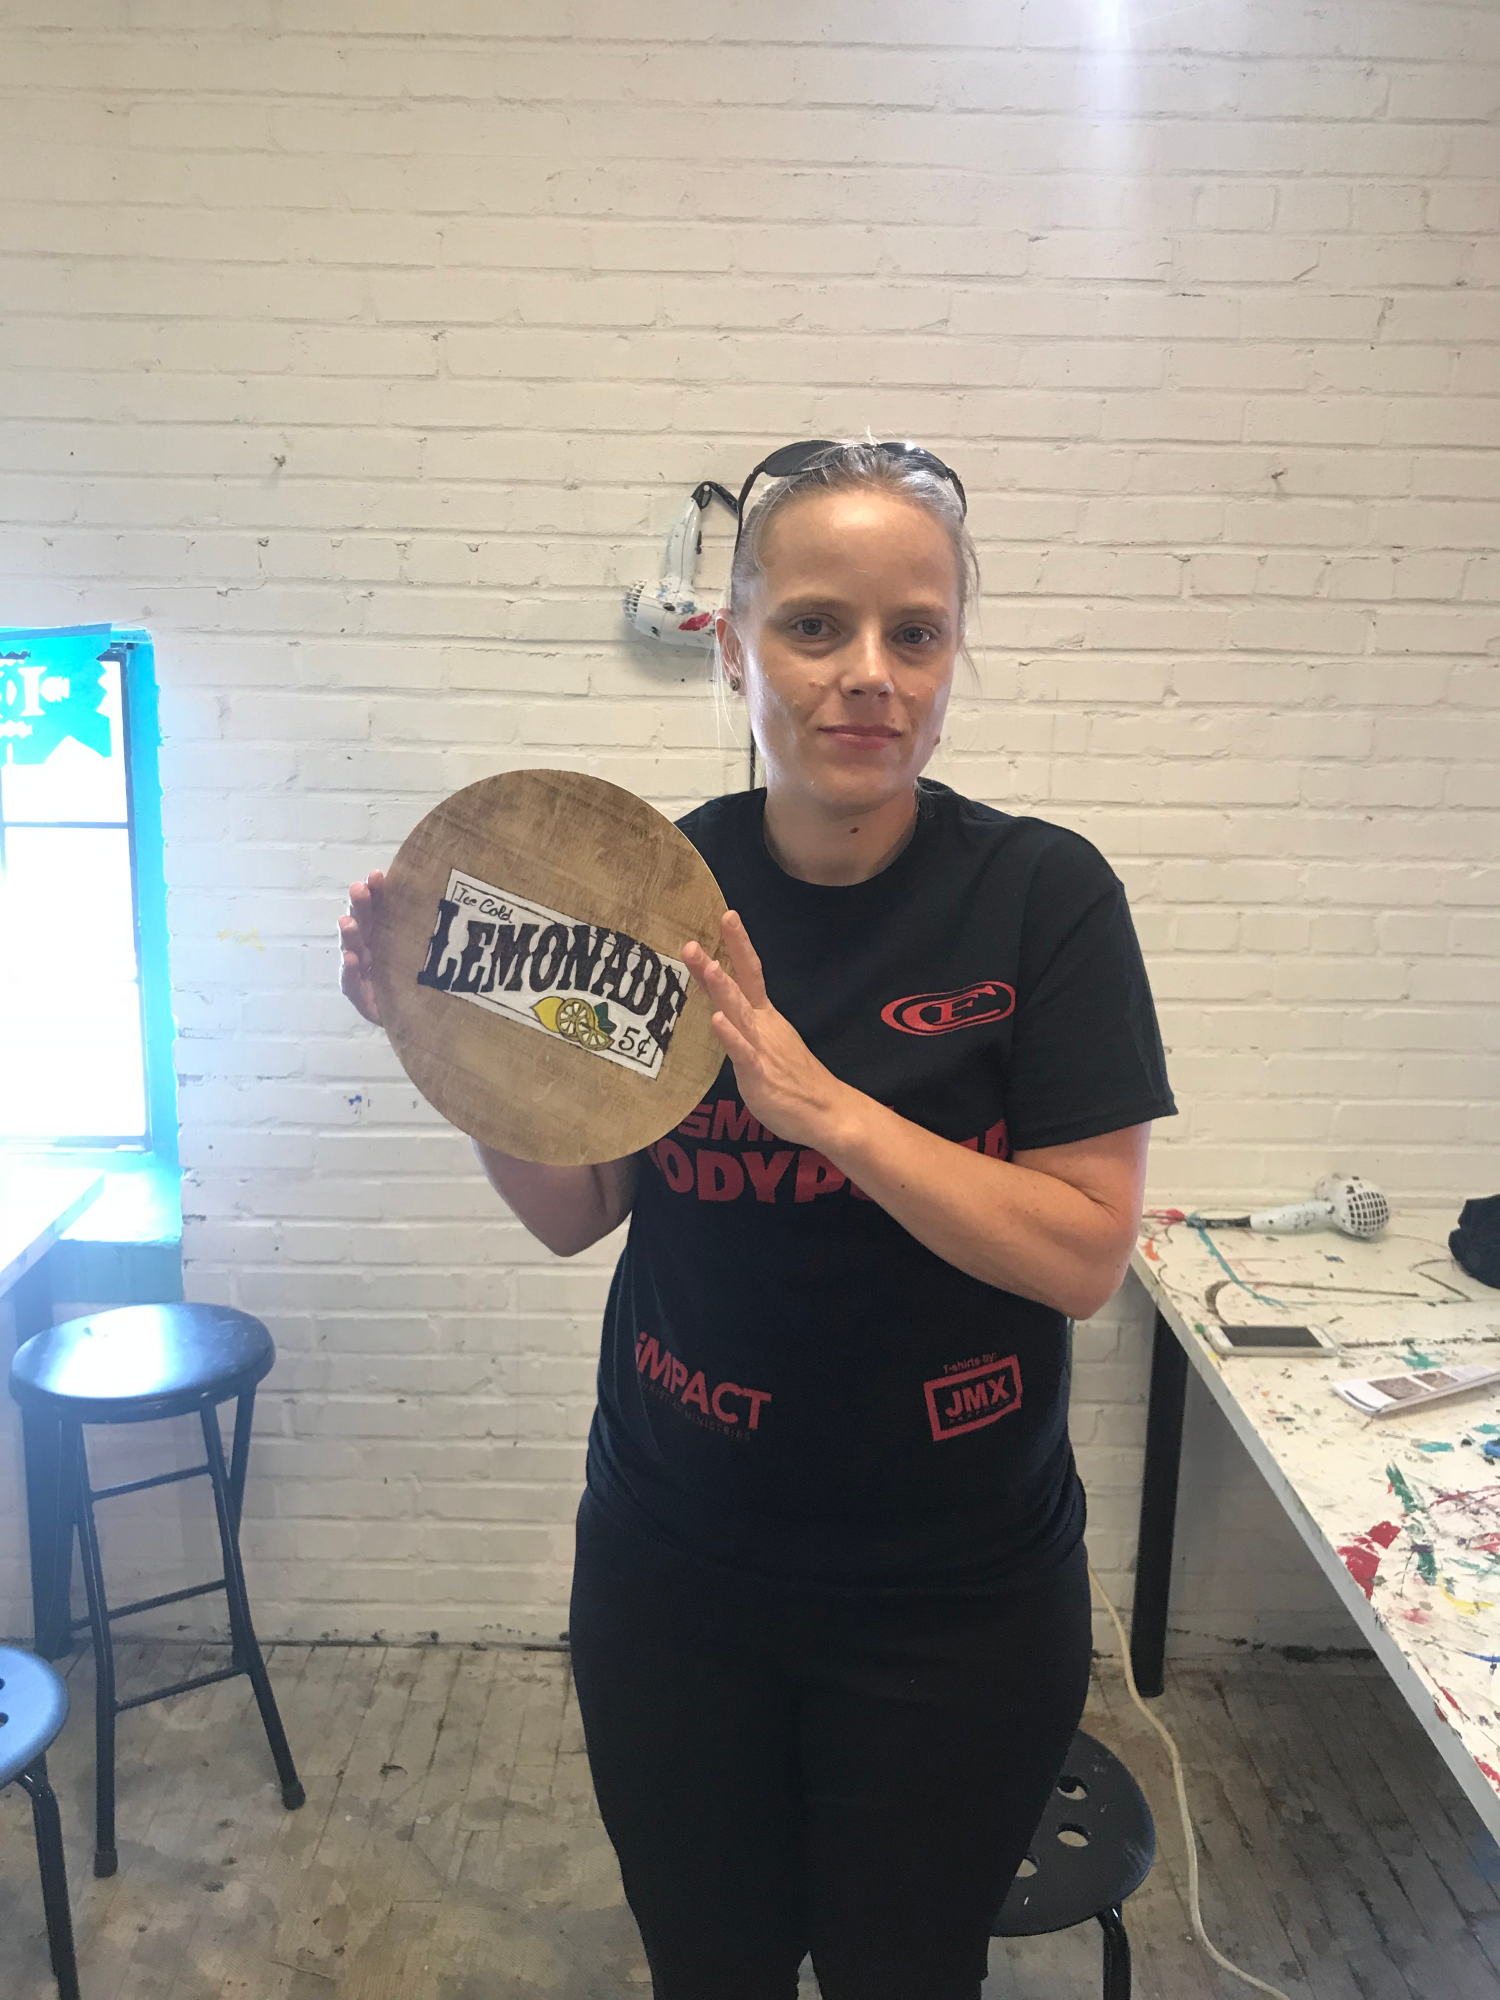
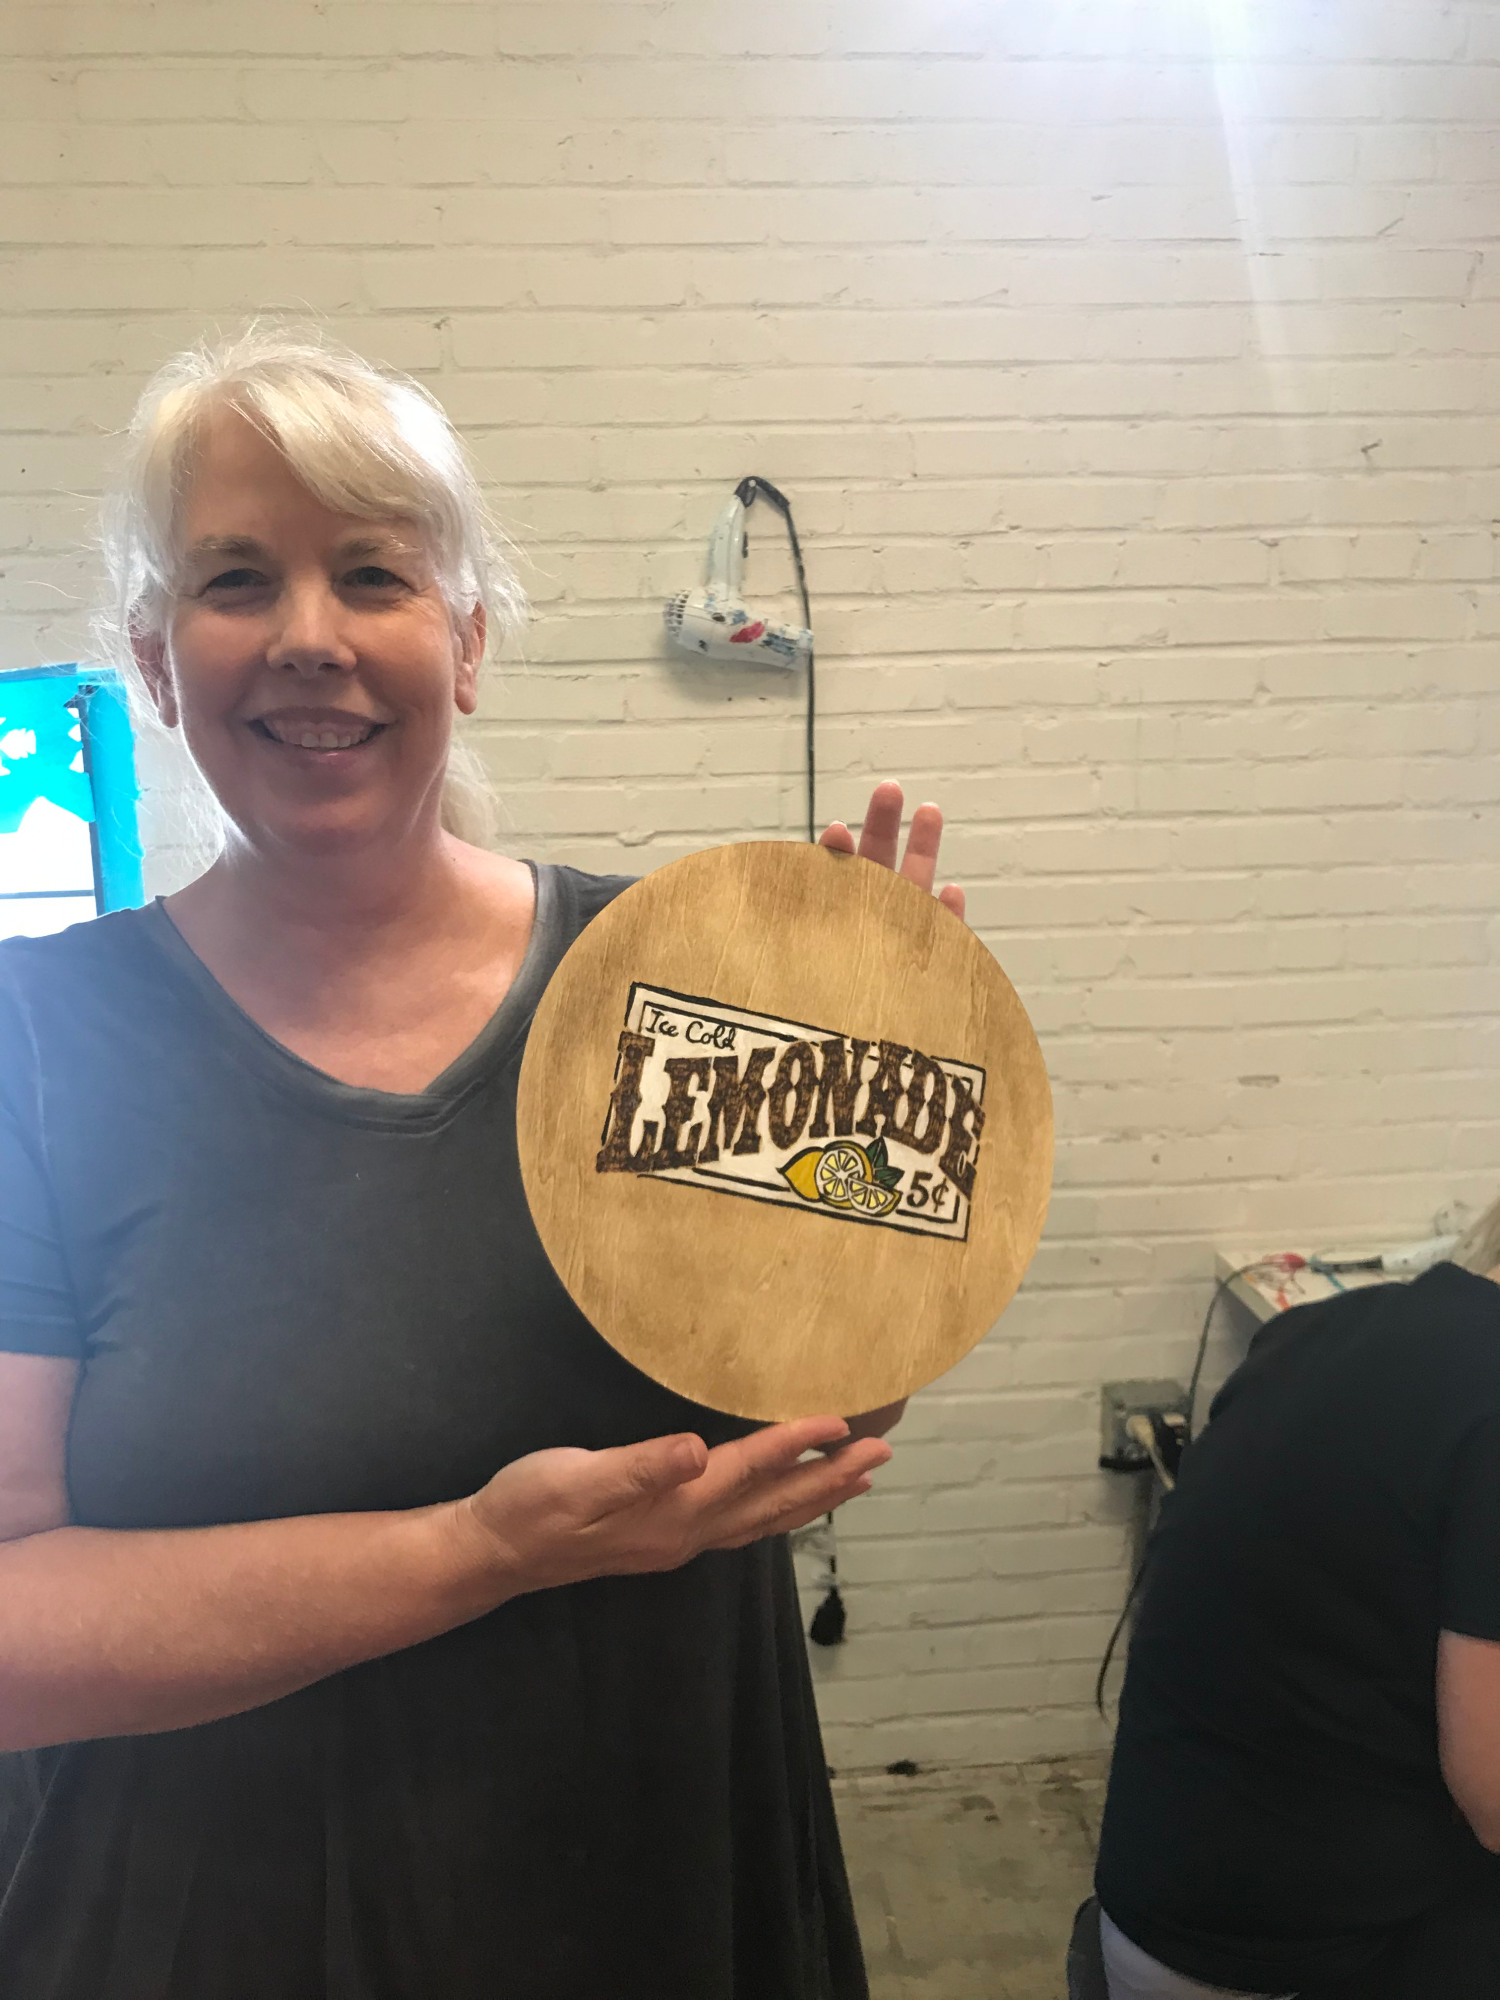
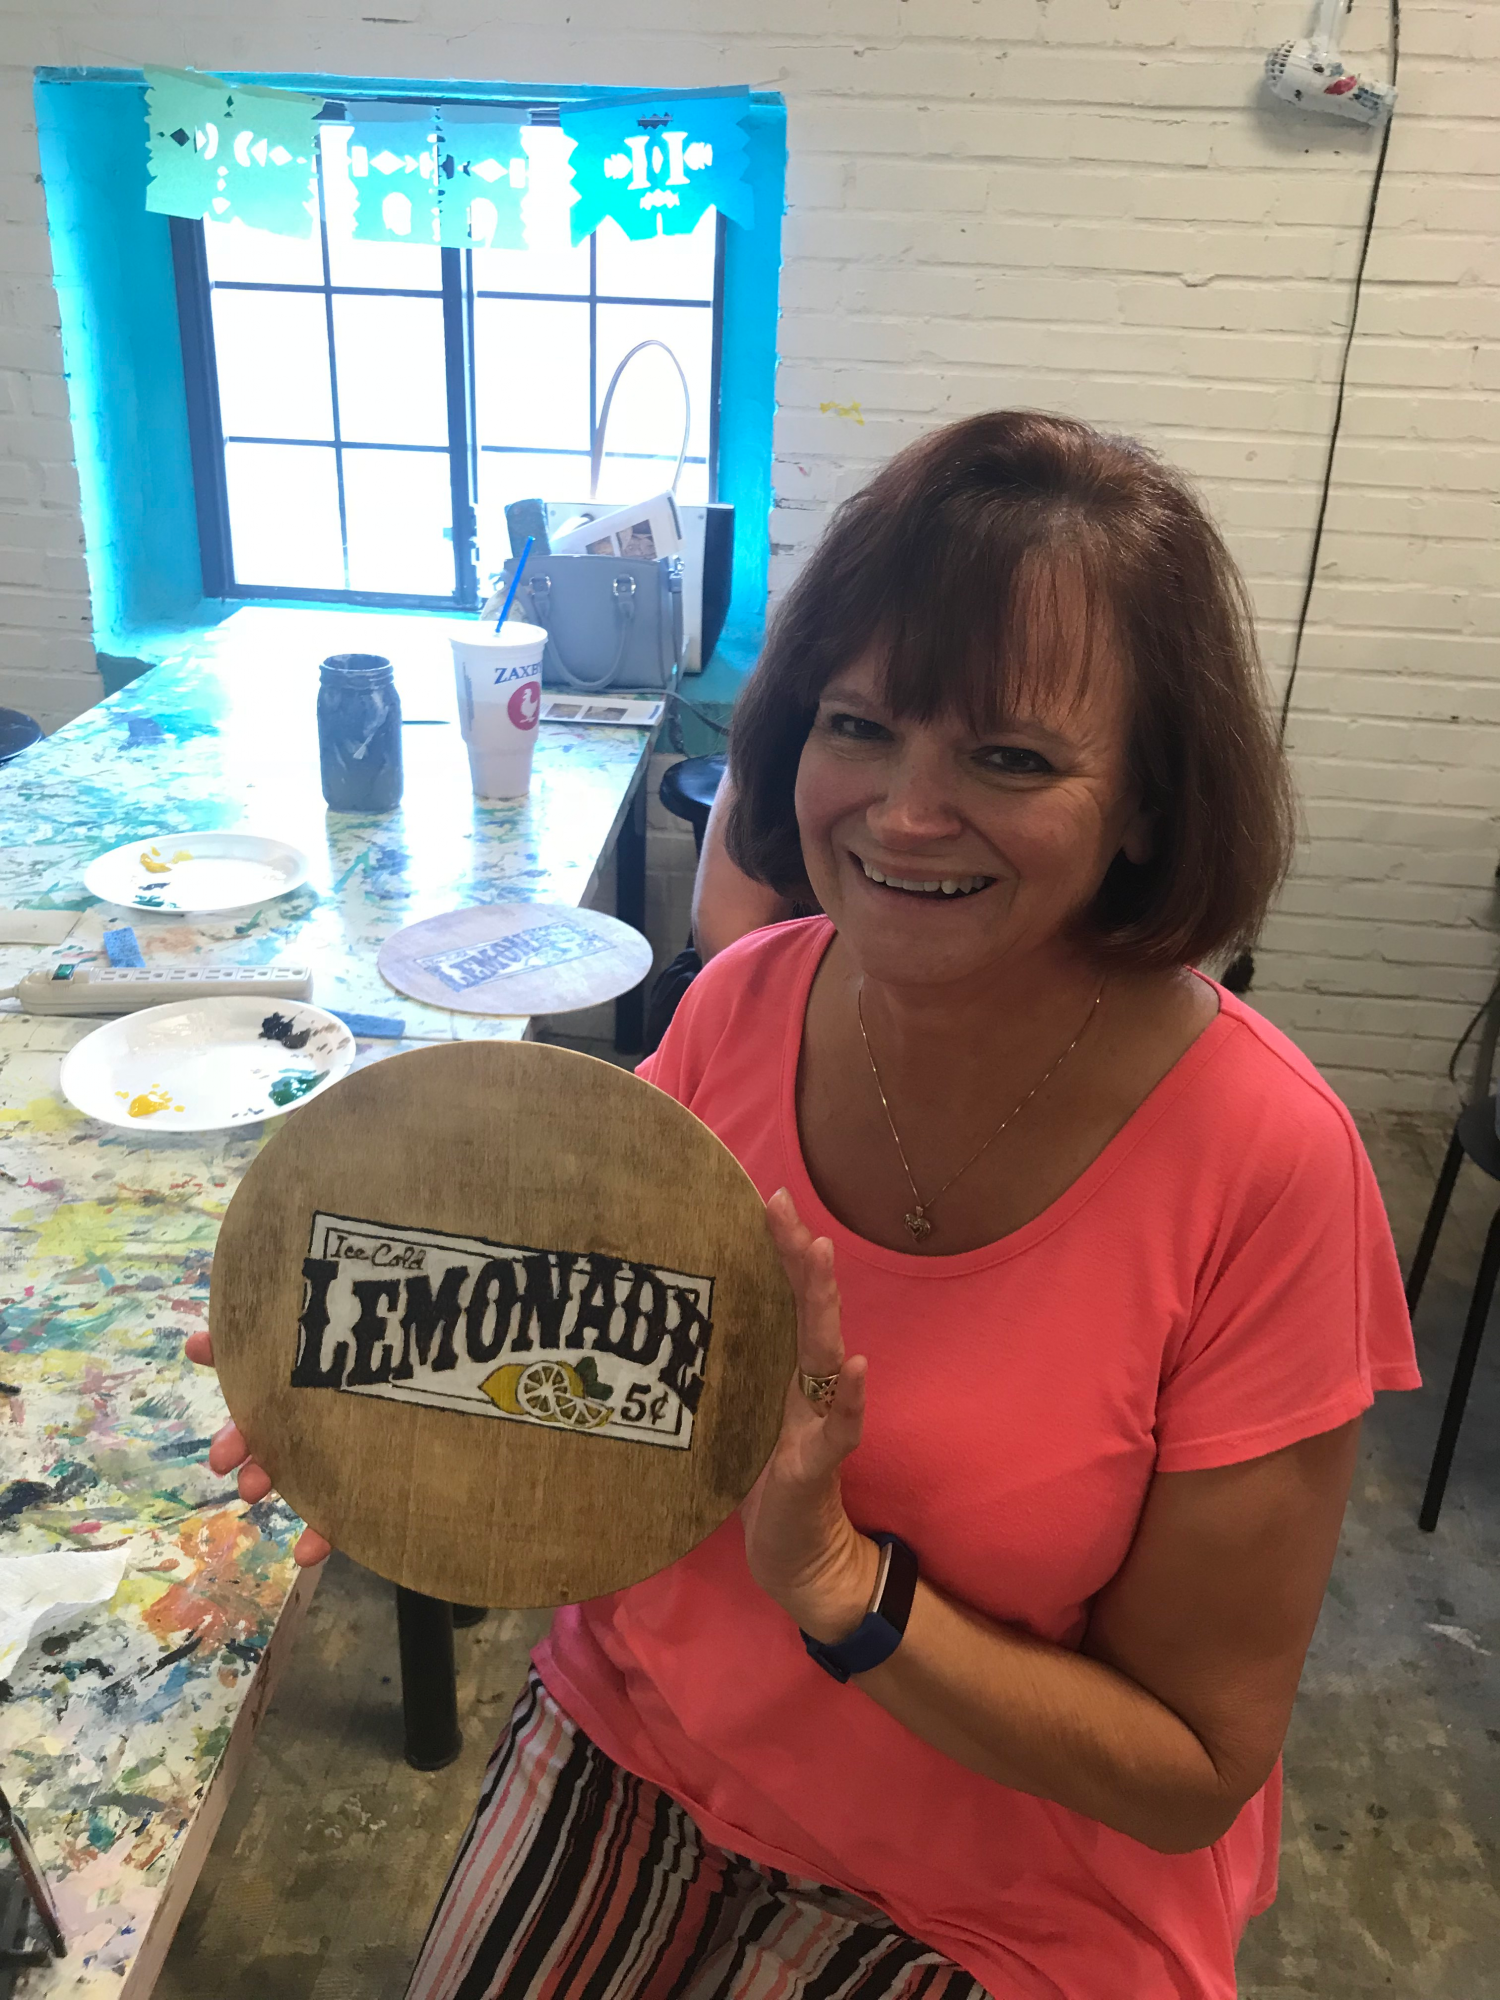
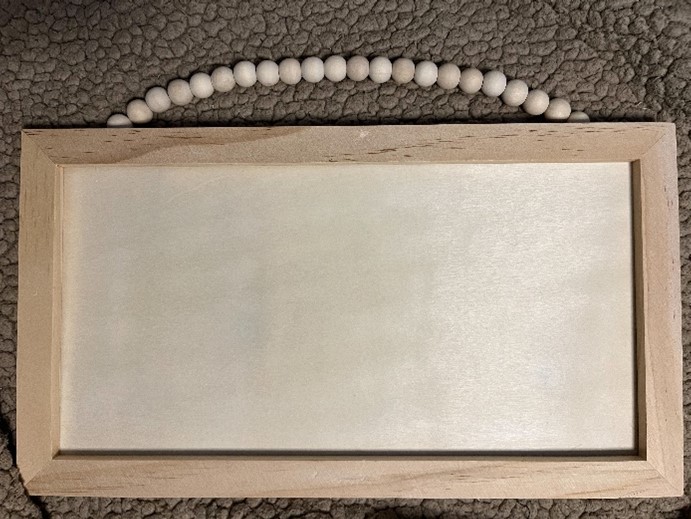
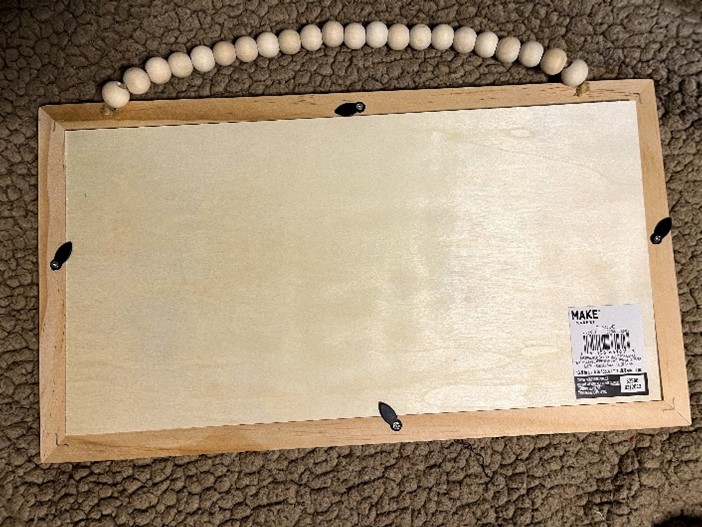
To get started, select your wood. I wanted something I can hang to display. There are various types of wood you can use. I typically purchase wood at my local craft or home improvement store. You can also find a wide selection of wood available at your local dollar store. I found this wood sign at my craft store for under $10 with a coupon. You can simply remove the backside of the sign making it easy to transfer the design to the wood.


wood sign

wood sign

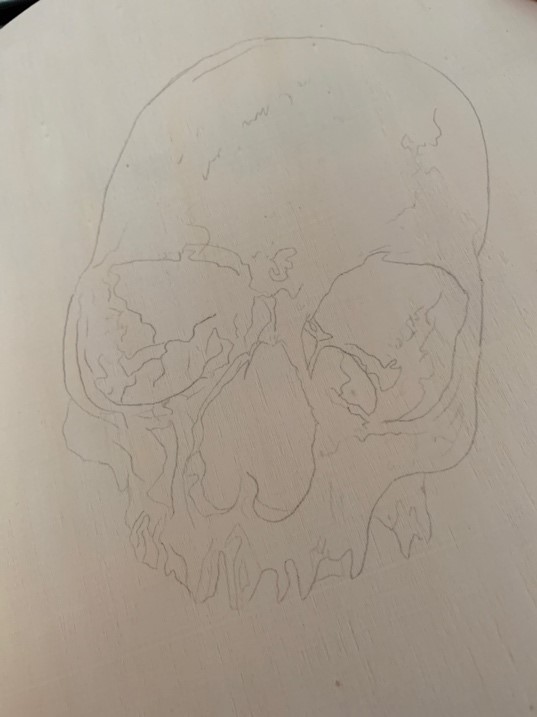
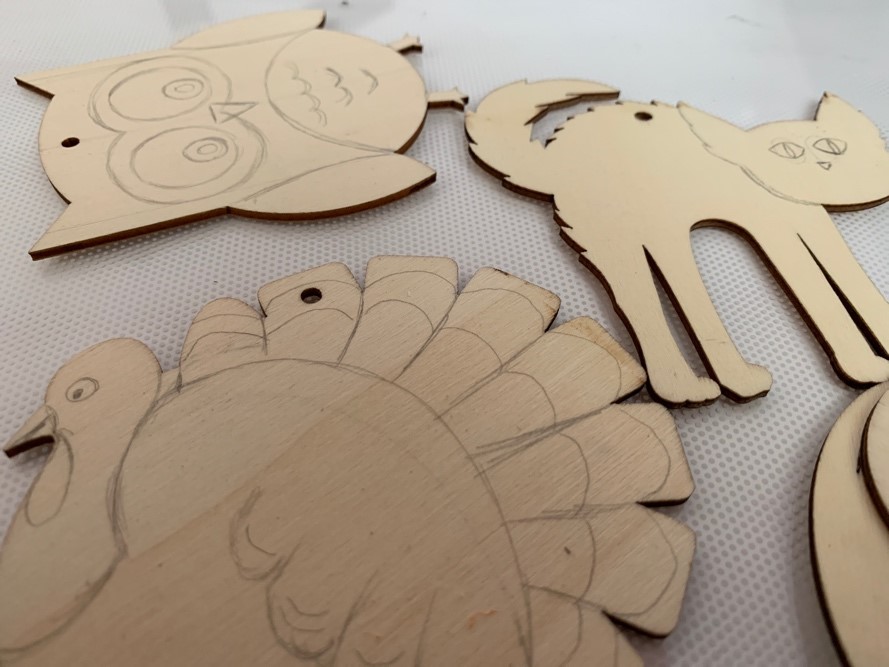
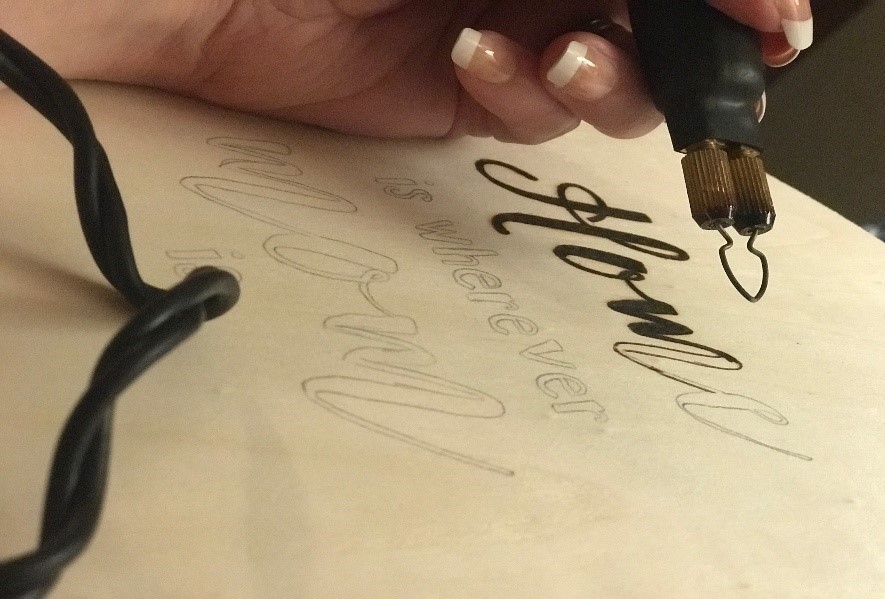
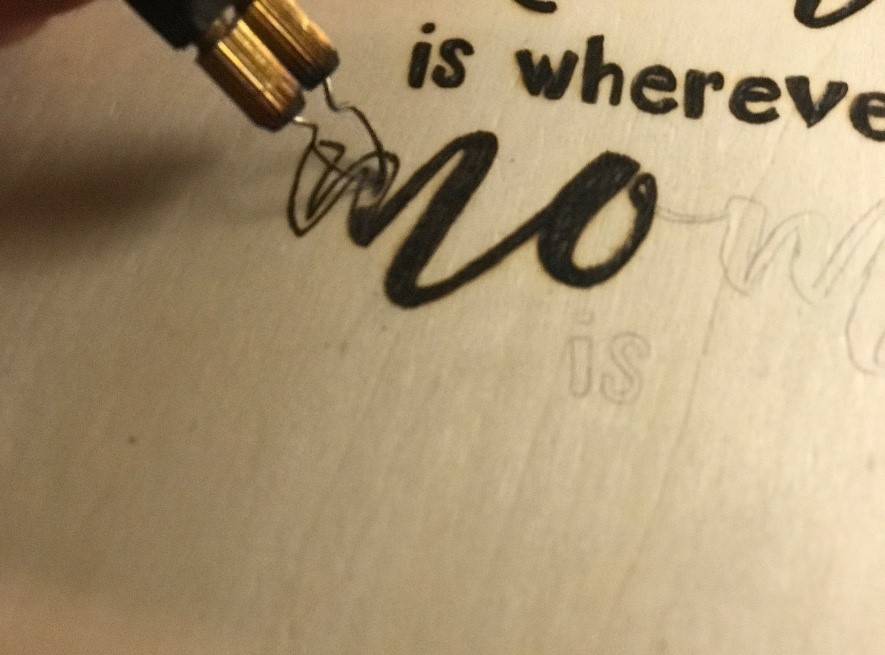
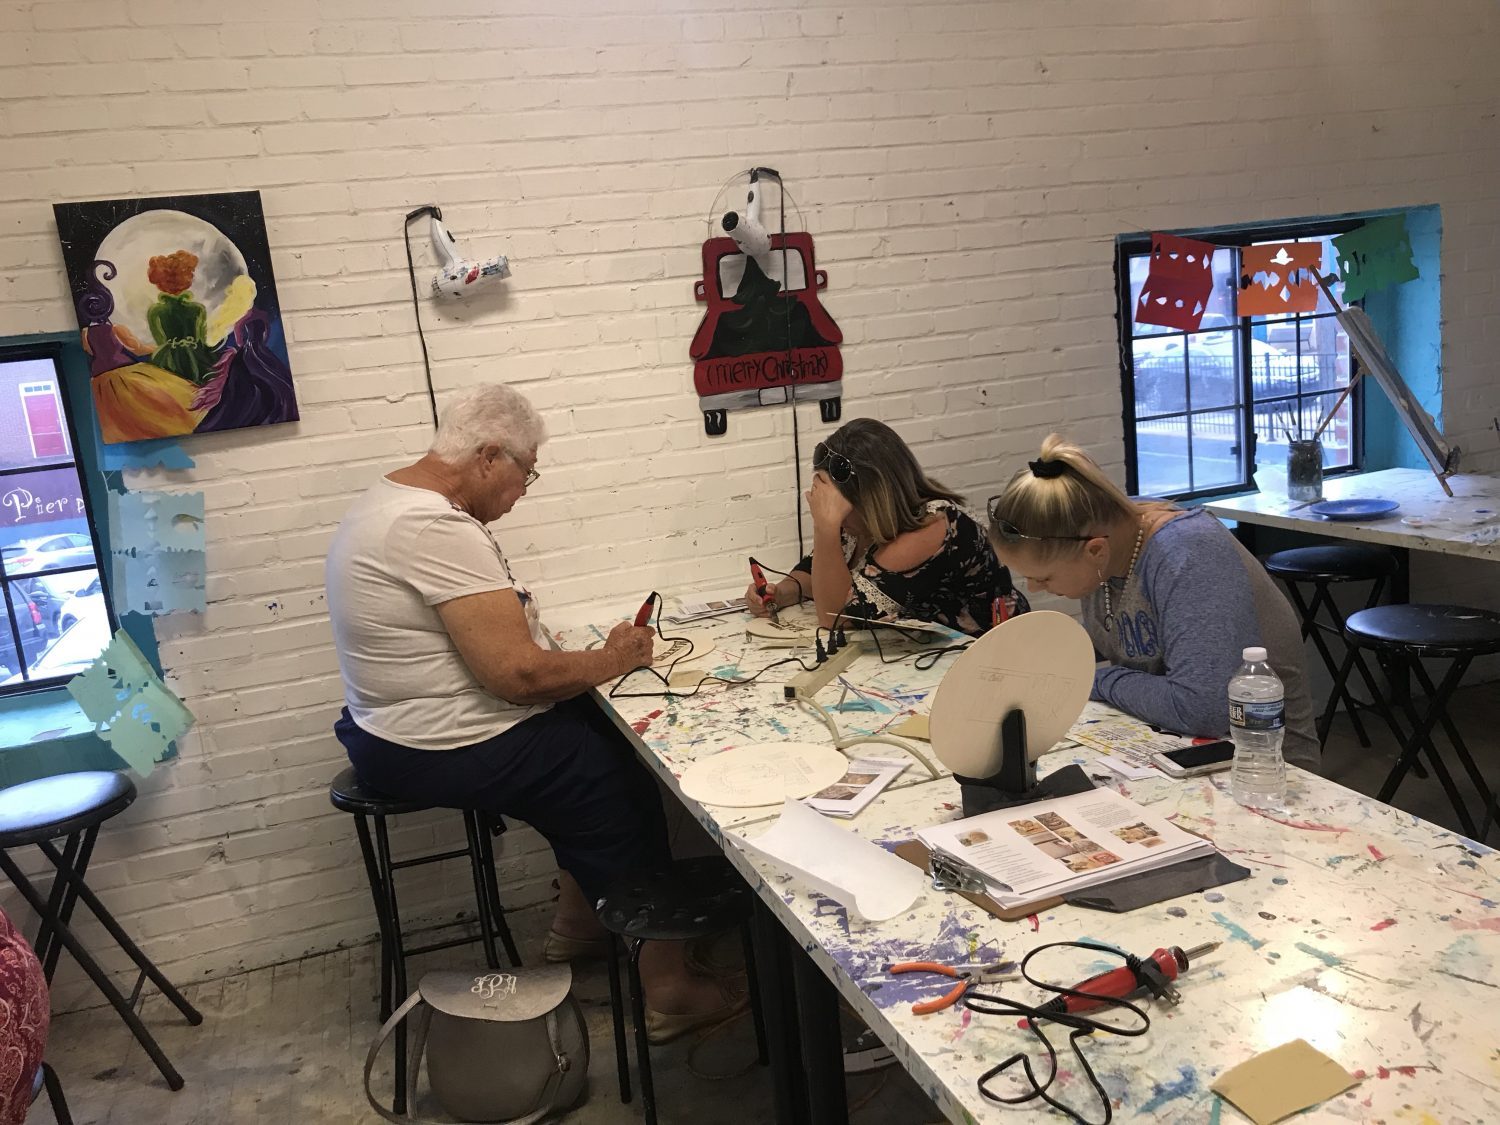
Simply tape the template and your tracing paper to the wood and start tracing your design. To ensure you don’t miss transferring any part of the template, it’s best to use a red or blue pen. This makes your markings easily visible as they won’t blend into the shaded areas of the template.


banana split template

banana split template

banana split template

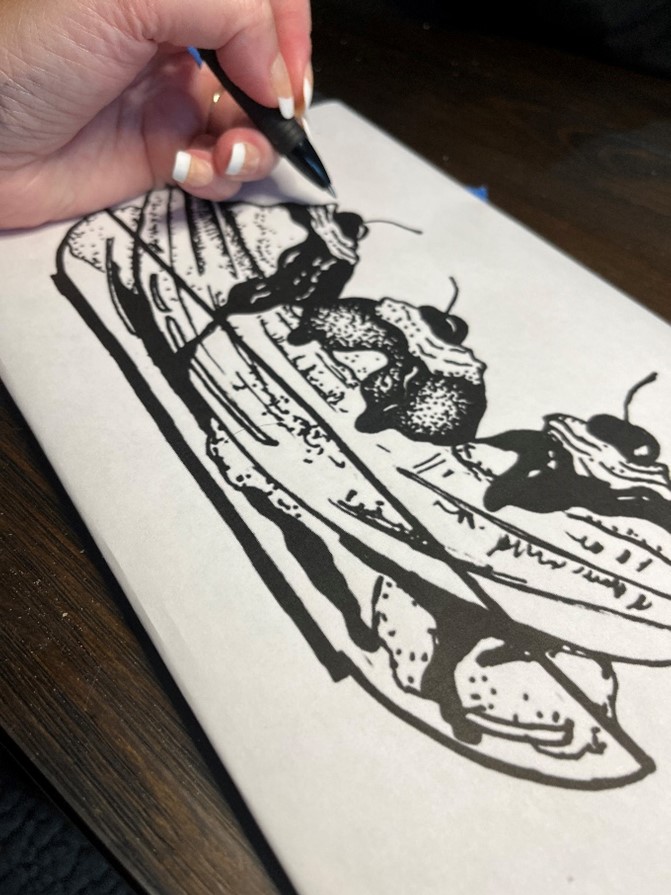
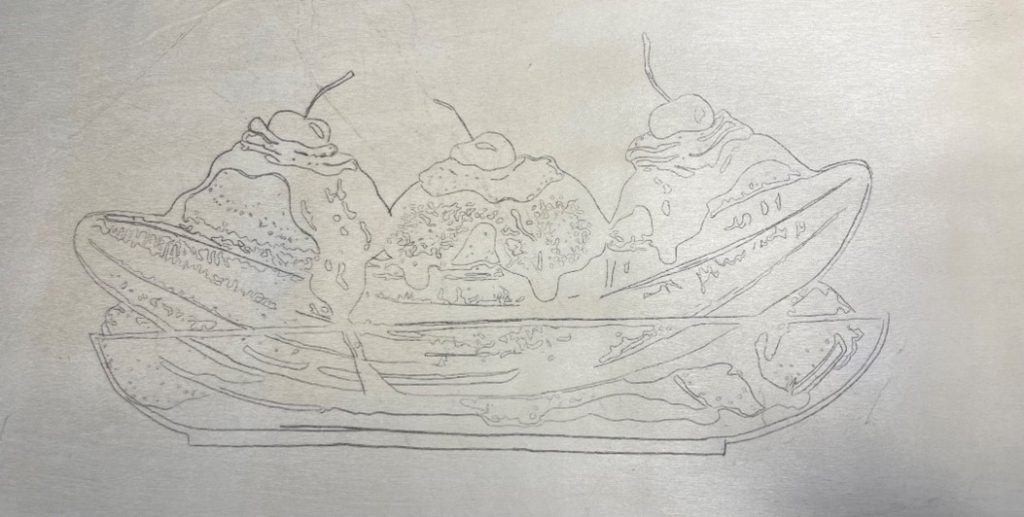
Once you have transferred the image, make sure you didn’t miss any areas. Slightly lift the template and tracing paper off the bottom of the wood but keeping the top portion secure to the wood with tape. You need to do this carefully as you don’t want the template to shift. It will keep your template in place and allow you to trace any missing areas with ease.

banana split template being wood burned

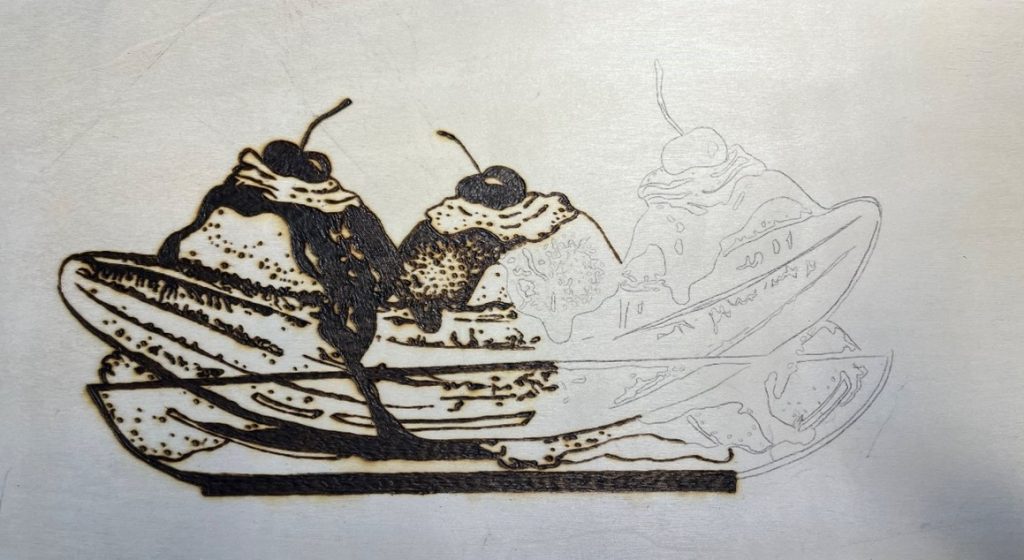
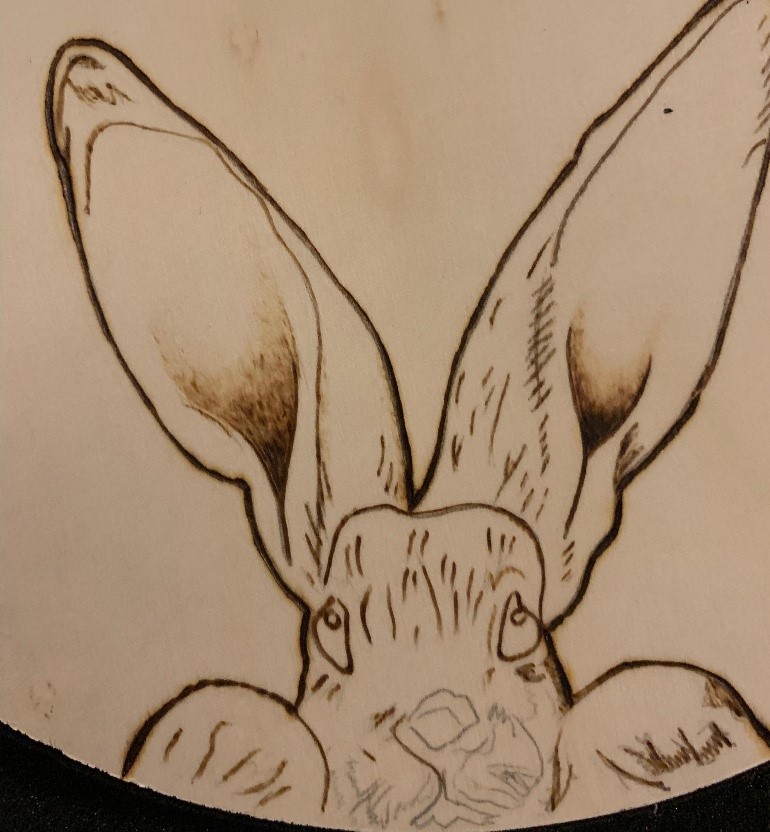
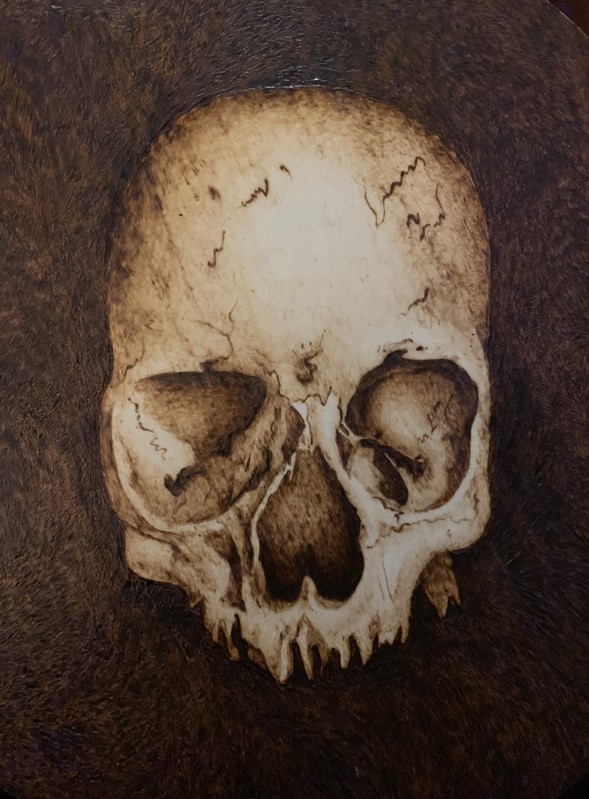
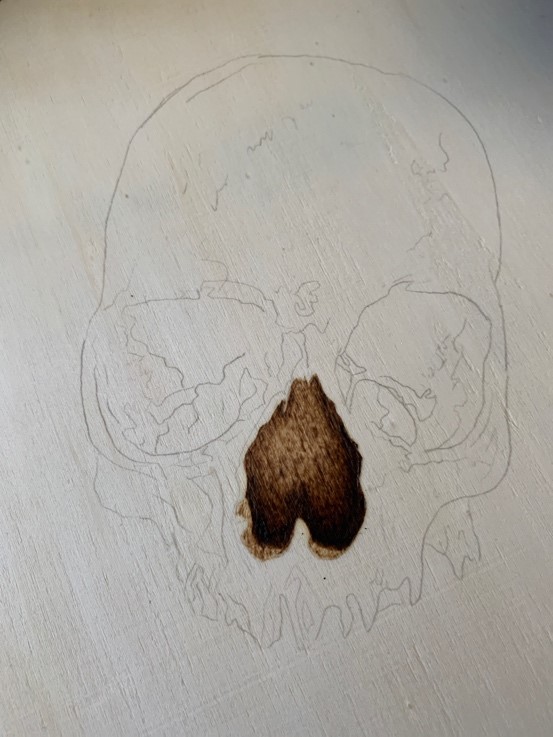
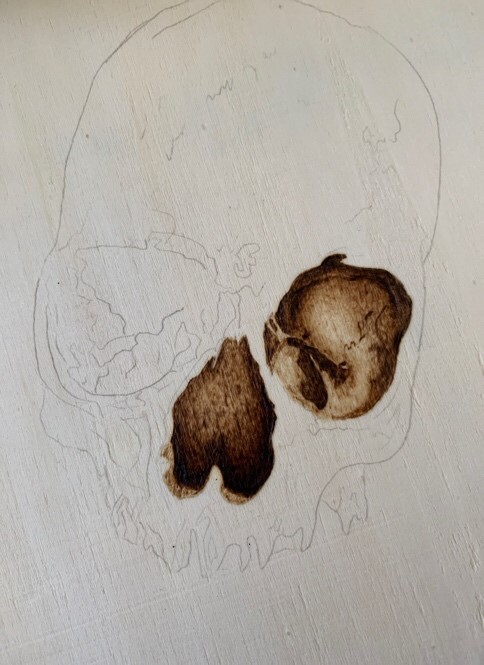
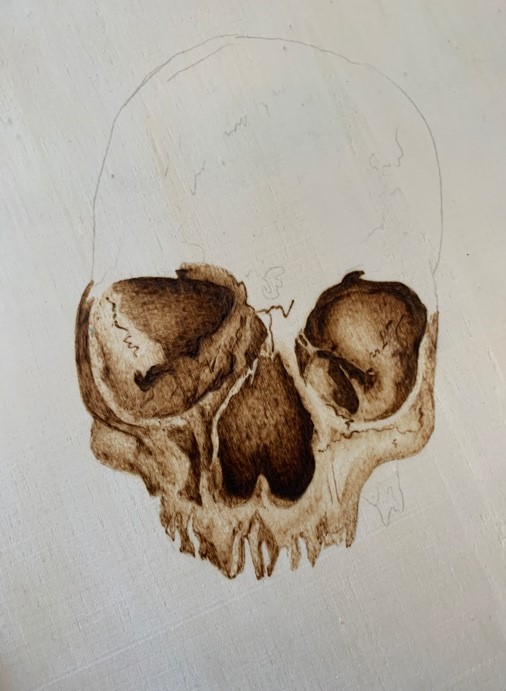
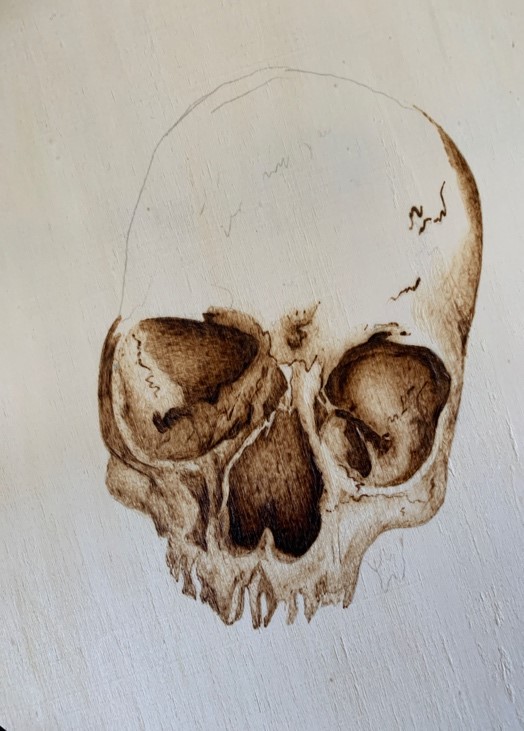
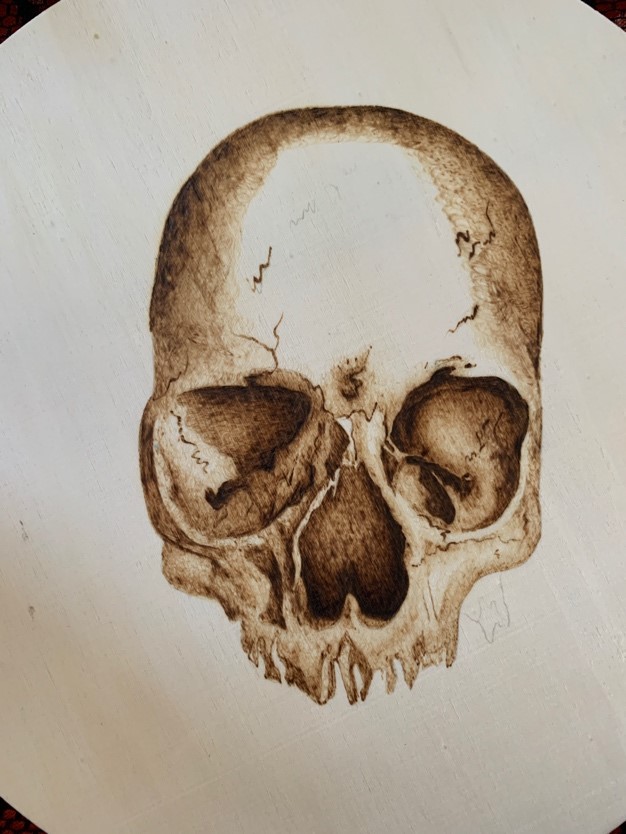
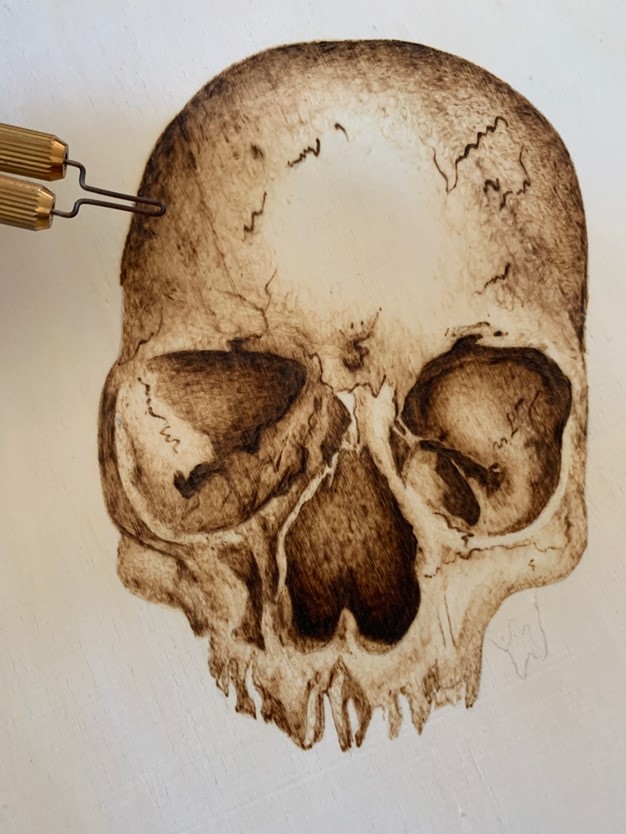
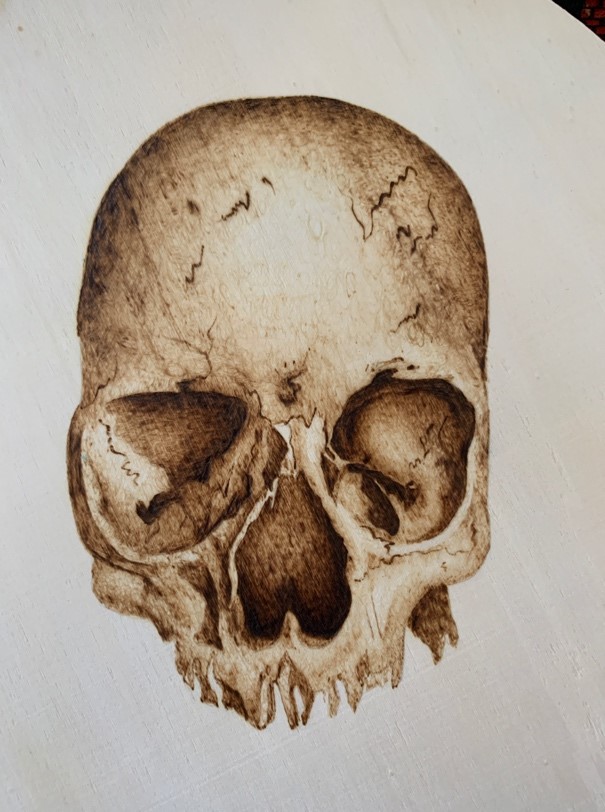
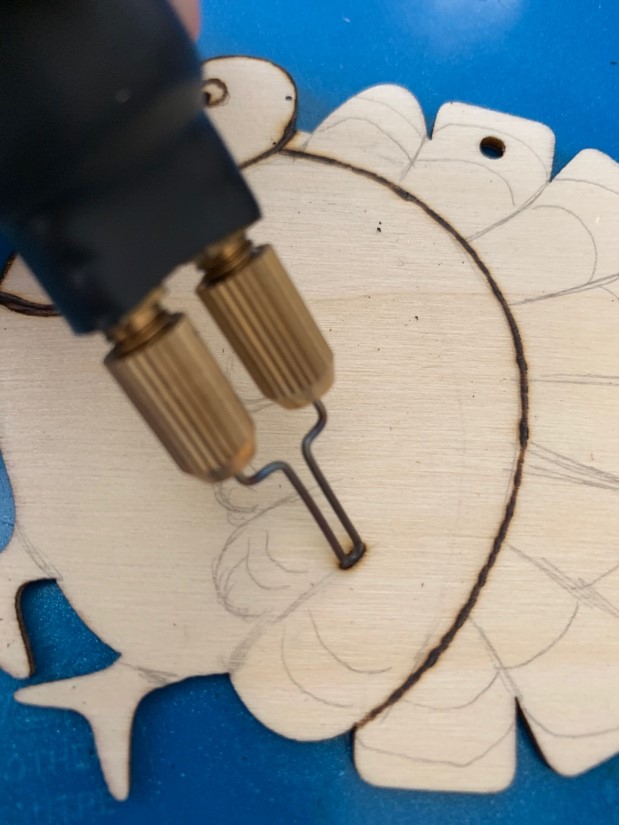
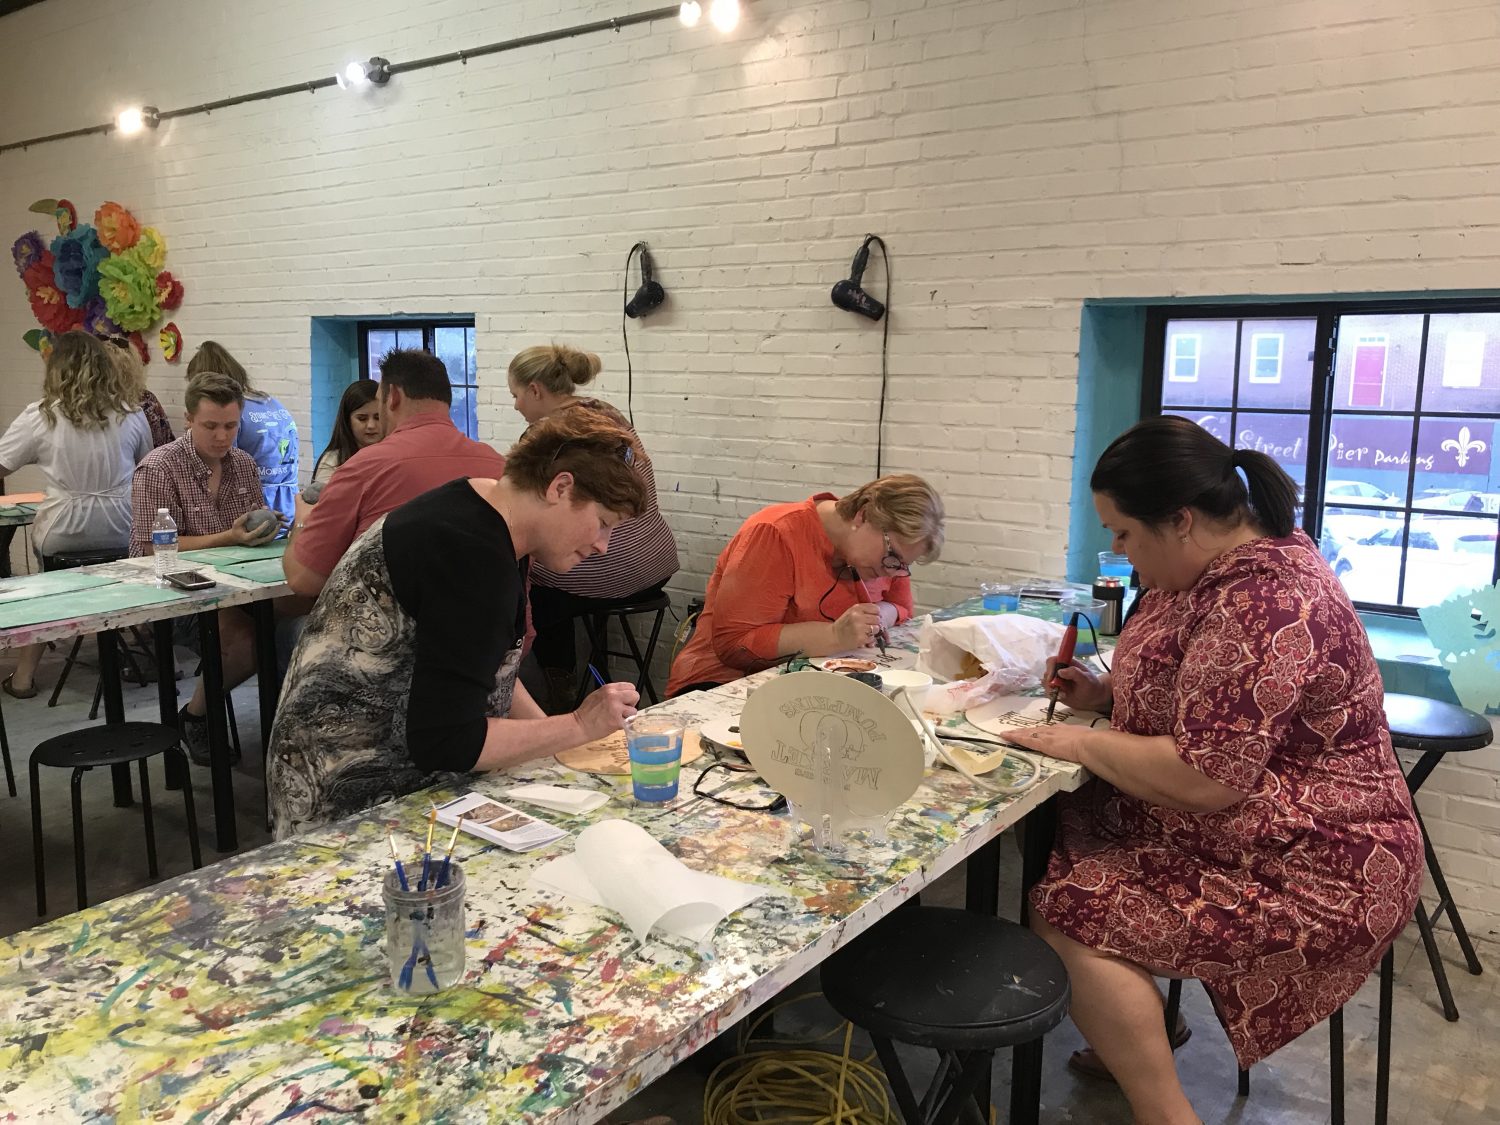
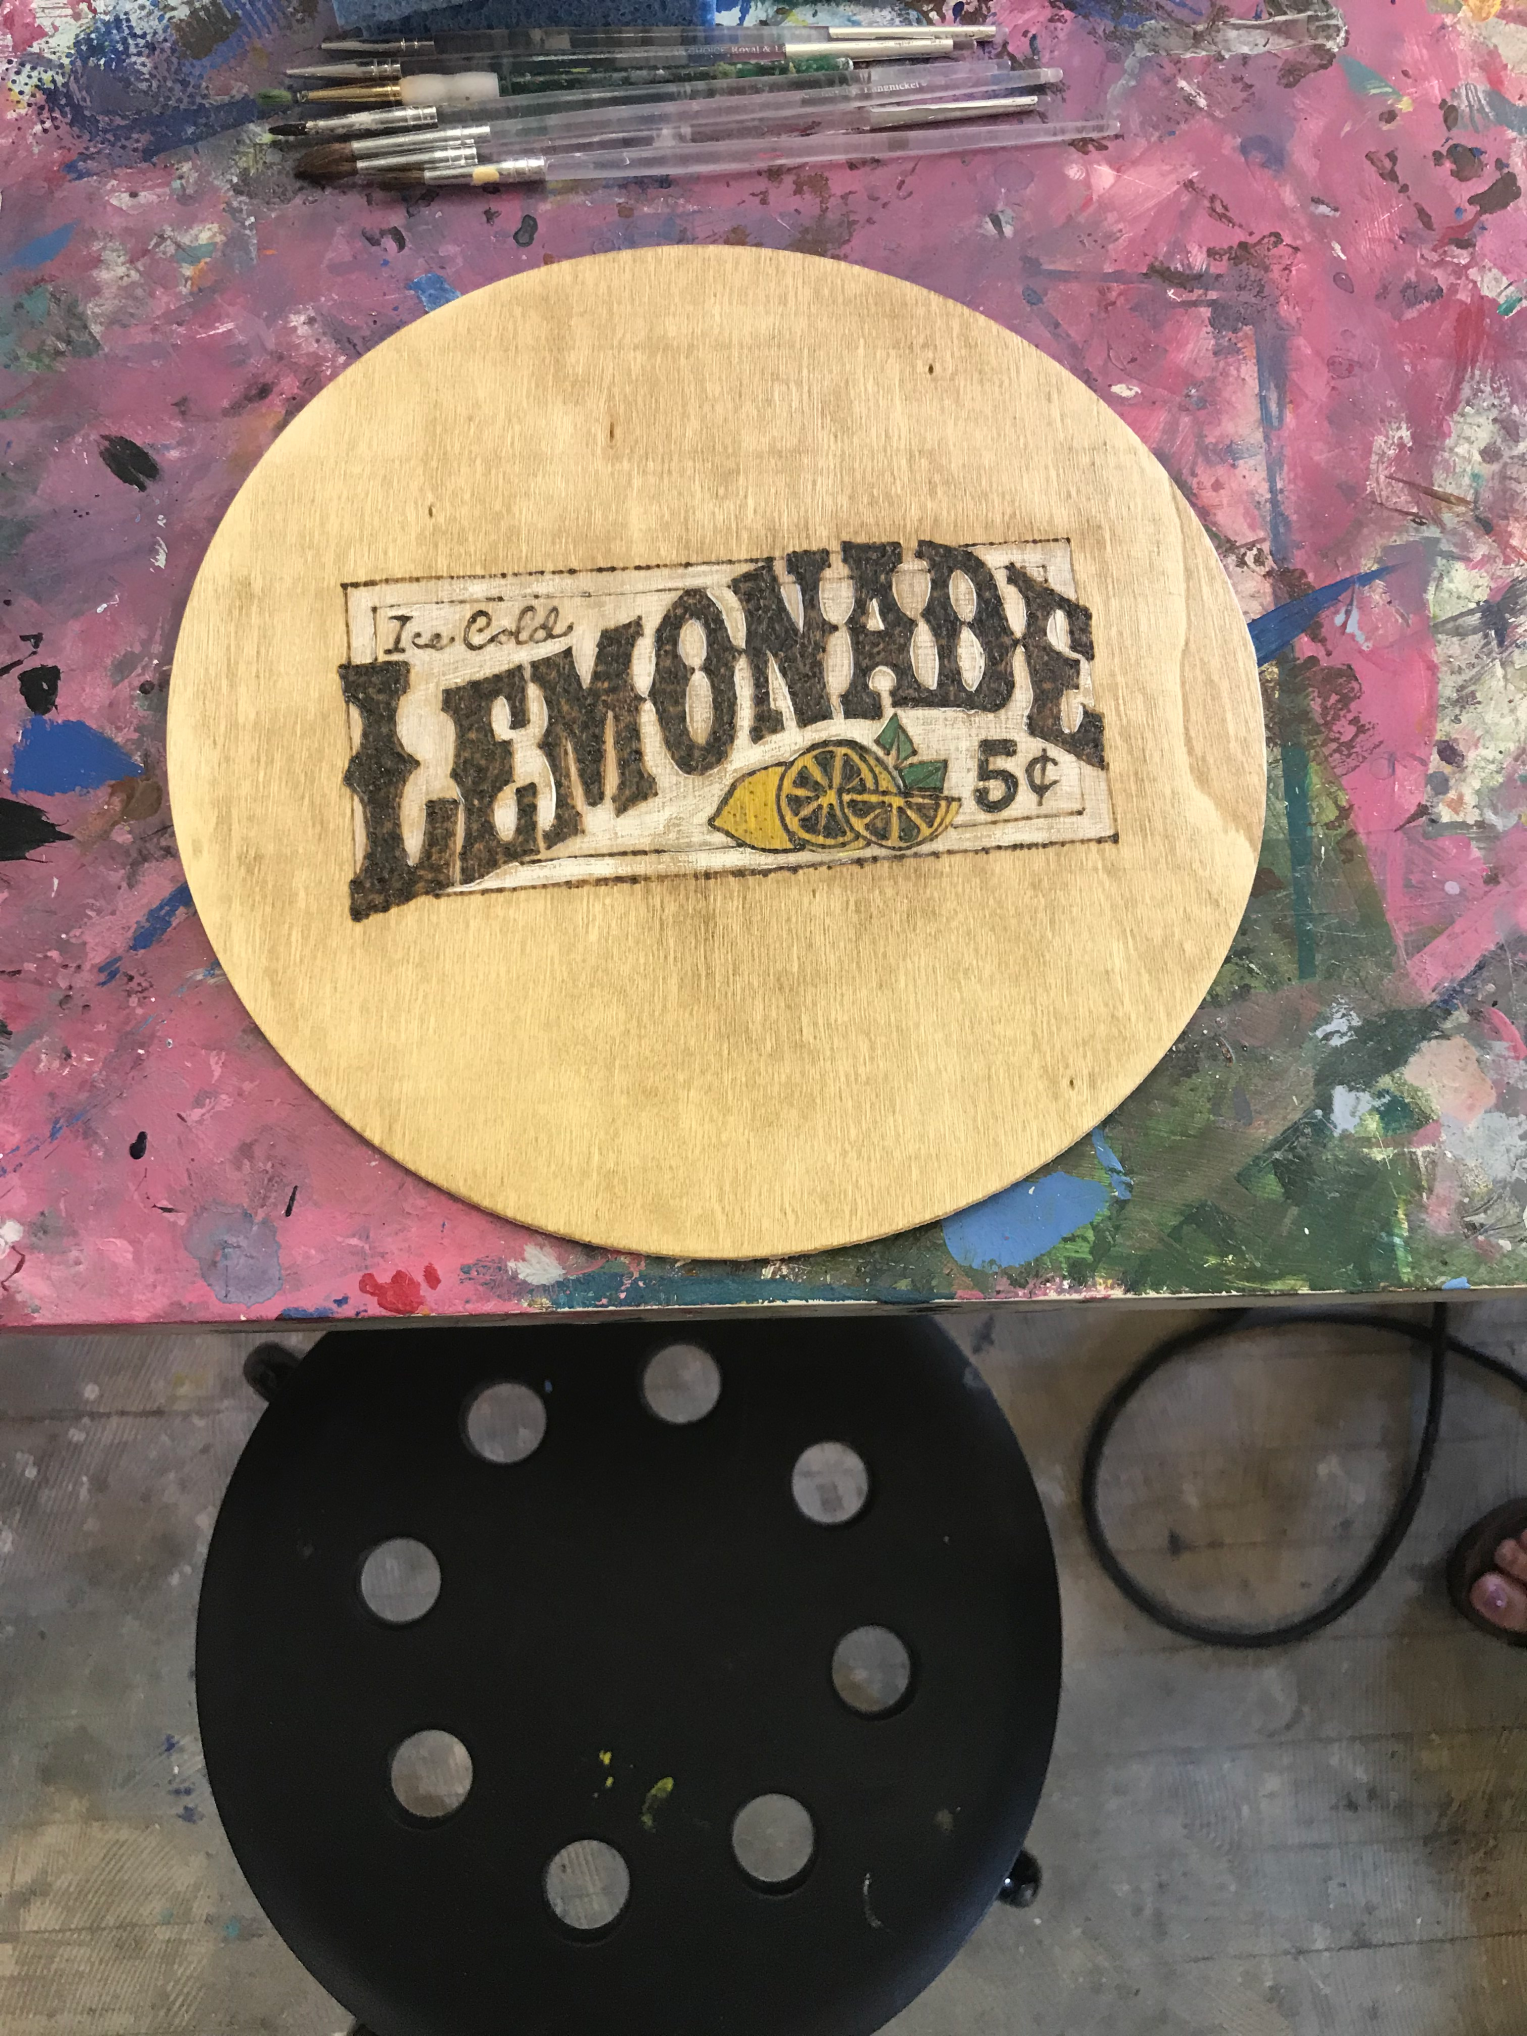
Since this template has thick bold lines and a lot of solid black areas, you can burn those areas at a higher heat. Be mindful not to go too high as it can create scorch marks and an uneven burn. In the areas where there are a lot of white and smaller marks, lower your heat.

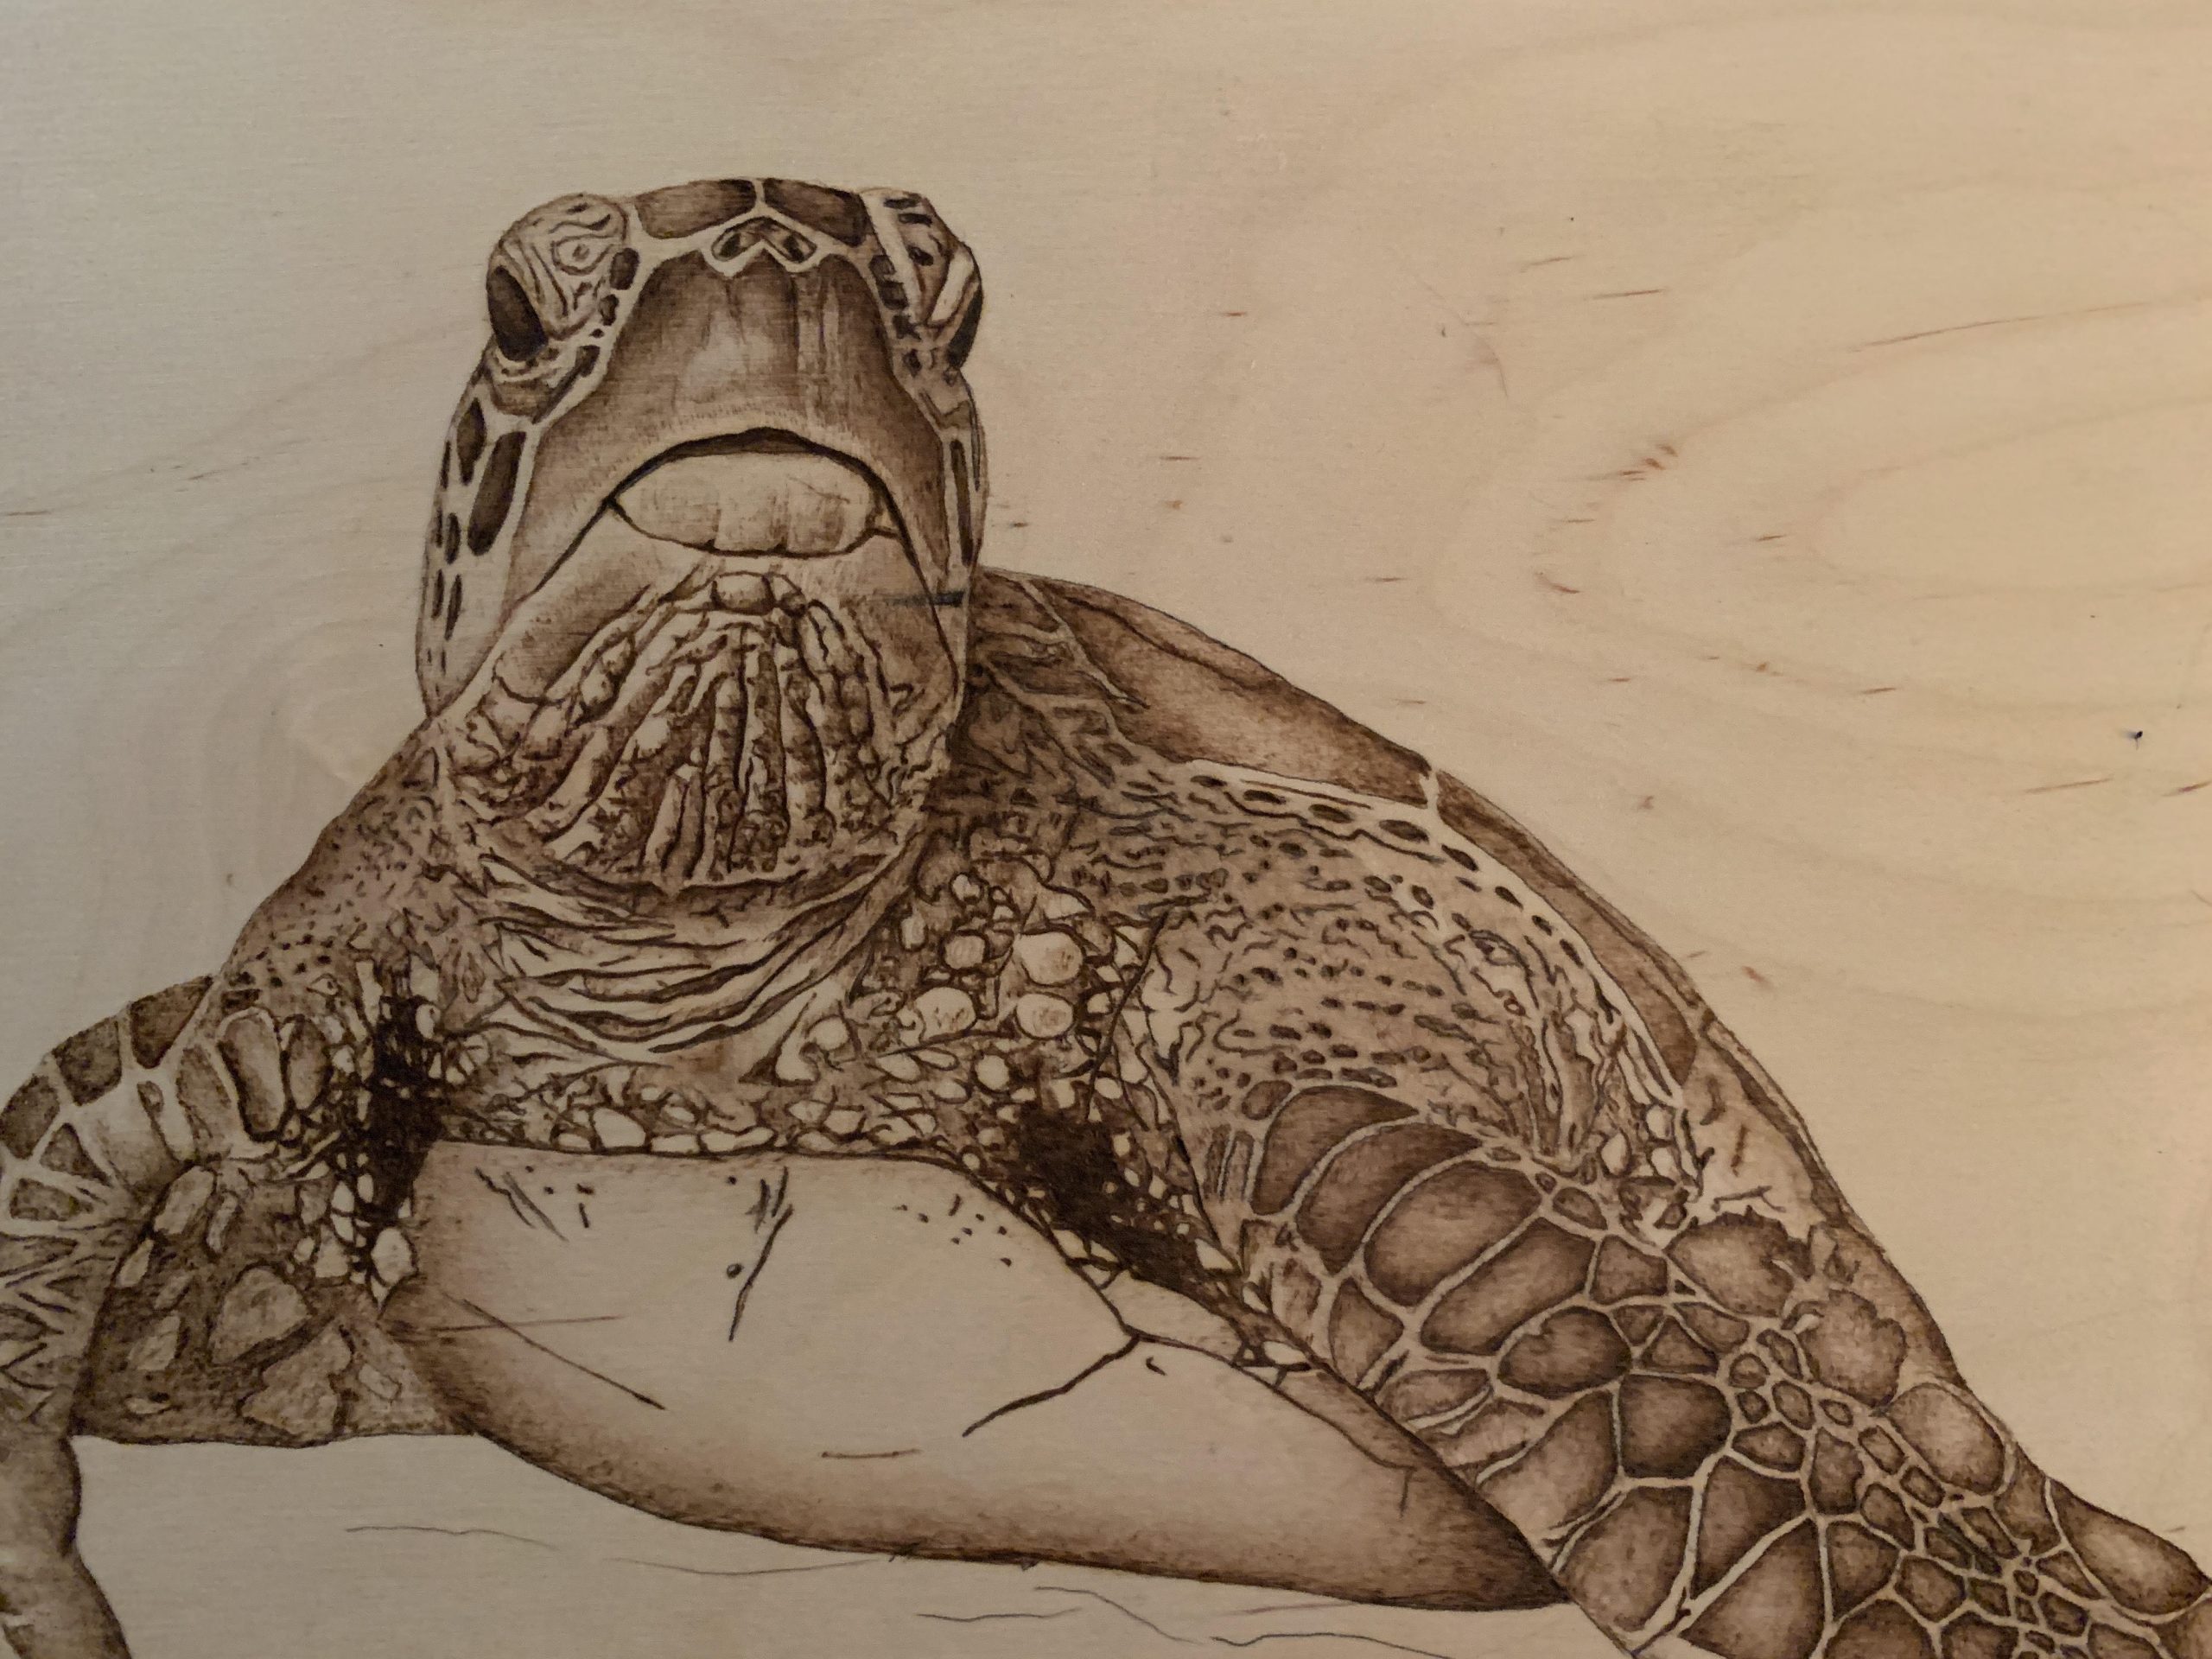
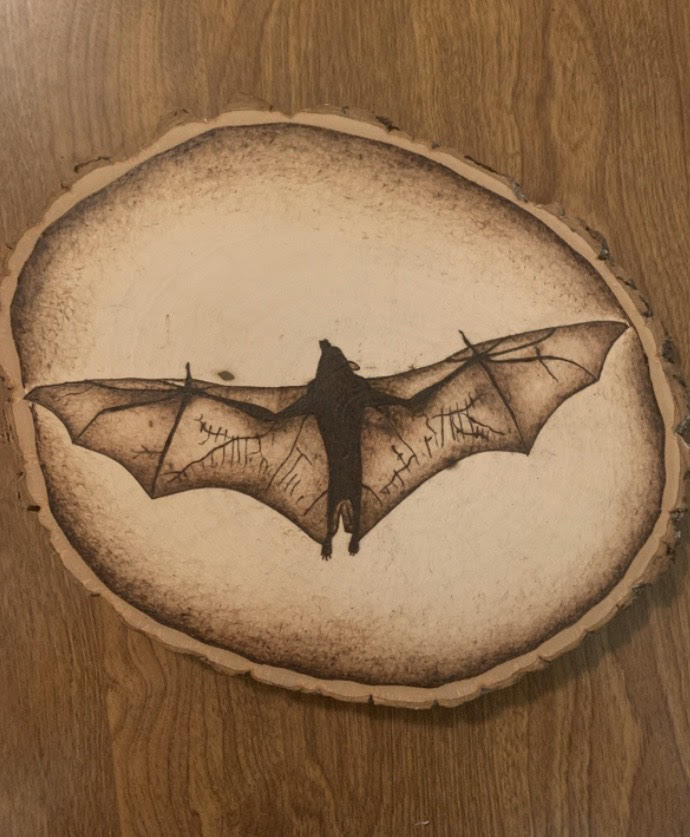
There are different shading techniques you can use for this design. I chose to shade this design by stippling. Stippling is simply a technique using dots to differentiate between light and shadows. The darker the area, the more dots are used. As the area is lighter, the dots fade. This is a fun technique to use in pyrography. No matter your preference, you can’t go wrong with how you draw this. Do what feels most comfortable to you. Get a spare piece of wood and practice the various techniques to see what you prefer.

banana split template being wood burned

banana split template wood burned

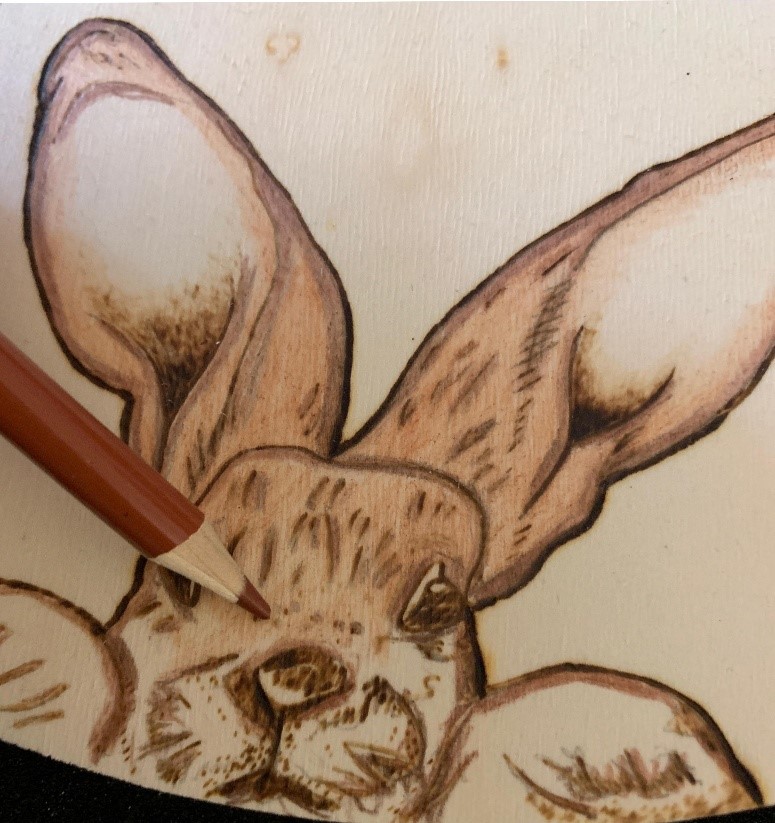
Tip: You can opt out of coloring in the cherries on top of the sundae. Add red paint or colored pencils for a pop of color.


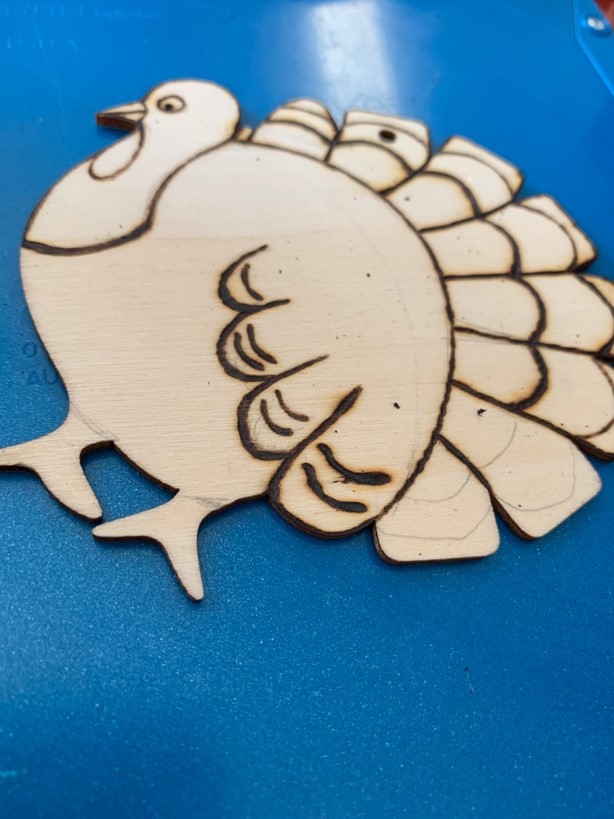
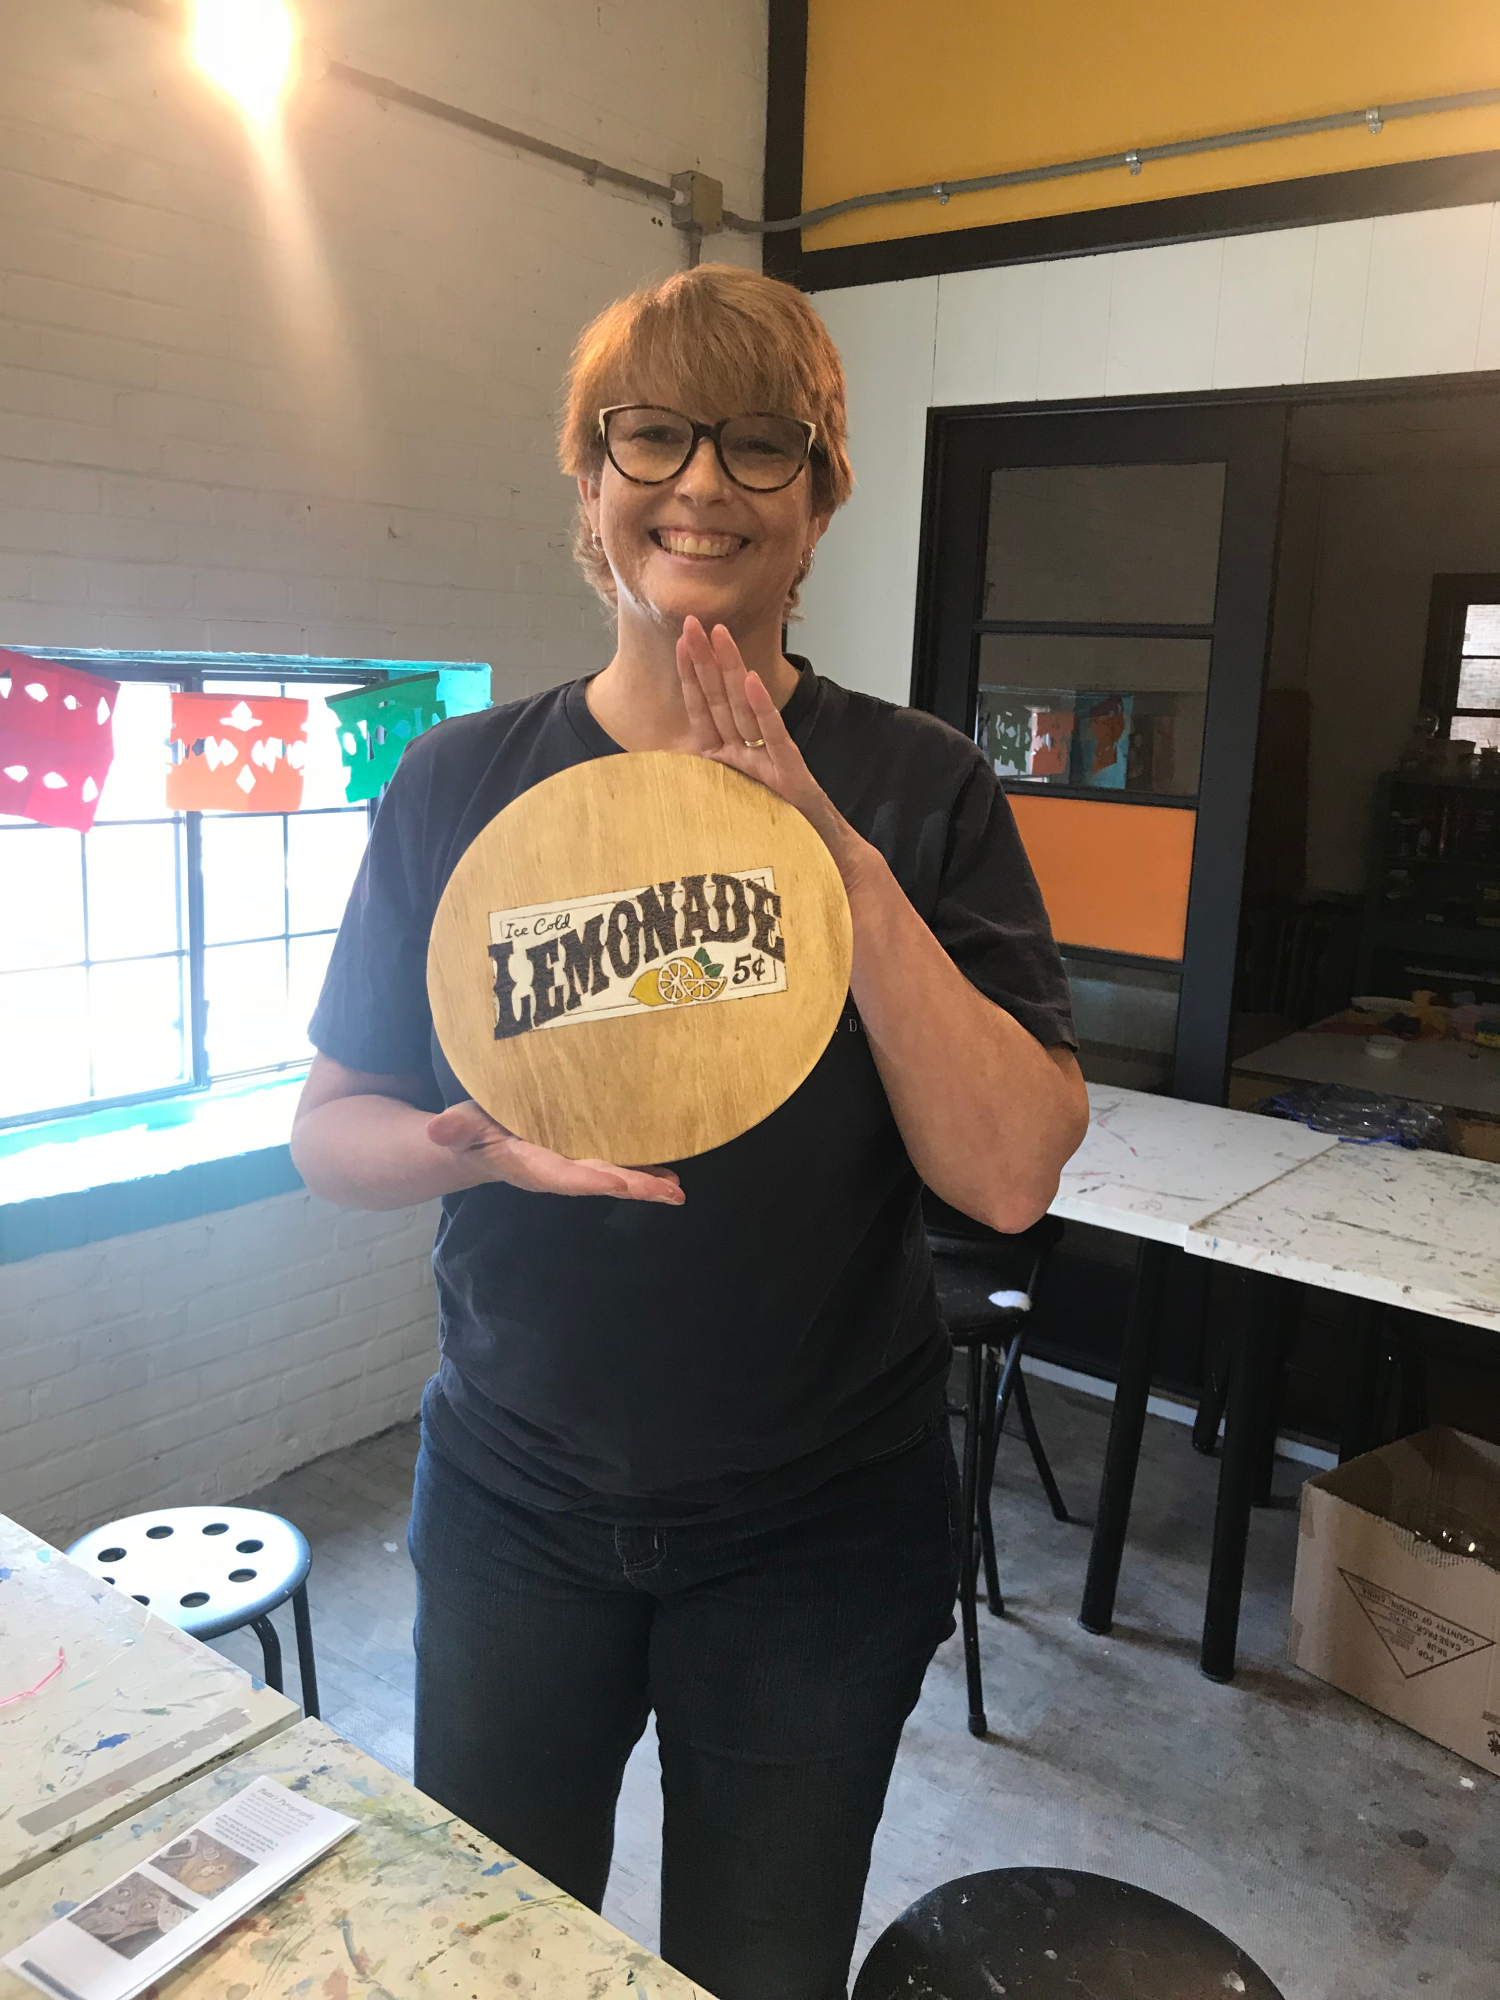
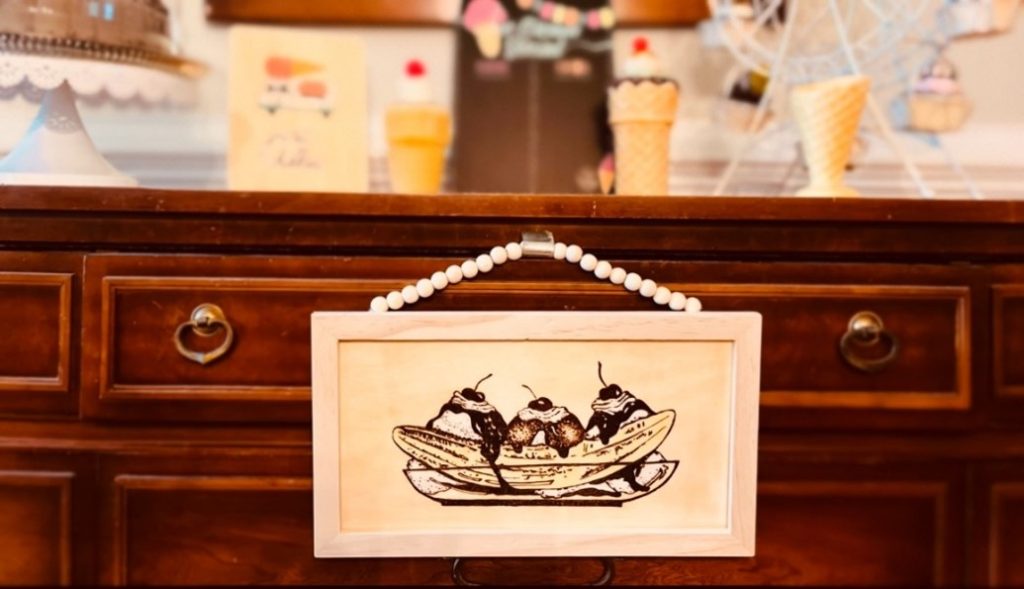
Once I have completed my burning, I did a very light coat of stain. Once the stain was fully dried, I took white and yellow-colored pencils, and colored in the ice cream and banana just to make the image stand out a little more.

Again, make this design your own. You can just burn the outline and fill in the areas using paint or colored pencils or not fill them in at all. That’s the beauty of art. There is no wrong way, and you personalize each piece by making it your own.


banana split template wood burned

Please tag your burning to @patespyrography and share your finished piece to
#patespyro
#thewoodburncommunitybook
#truarthq

I hope you enjoyed this template and don’t forget to get your own copy of The Wood Burn Community Book of Templates Vol 2 for more amazing designs from talented artists around the globe. Also check out @woodburncorner for tips, community challenges, inspiration and so much more.

Andrea Pate
Pate’s Pyrography

Posted on 1 Comment

Types of Wood – What Works with Pyrography

turtle wood burned on plywood

While the art of pyrography can be performed on various surfaces, different types of wood remain to be the most popular medium. This natural “canvas” comes with many characteristics that cannot be found in any other material. Grains of different shapes and sizes, various wood sap consistencies, and the plethora of hues can all pose different challenges for the artist. But when these challenges are overcome, the result is a unique and lasting piece of art.

It is therefore important that artists have at least a little understanding of the characteristics of wood and how to make the most of it be it your wire-nib pyrography pen or solid-point pyrography pen. This also includes knowing whether it is safe to work on certain pieces of wood or not.

Here we will cover the basics in relation to pyrography and these include:

  • Hardwood
  • Softwood
  • Plywood
  • Treated wood
  • Untreated wood
  • Wood tones
Hardwood

Hardwood comes from flowering, seed-producing trees that are from the angiosperm family. They are often from the deciduous species, which typically display annual growth rings.  Oak, maple, walnut, and hickory are just a few examples of the various types of hardwood.  Hardwood is generally difficult to burn images on and is not typically the wood of choice used for this medium. There are certain types of hardwood that are actually softer than some softwood.  Poplar is an example of a type of hardwood that works well for pyrography.

Walnut

Oak

Maple

Softwood

Softwood comes from the gymnosperm family and belongs to the seed-producing category as well. This is the preferred type of wood to use with pyrography. Basswood, birch, and pine are examples of some softwood that are excellent for wood-burning.

Bat is burned on basswood

Logo is burned on pine

 
Plywood

Plywood consists of layers of wood veneers that are glued together to create a flat sheet.  Plywood’s best features are its resistance to warpage,  shrinkage, and water. Generally, it comes with both surfaces sanded. Since the Douglas fir is most commonly used throughout the US and Canada, this is another great wood source to burn your images on.

Turtle burned on a piece of plywood 
Treated wood

Before you start your burning you must first identify whether the wood you chose is treated or untreated.  Treated wood consists of wood that has been painted, varnished, stained, and pressure treated. You also want to avoid any type of fibreboard. It is extremely dangerous to burn on treated wood.  Inhaling the fumes that are produced by burning treated wood is toxic and harmful to your health. If at all possible, DO NOT burn on any treated wood.

This Coffee sign had to be created with pen and markers because the wood is treated.  Notice the wood is painted which was done prior to burning making this treated wood dangerous to burn on.

Untreated wood

Untreated wood is wood closest to its natural state.  You can find several pieces of untreated wood and your local craft and hardware store.  Many craft stores have pre-cut wood pieces available for purchase to fit your needs.  Lumber yards are also wonderful places to go to find freshly cut, seasoned, and reasonably priced wood pieces.

Wood color tones

The white soft layer of wood is called sapwood. Sapwood is formed between the heartwood and bark. Heartwood is the innermost part of the tree trunk. Heartwood color varies depending on the species.  This is why we have a wide array of wood tones. Exposing cut, dry wood to light, specifically UV light, will darken the wood. Air, heat, and water exposure can also impact the color of the wood as it ages. Most wood will darken with age while others may change to a rust hue.   Varnishes and oils can also impact the color of the wood.  Working with a lighter shade of wood may prolong the effects of aging, however, there isn’t much we can do to prevent this natural process from happening.

Additional information

Gourds, leather, paper, and bones are alternative materials that you can successfully burn images onto.  Burning plastic or rubber items will not only melt and cause burns but will create toxic fumes.  If you are not certain, don’t do it.  Err on the side of safety first and always do your research.

Dollar burned on paper

There is so much more to learn about wood but things like different shakes (a wood defect), rays, rings, and interlocking grains among others. These natural characteristics are very useful. Imagine whorls, swirls, and minute cracks inculcated into your wood-burning as accents or natural details of your burn subject. Your imagination is the only limit!

Andrea Pate
Pate’s Pyrography

Posted on 1 Comment

Spring Decor Wood Burning Project

TRUArt Spring decor

I’d have to say that Spring is one of my favorite seasons that just warrants a complementing Spring Decor. Baby birds are chirping, fragrant and colorful flowers are blooming, and butterflies are gracefully fluttering about. Everywhere you look, it is bursting with life. When thinking of Spring, naturally, thoughts of cute little rabbits come to mind. I wanted to create a cute design that displays a traditional representation of spring. In this piece, you will combine some simple shading techniques as well as applying multiple colors to your design.

Spring Decor Supplies:

Wire-nib pyrography pen or solid-point pyrography pen
• 10in x 0.13in (254 mm x 3.302 mm) diameter plywood circle
• Colored ballpoint pen for tracing
• Scissors
• Scotch tape
• Measuring tape or ruler
Graphite paper for tracing
• Sponge
• Melamine foam eraser (magic eraser)
• Colored pencils (dark brown, light brown, pink, black, white)
• Stain (optional)
• Spray sealant (ex. polyurethane)
• Old rag for staining

Pyrography Instructions

STEP 1:

Your pyrography pen needs to be set at a low to medium-low heat. The letters on this sign are rather thin so you will need to be aware of your pen settings and you need to be careful with the amount of pressure applied to your pyrography pen while burning. Be sure your letters are not burned at such a low temperature that the burn marks appear to be faint. When you reach the larger words, you can slowly increase your heat and/or pressure as needed.

TIP:

Remember, sometimes it is easier to burn the outline of your letters first and then go back to fill in the empty space. This helps you stay within the parameters of your image and minimizes any stray marks. When you are burning your letters, if you come across any gaps where you should have a solid burning, go back to fill those gaps in at a very low heat so that you don’t burn outside the lines.


STEP 2:

Let’s hop to it! It’s time to burn our image of the rabbit. Start off by tracing the outline. You want your outline to be burned in medium thickness. The purpose of the medium thickness is to have the outline dark enough for the image to stand out if you were to stain your sign.

STEP 3:

It’s now time to work on the rabbit’s ear. You will notice the inside of the ear has a “Y” shape pattern. Burn the stem of the “Y” and at the tip of the crevice – start a dark burn. As you work your way up the ear, slowly decrease your temperature to create a lighter, softer burn. As you burn softer, you should not apply much pressure to your pyrography pen. Repeat the same process on the opposite side.

STEP 4:

Start burning the marks and lines that indicate fur patterns within the rabbit design. Darken the area around the rabbit’s nose and darken the eyes.

STEP 5:

Now it’s time to stain your wood. Be sure to cover the surface completely. Since your image has some fine lines, be cautious not to add too much stain or your image will not be easily visible.

Tip:

If you do not wish to stain your wood you can go ahead and color your design. Once your design is colored, I recommend using a spray sealant to protect your image once completed. You can go ahead and color your design first and then stain your wood if you prefer, but it will leave your image looking dull and minimizes the details in the drawing.

STEP 6:

Take out your box of colored pencils. You will need a dark brown, light brown, black, white and pink. Start by taking your dark brown colored pencil and tracing the outline of the rabbit. Continue to add the dark brown colored pencil to the fur lines and marks within the image of the rabbit.

STEP 7:

Color the rabbit softly with the light brown. Do not color the inside of the ears brown. Leave that area untouched for now. Once the light brown has been applied to the rabbit’s fur, take your white colored pencil and softly blend it into the light brown areas. This blends the colored area more evenly and softens any harsh lines. Never use a lot of pressure when coloring. You do not want hard scratch lines that are hard to smooth out.

STEP 8:

Add a light pink to the nose and ears. Again, burn lightly and add white to smooth and soften the colors.

STEP 9:

Take a black colored pencil and color in the eyes and outline the nose and mouth. If you need to enhance your image, you can go back over the design and retrace your image using the black or dark brown colored pencil.

STEP 10:

Once your rabbit is complete, spray sealant over everything and allow it to dry. This protects everything.

Every bunny will love the finished product.

If you have any questions, suggestions or anything you would like to comment on, please do so in the comment section below and I’ll get right back to you as soon as possible.

See you next time,
Andrea Pate
Pate’s Pyrography

Posted on Leave a comment

Valentine Pyrography

With Valentine’s Day just around the corner, a Valentine pyrography project is called for. Here are some inexpensive and fun ideas to spruce up your home.

I have found several seasonal wood cutouts available at my local dollar store and for Valentine’s Day, I picked two different types of heart-shaped wood cutouts.

You can also create your own cutouts with varying sizes out of scrap plywood or other pieces of wood lying about. Simply find a template, print it out and transfer it to your wood with transfer paper. For detailed instructions on how to do the transfer, check out a previous post I made.

I recommend going online to find various quotes and fonts to burn onto the wood. Another suggestion is to find a stencil or letter stamps and create your own conversational candy hearts. These would look great displayed over a fireplace or hung outside your door.


Add some color to them or a little bit of stain to make them pop.

The possibilities are endless and you can’t beat the price.  I suggest looking around your local dollar store a month prior to the holiday.  These wood cutouts don’t stay on the shelf long as they will make wonderful gifts for those you love and hold dear just like this Valentine pyrography project. This would be a great project for any age group.

As always, if you have any comments or suggestions for a project, I’ll be very glad to hear about it.


Andrea

Pate’s Pyrography

Posted on Leave a comment

Halloween Skull Wood Burning Design

Halloween skull

One of my favorite images to burn is the Halloween skull. I love the way the burned marks give the skull image an aged and tarnished look. I also love the look of the various tonal values that you apply to the skull to give depth and dimension to your burning. In this tutorial, I will also provide you with a template that you can use to create your very own skull.

Let’s get started!

You will need:

  • Halloween skull template (found at the end of this article)
  • TRUArt pen
  • Carbon paper
  • Ballpoint pen
  • Magic eraser
  • Tape
  • Fine-sanded wood


Step 1:

Take your wood, template, carbon paper, pen and tape. Tape your paper to your wood and begin the tracing process. For instructions on how to complete this process, please refer to my previous post here.

Step 2:

Once everything has been transferred, start your shading process. I started in the nasal cavity. Be aware of where light will hit and cast shadows. I started working on the darker end and slowly lightened my shading as I moved up. This is not an easy skill to master. For shading tips, please view my shading tutorial here.


Step 3:

Once I completed the shading in the nasal region, I began the same process in the eye sockets of me Halloween skull. The template should be used as a guide to indicate where areas should be darkened. Don’t worry about your tracing being visible through the shading, you can remove those lines once your image has been completely burned.


Step 4:

Start shading around the jawline. Remember to burn in a light tone here. We do not want our darker tones to blend with the lighter. We need to decipher what parts of the image are further away than the rest or what area has more depth. The shading around the skull is only meant to indicate where the shadows lie.


Step 5:

Begin working your way up the skull. Notice the crack lines on the template. At a lower heat, trace the lines to show cracks on the skull. Be sure your heat is not too high or you will create splotches instead of crack lines. You can always increase your temperature if needed. Add more lines if you wish.


Step 6:

When outlining the skull, the shading should be a darker value around the top portion of the head. You still don’t want this to be a dark shade, just a tonal shade darker than the bottom of the skull. Slowly fill in the center of the skull with a lighter value as you go inward.


Step 7:

Once you have completely burnt your skull image, start burning the background. This is an extremely time consuming process. You will also need to use high heat so this step must be done with caution. An alternate option would be to use paint to fill in the blank space or just leave it untouched. I personally love the look of the background burned. If you choose to do this, start on one spot and work your way down keeping your strokes as uniform as possible. This prevents an uneven burn and makes the completed piece look more polished.

Now that your burning is complete, take a dampened magic eraser and erase the lines that are visible from your tracing.

I hope you have fun burning a skull of your own. Remember, this takes time and practice. You stick with this and it will get easier every time you try. I hope everyone has a safe and Happy Halloween.


See you next time,
Andrea Pate
Pate’s Pyrography


Template


Posted on Leave a comment

Fall Décor Garland

Fall Décor Garland fireplace

I look forward to Fall every year. The cooler weather, the amazing aroma of spices, cinnamon and apple pie stir in the air and of course, all the decorations.

Fall Décor Garland fireplace


This Fall season, I wanted to find an affordable and easy project to create for my home. I went to my local dollar store and found these adorable plywood cutouts. Each package comes with five cutouts so you can easily create a garland for just a dollar if you wanted to. I wanted multiple designs so I bought five packages. Some universal designs can be found here.

Once I opened my package, I looked up clip art patterns online to give me an idea of how I wanted to sketch out my design.


With my patterns picked and sketched on, I started the burning process.  I started with a thick bold burn outlining the outermost part of the wood and continued with a solid burn while tracing my pattern.

With the patterns completed, I began the shading process (please see previous post for shading instructions). If this technique is too difficult, you can always fill in the empty space with colored pencils.

For the areas needing white, I used a white paint-based marker. The paint markers work great since they don’t tend to bleed when applied to the wood. I tried to keep my colors soft so I added touches of color with colored pencils to enhance each character.

Once my cutouts were completed, I tied a string through small holes and displayed the garland over the fireplace. As an alternate choice, you can also tie a piece of string on the wood and use them for tags, gifts, or to wrap around a napkin for a cute Fall tablescape.


I hope this has given you some fun and very affordable wood burning ideas. This is going to be even greater when you get everyone involved in it. Ask your kids what they would like to work on and watch their imaginations fly! This is one the best times of the year to take your pyrography pen out. Start creating fun and amazing décor with everyone!

If you have any questions or would like to suggest other ideas, leave a comment below and I’ll get right back to you.

See you next time.
Andrea Pate
Pate’s Pyrography

Posted on Leave a comment

A Gift For Mom – A TRUArt Mother’s Day Pyrography Inspiration

This Mother’s Day, make your mom something special! What I love about pyrography is that it is unique and beautiful and burnings make excellent gifts. Much like painting, you can literally wood burn anything from quotes and designs to images of animals and people or whatever you fancy.

Let’s get started. First, take your pattern of choice and transfer it onto your wood (see transfer instructions on Wood burning tutorial).

Burned quote "you are the mom that everyone wishes they had" TRUArt Mother's day


Burned quote "home is wherever mom is" TRUArt Mother's day

When burning fine, delicate lines into your wood, be careful not to press too hard. This will create a splotchy, uneven image.  Also, don’t start burning with your pen at a high temperature,  start low and work your way up so your strokes don’t run outside of your design ( for more how to instructions see Shading Technique in Pyrography).

wood burning of quote with TRUArt 60W pyrography pen TRUArt Mother's day


wood burning of quote with TRUArt 60W pyrography pen TRUArt Mothers' day

When choosing your wood, think about mom’s sense of style and choice of décor.  Does she like serving trays or cheese boards?  Does mom like to decorate her dining room with a beautiful tablescape or does she like to display decorative signs in her home?

burned quote "Home is wherever mom is" TRUArt Mother's day burned quote with other collectibles on shelves TRUArt Mother's day


Take your design and burn it onto any piece of unfinished wood.  At your local hardware or craft store,  you can find large pieces of wood that are perfect for creating serving trays. Once your image is burned, stain your wood, add a coat of mineral oil and attach the handles.

burned quote on wooden circular serving tray with handles TRUArt Mother's day

Another meaningful gift idea that works well for a mom with young children is to get the young child to draw or write a note to mom.  Simply transfer the image onto the wood and burn the design.  This will make a wonderful keepsake for years to come.

Burned signatures and names of well wishers TRUArt Mother's day

Wood spoons to rolling pins, picture frames to coasters.  Think about what mom likes and let your imagination go wild. There are so many functional items available out there that you can personalize just for mom.

I hope you found these Mother’s day gift ideas useful. Take your time when first starting out. You will feel more confident and at ease as you work your way through your project.  Have fun and enjoy the process.

See you next time!

Andrea Pate
Pate’s Pyrography


Posted on 1 Comment

Christmas Wood Burning Stencils

Christmas is literally just around the corner now and what better way to spruce up your decorations with little pyrographed projects with your TRUArt pens? With free stencils of course!

Inspired by Andrea’s latest article, “Holiday Gifts”, I’ve collected some images across the web to help you all out. These were picked especially for their simplicity. and elegance – where a single picture conveys an unmistakable message of Christmas.  It would be pretty tough to start burning big Christmas-themed projects at this point in time. Then I thought instead of going through the agony of waiting for that day to come, why not get the whole family involved in burning little decors to hang around the house and on the Christmas tree?

What’s more, these would be a perfect fit for those scrap pieces of wood lying about. You could create discs from small branches or others. Perhaps use that old scrap rectangular plywood in the basement as a warm greeting board or a little signage greeting everyone who sees it somewhere within the house.

Whatever the case, the important thing is that the whole family gets in on it – sharing the Christmas spirit as it were.


So hurry and click on the PDF files below and download your stencil. If you need help on transferring images to your work, check out Andrea’s guide.

  1. Angel
  2. Bare Christmas tree
  3. Bells
  4. Conifer cone
  5. Christmas quote
  6. Christmas quote 2
  7. Christmas quote 3
  8. Reindeer
  9. Reindeer 1
  10. Santa
  11. Santa 2
  12. Snowflake

Have a great Holiday Season everyone!


Posted on Leave a comment

Woodburning Workshop 2 – More to Learn!

Another big “CONGRATULATIONS” to Andrea Pate on her second successful Pyrography Workshop at Stache Studios on September 29, 2018!

Once again, Andrea Pate, a very accomplished artist in art mediums such as portrait artistry and polymer clay modelling, has managed to spread the word about pyrography in downtown Griffin.  As her plan to continue on the workshop on Seasonal  Designs, all her attendees with big satisfied grins and new home decors.


“Leave a permanent impression with pyrography”
Andrea Pate

We at TRUArt are proud to be a part of Andrea’s endeavors to teach others of the easy and fun-loaded art of pyrography or wood burning. The pyrography pens used in this workshop and the one before that were predominantly our (Stage 1) Wood and Leather Pyrography Pen. The artist herself has our robust 60 W Professional Woodburning Detailer.

We can’t wait to check out what next season’s theme is going to be permanently burned into wood again!

Posted on Leave a comment

Woodburning Workshop – The Giant Leap Towards Learning Pyrography!

The TRUArt family extends its biggest “CONGRATULATIONS” to Andrea Pate for successfully hosting her first Pyrography Workshop at Stache Studios last August 18, 2018 and has effectively opened the doors to many budding artists looking for a unique and fun way to express their creativity!

Stache Studios, the go-to place in Downtown Griffin for learning various forms of art medium such as painting, ceramics, mosaics and clay works, graciously welcomed Andrea’s suggestion to include a new form of artwork – pyrography. With Andrea’s long history and connection to art since childhood, coupled with more than two years of pyrography experience, she deftly introduced and guided everyone into the practically new art world of wood burning. Needless to say, all workshop attendees left with proud smiles and their finished projects. Just check out the pictures below!

Andrea understands that pyrography isn’t a medium that is well known in the field of arts. In fact, she did not imagine herself hosting any workshop about it at all – being contented with creating beautiful pyrogrphy art work and selling them. That changed when we started commissioning her to create tutorials for us using our wood burning pens. In one of the tutorials, she was teaching some children how to create wood burnings for their loved ones. Watching their excitement in the process got her curious about creating classes for adults. She wanted to expose as many people to this art form as she could. Thinking of ways to get pyrography out there, she came across her local art studio. Although Stache Studio provides customers with amazing pottery and painting classes, she realized they didn’t have any on woodburning. In fact, there just aren’t many places around where one could learn Pyrography.

“Leave a permanent impression with pyrography”
Andrea Pate


Jessica, owner of Stache Studios, loved Andrea’s idea and immediately went to work to get things rolling while the artist provided the tools she got from TRUArt. After the resounding success of her first workshop, the artist was thrilled to see the excitement others were going through learning something she was passionate about. She feels very fortunate to have the opportunity to teach people pyrography and plans to continue sharing her expertise with more classes. As of this writing, she’s been busy creating seasonal designs for her workshop that customers can display every month of the year in their homes. It definitely doesn’t look like she plans to slow down one bit seeing that workshops are powerful tools to get the needed exposure to the art as people are starting to become familiar with it and with what she does.


To those who have yet to touch a pyrography pen or to those who think they don’t have the creativity for it, here’s what Andrea has to say about it:

“DO not to give up. If it’s something you’re not good at, that’s all the more reason to keep going. It will get easier and you’ll learn what works for you along the way. If it’s something you are passionate about then never give up.

It’s amazing what you can learn and how you can improve in such a short time frame. I look back at where I started and to where I’m at today and there is such a huge difference. I’m excited to see how much I will continue to grow and improve over the course of this year.”


We at TRUArt couldn’t have said it better, Andrea. We’re so glad and honored to be a part of your achievements in the wonderful world of pyrography. Thank you!