Posted on Leave a comment

Fall Décor Garland

Fall Décor Garland fireplace

I look forward to Fall every year. The cooler weather, the amazing aroma of spices, cinnamon and apple pie stir in the air and of course, all the decorations.

Fall Décor Garland fireplace


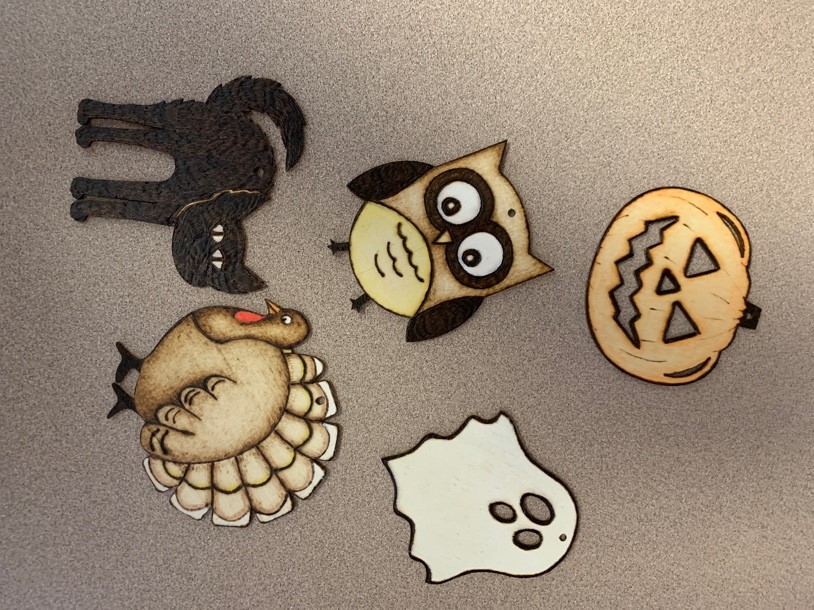
This Fall season, I wanted to find an affordable and easy project to create for my home. I went to my local dollar store and found these adorable plywood cutouts. Each package comes with five cutouts so you can easily create a garland for just a dollar if you wanted to. I wanted multiple designs so I bought five packages. Some universal designs can be found here.

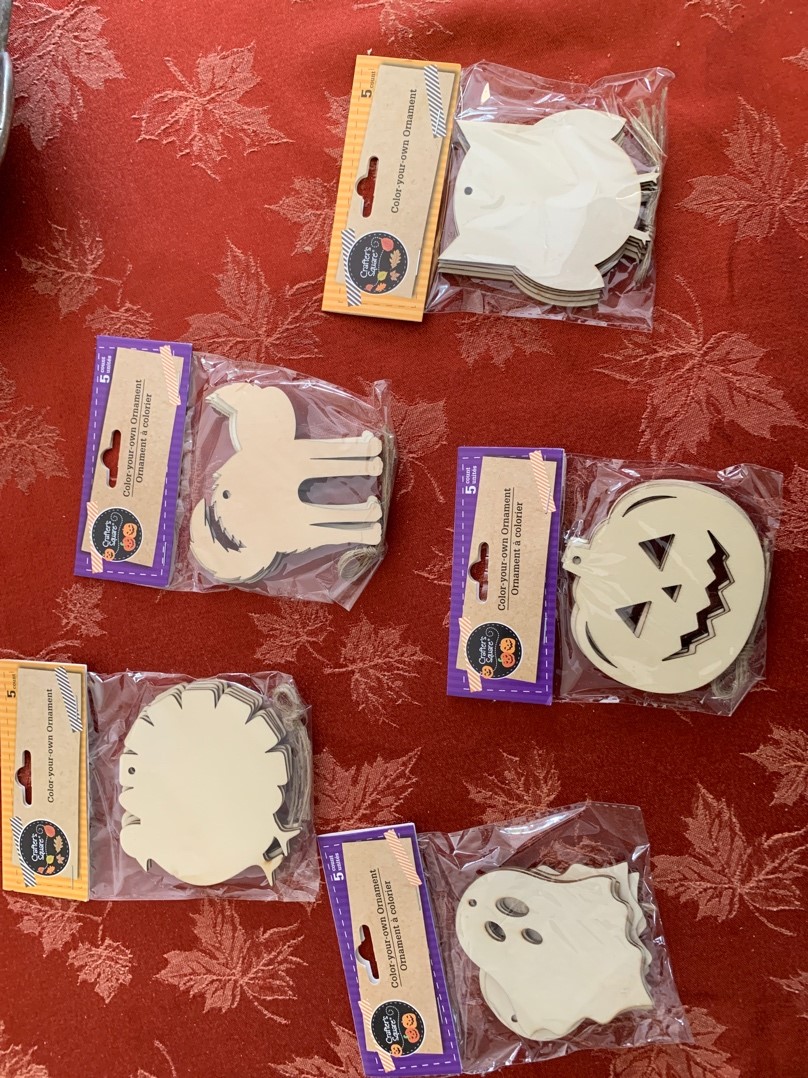
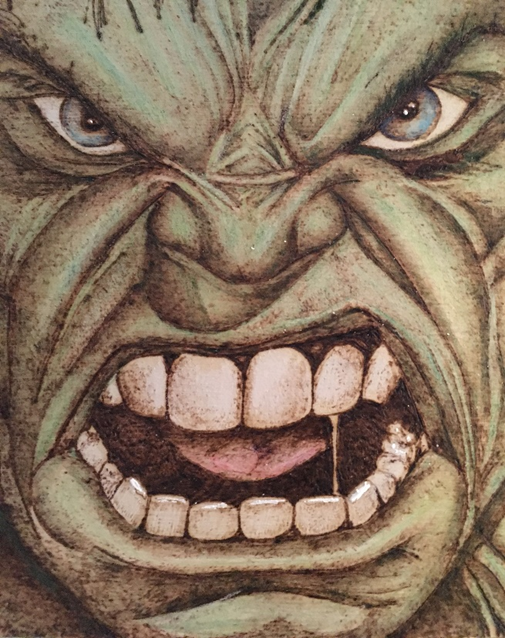
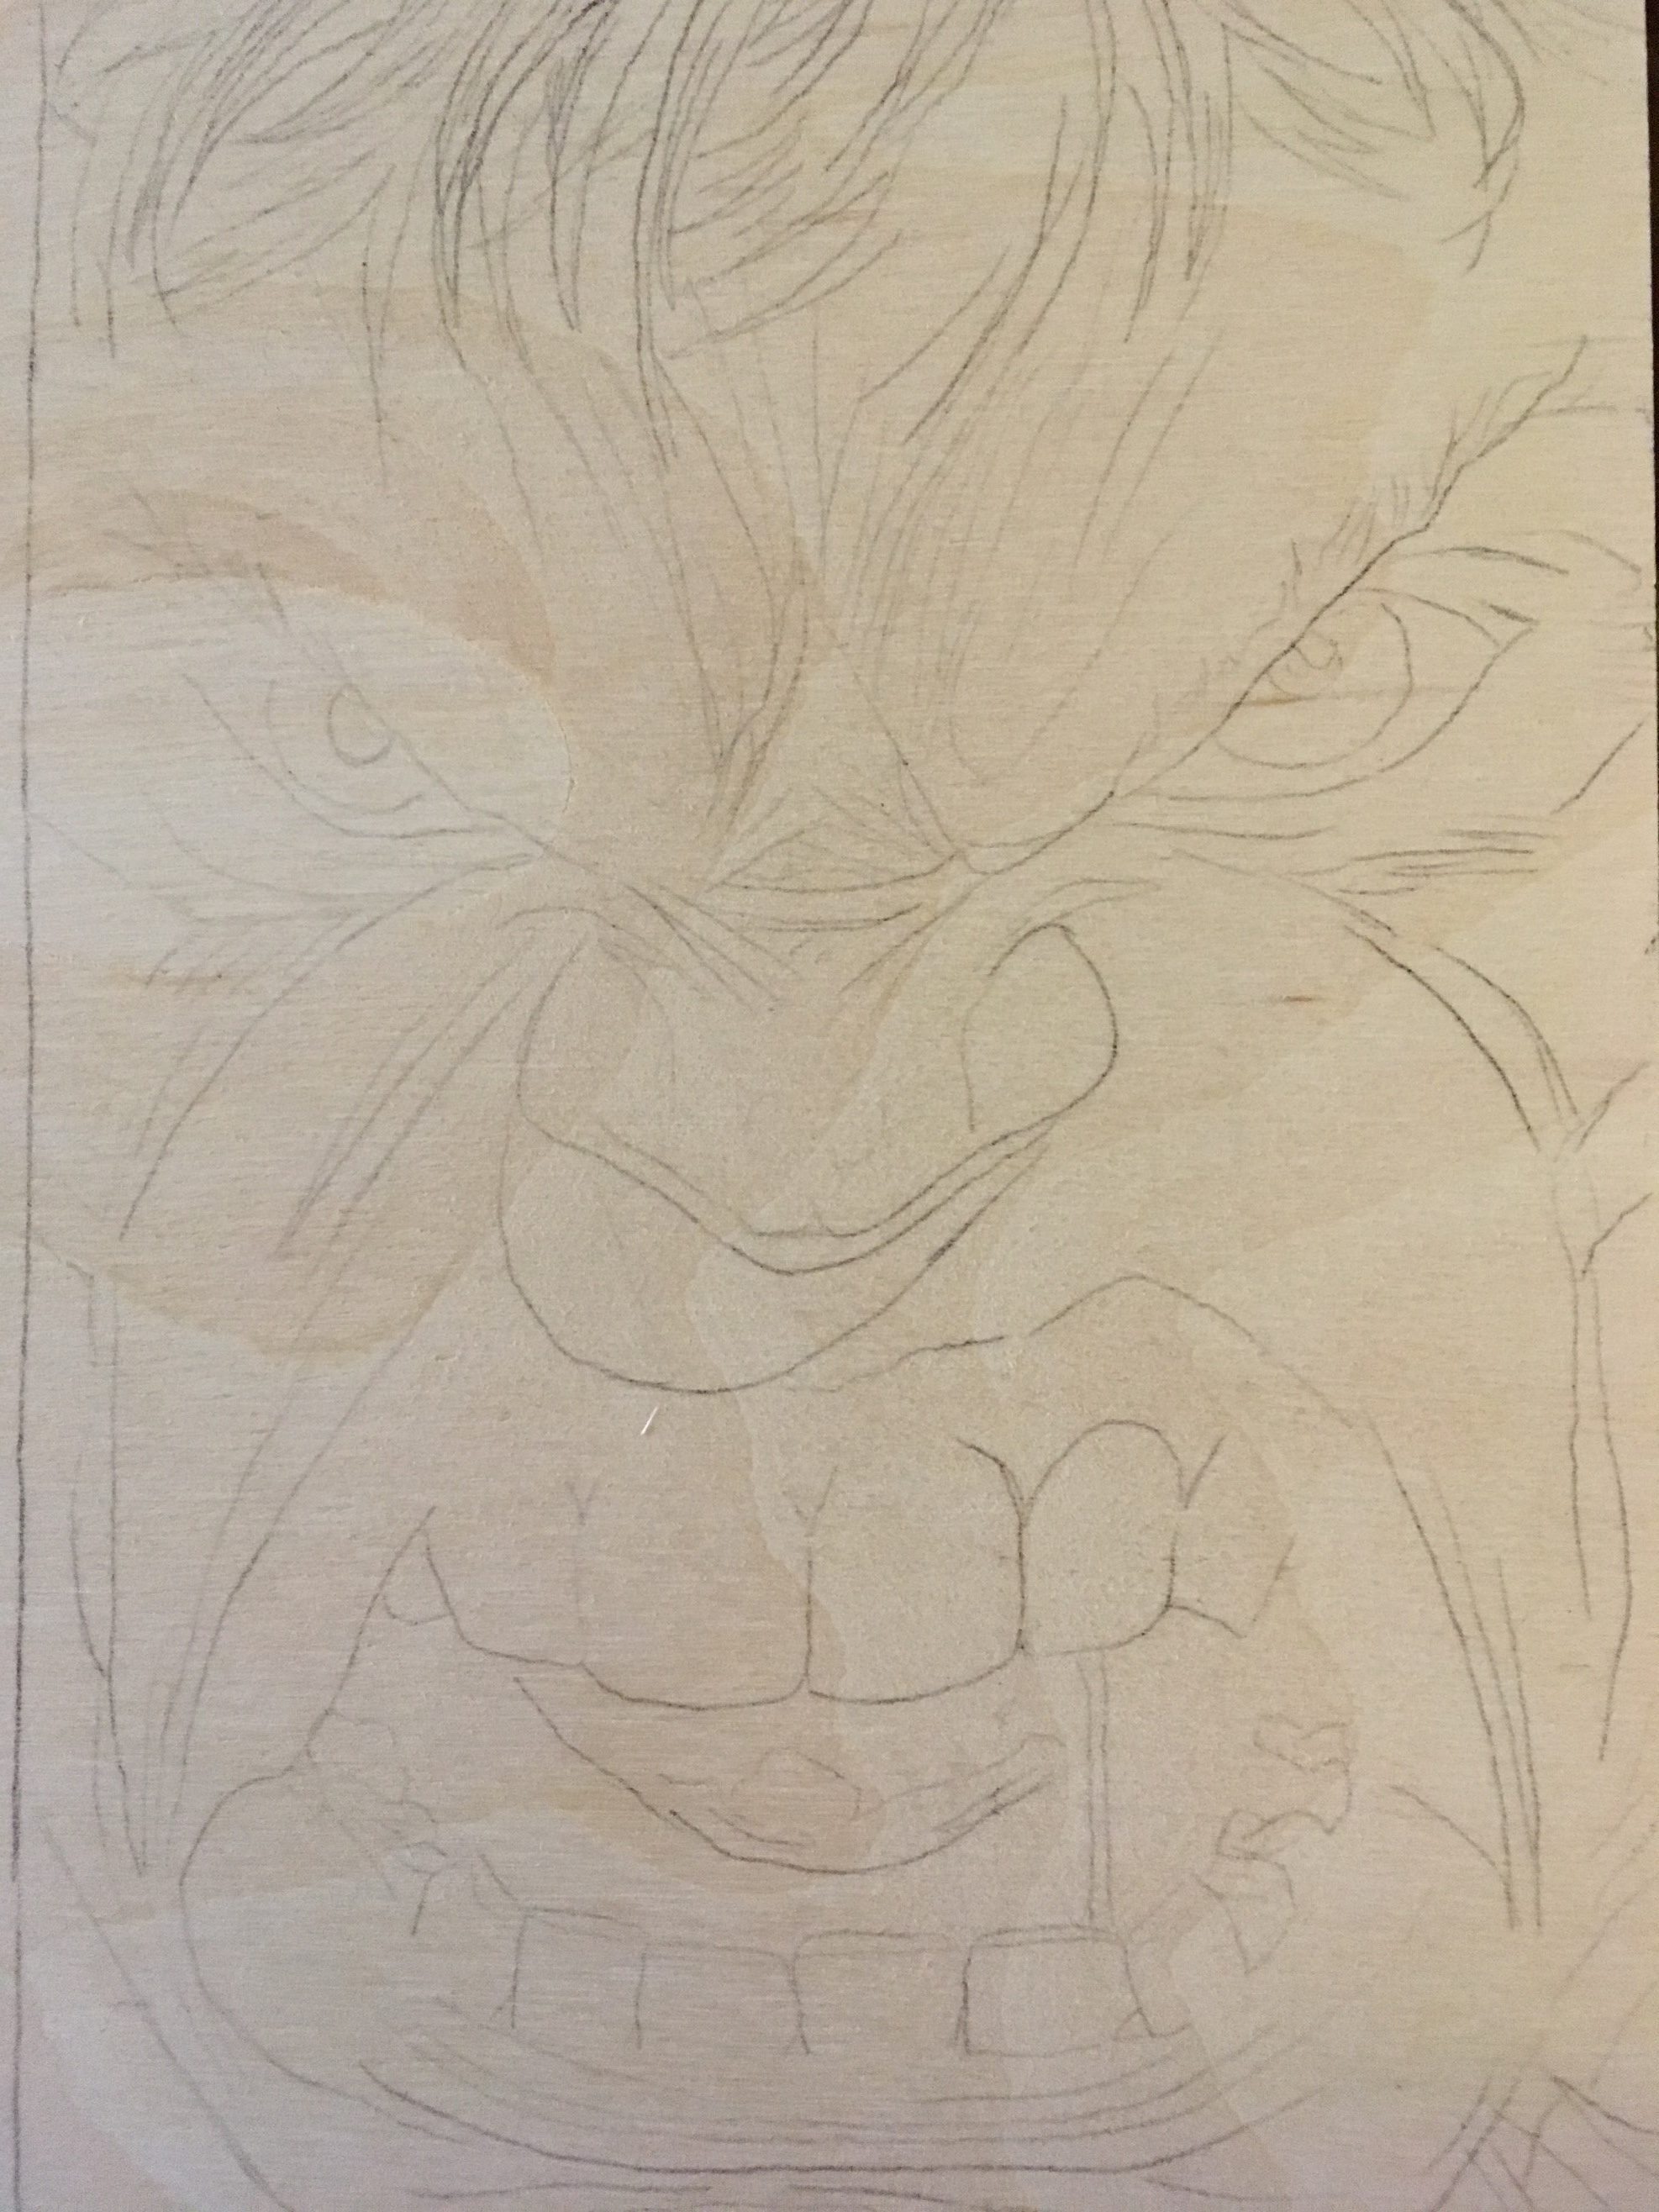
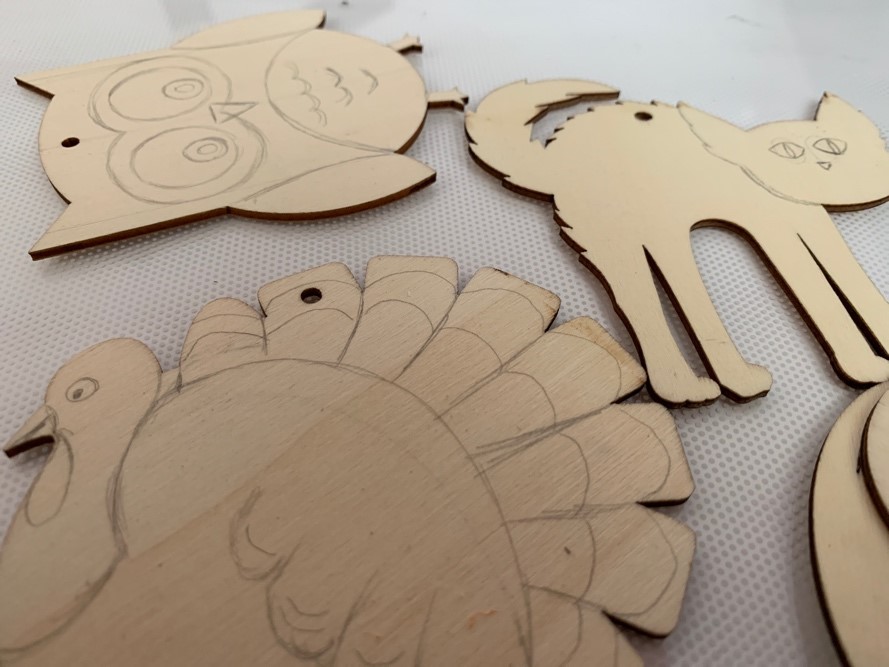
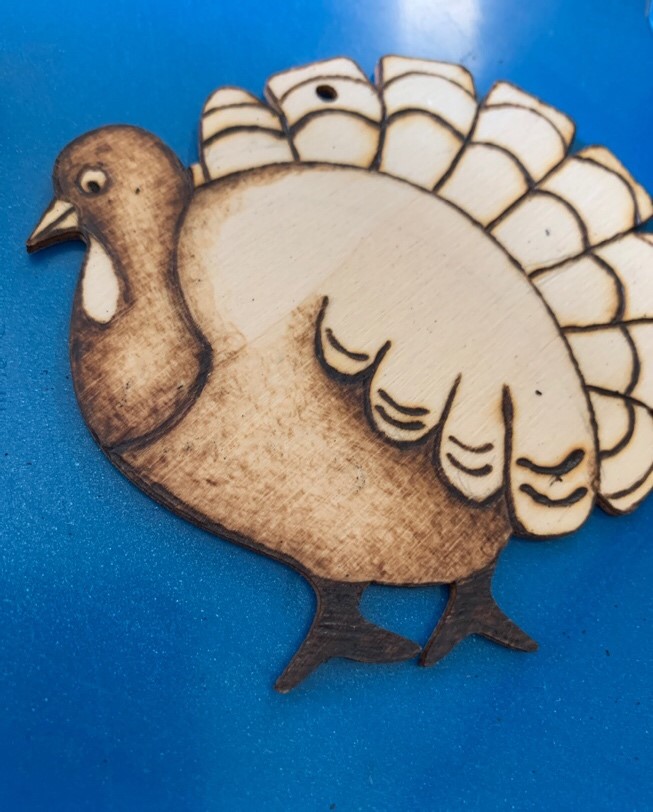
Once I opened my package, I looked up clip art patterns online to give me an idea of how I wanted to sketch out my design.


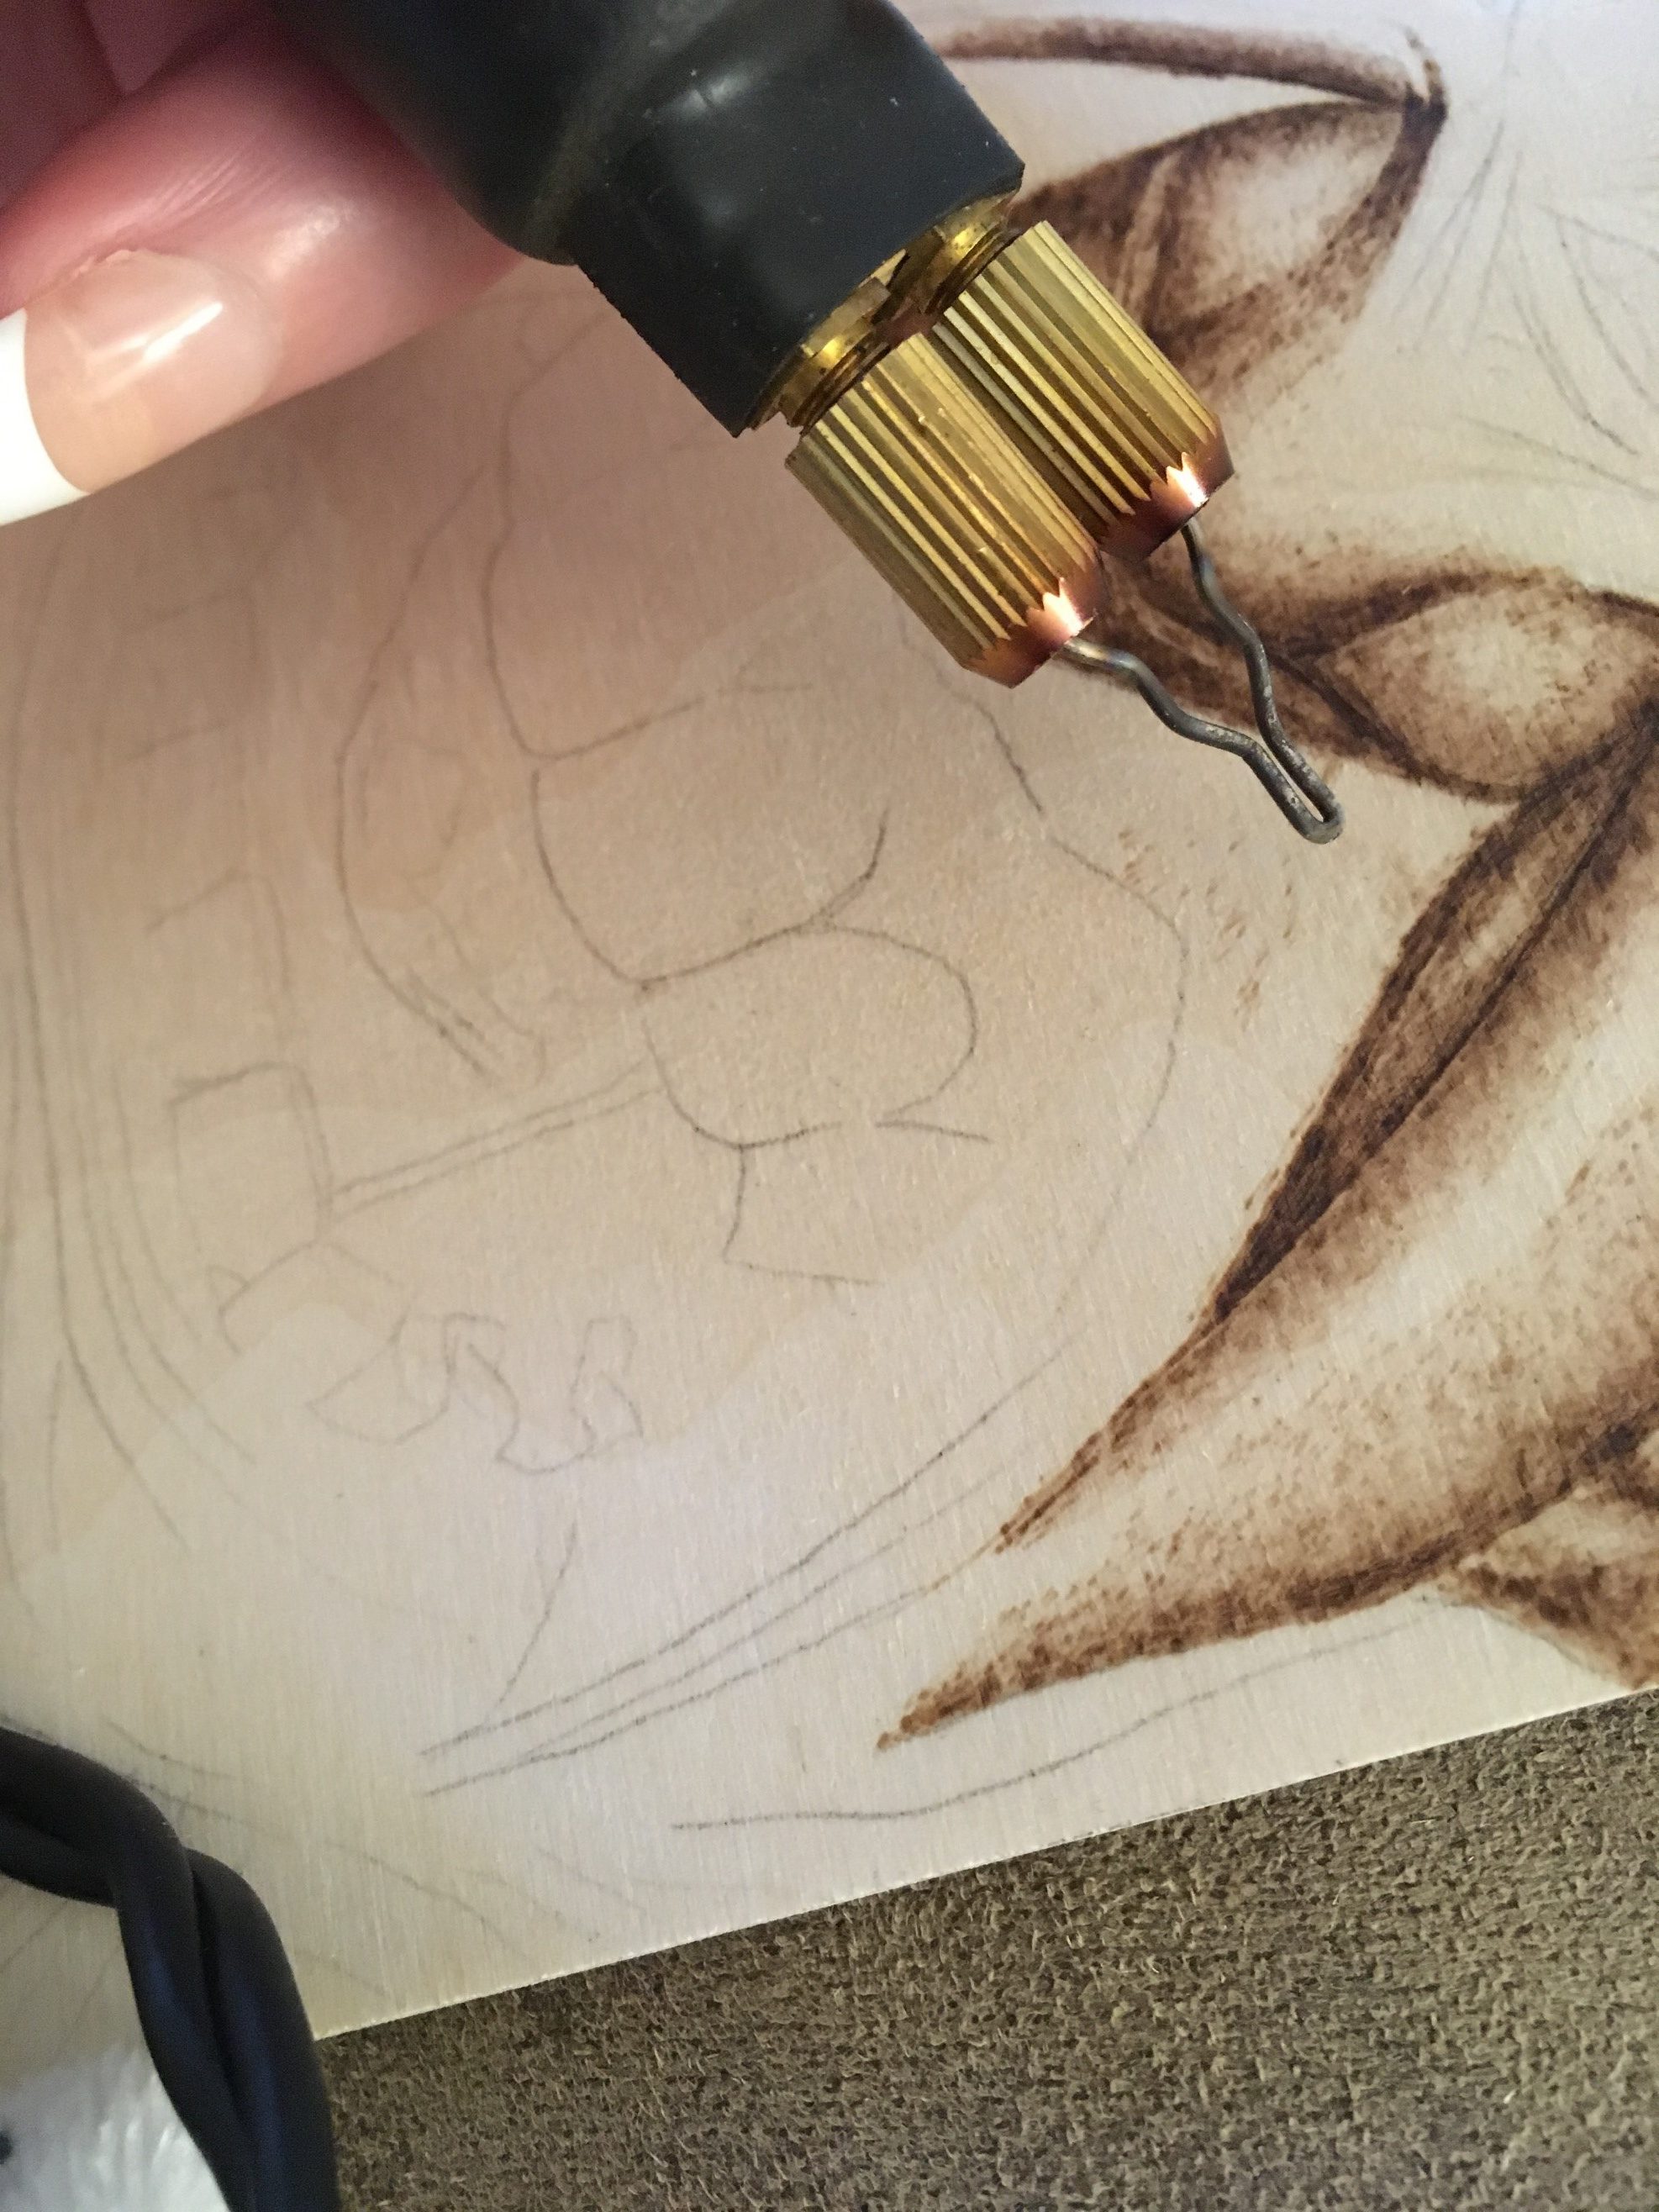
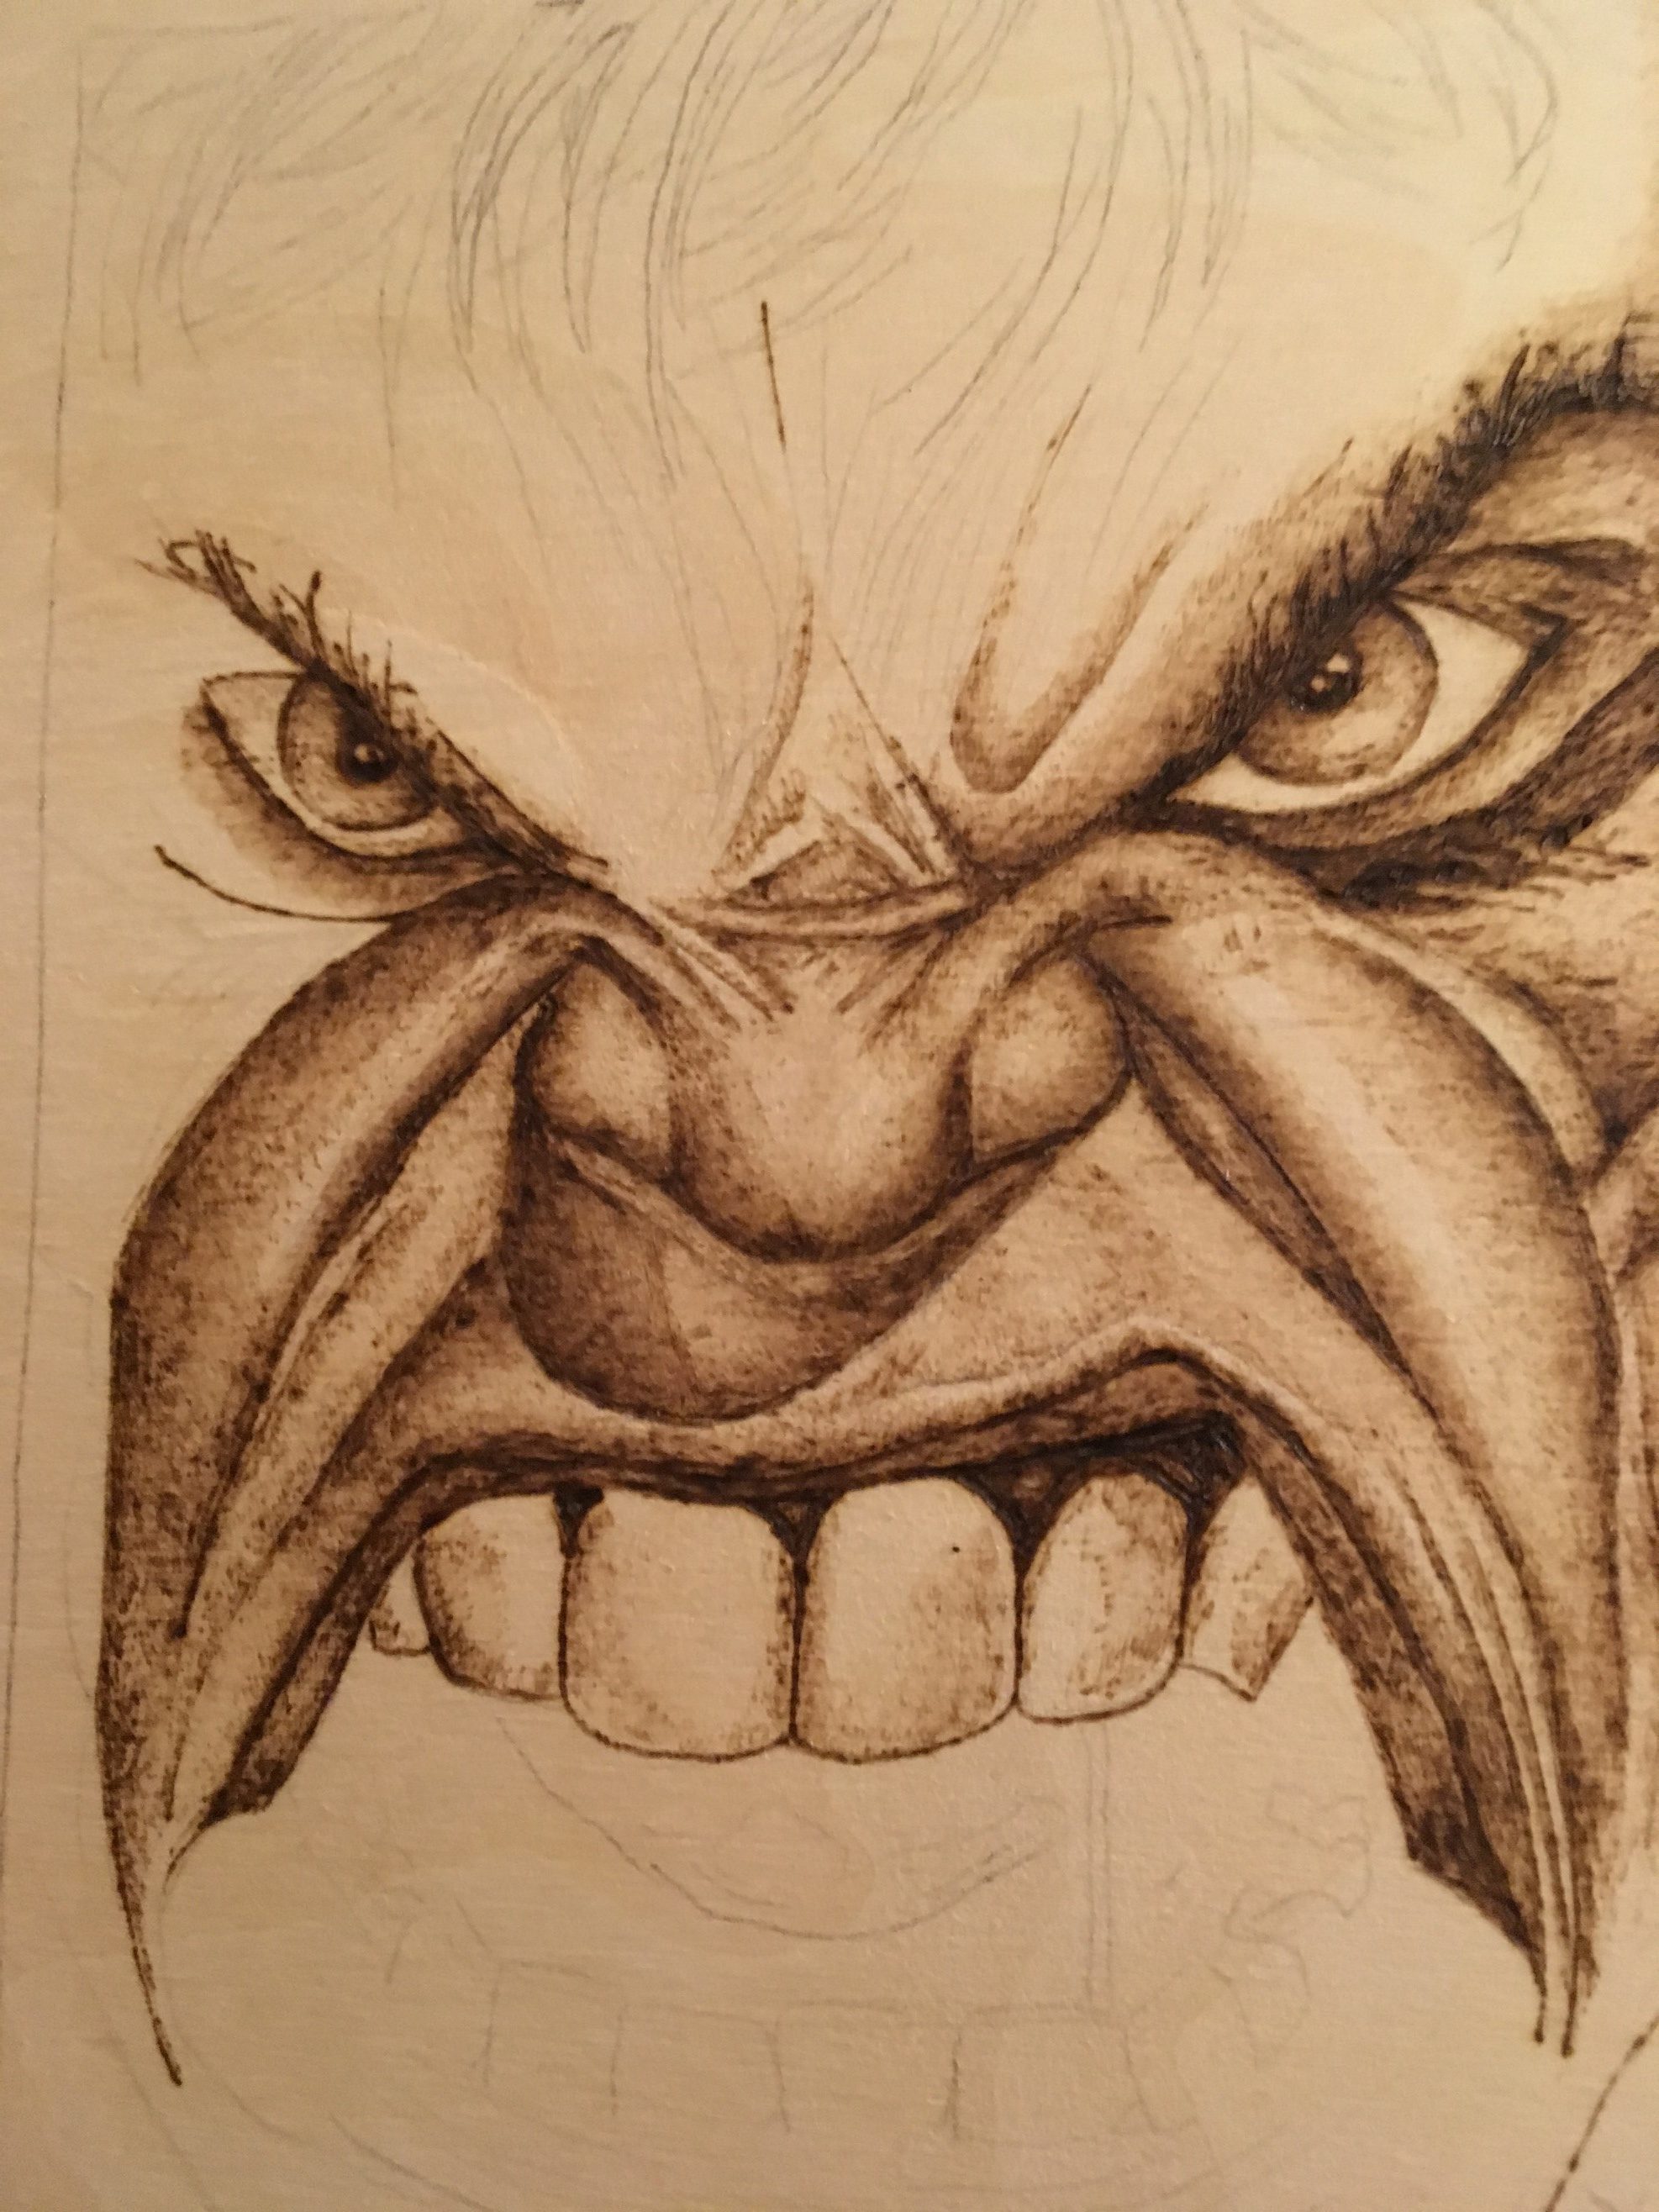
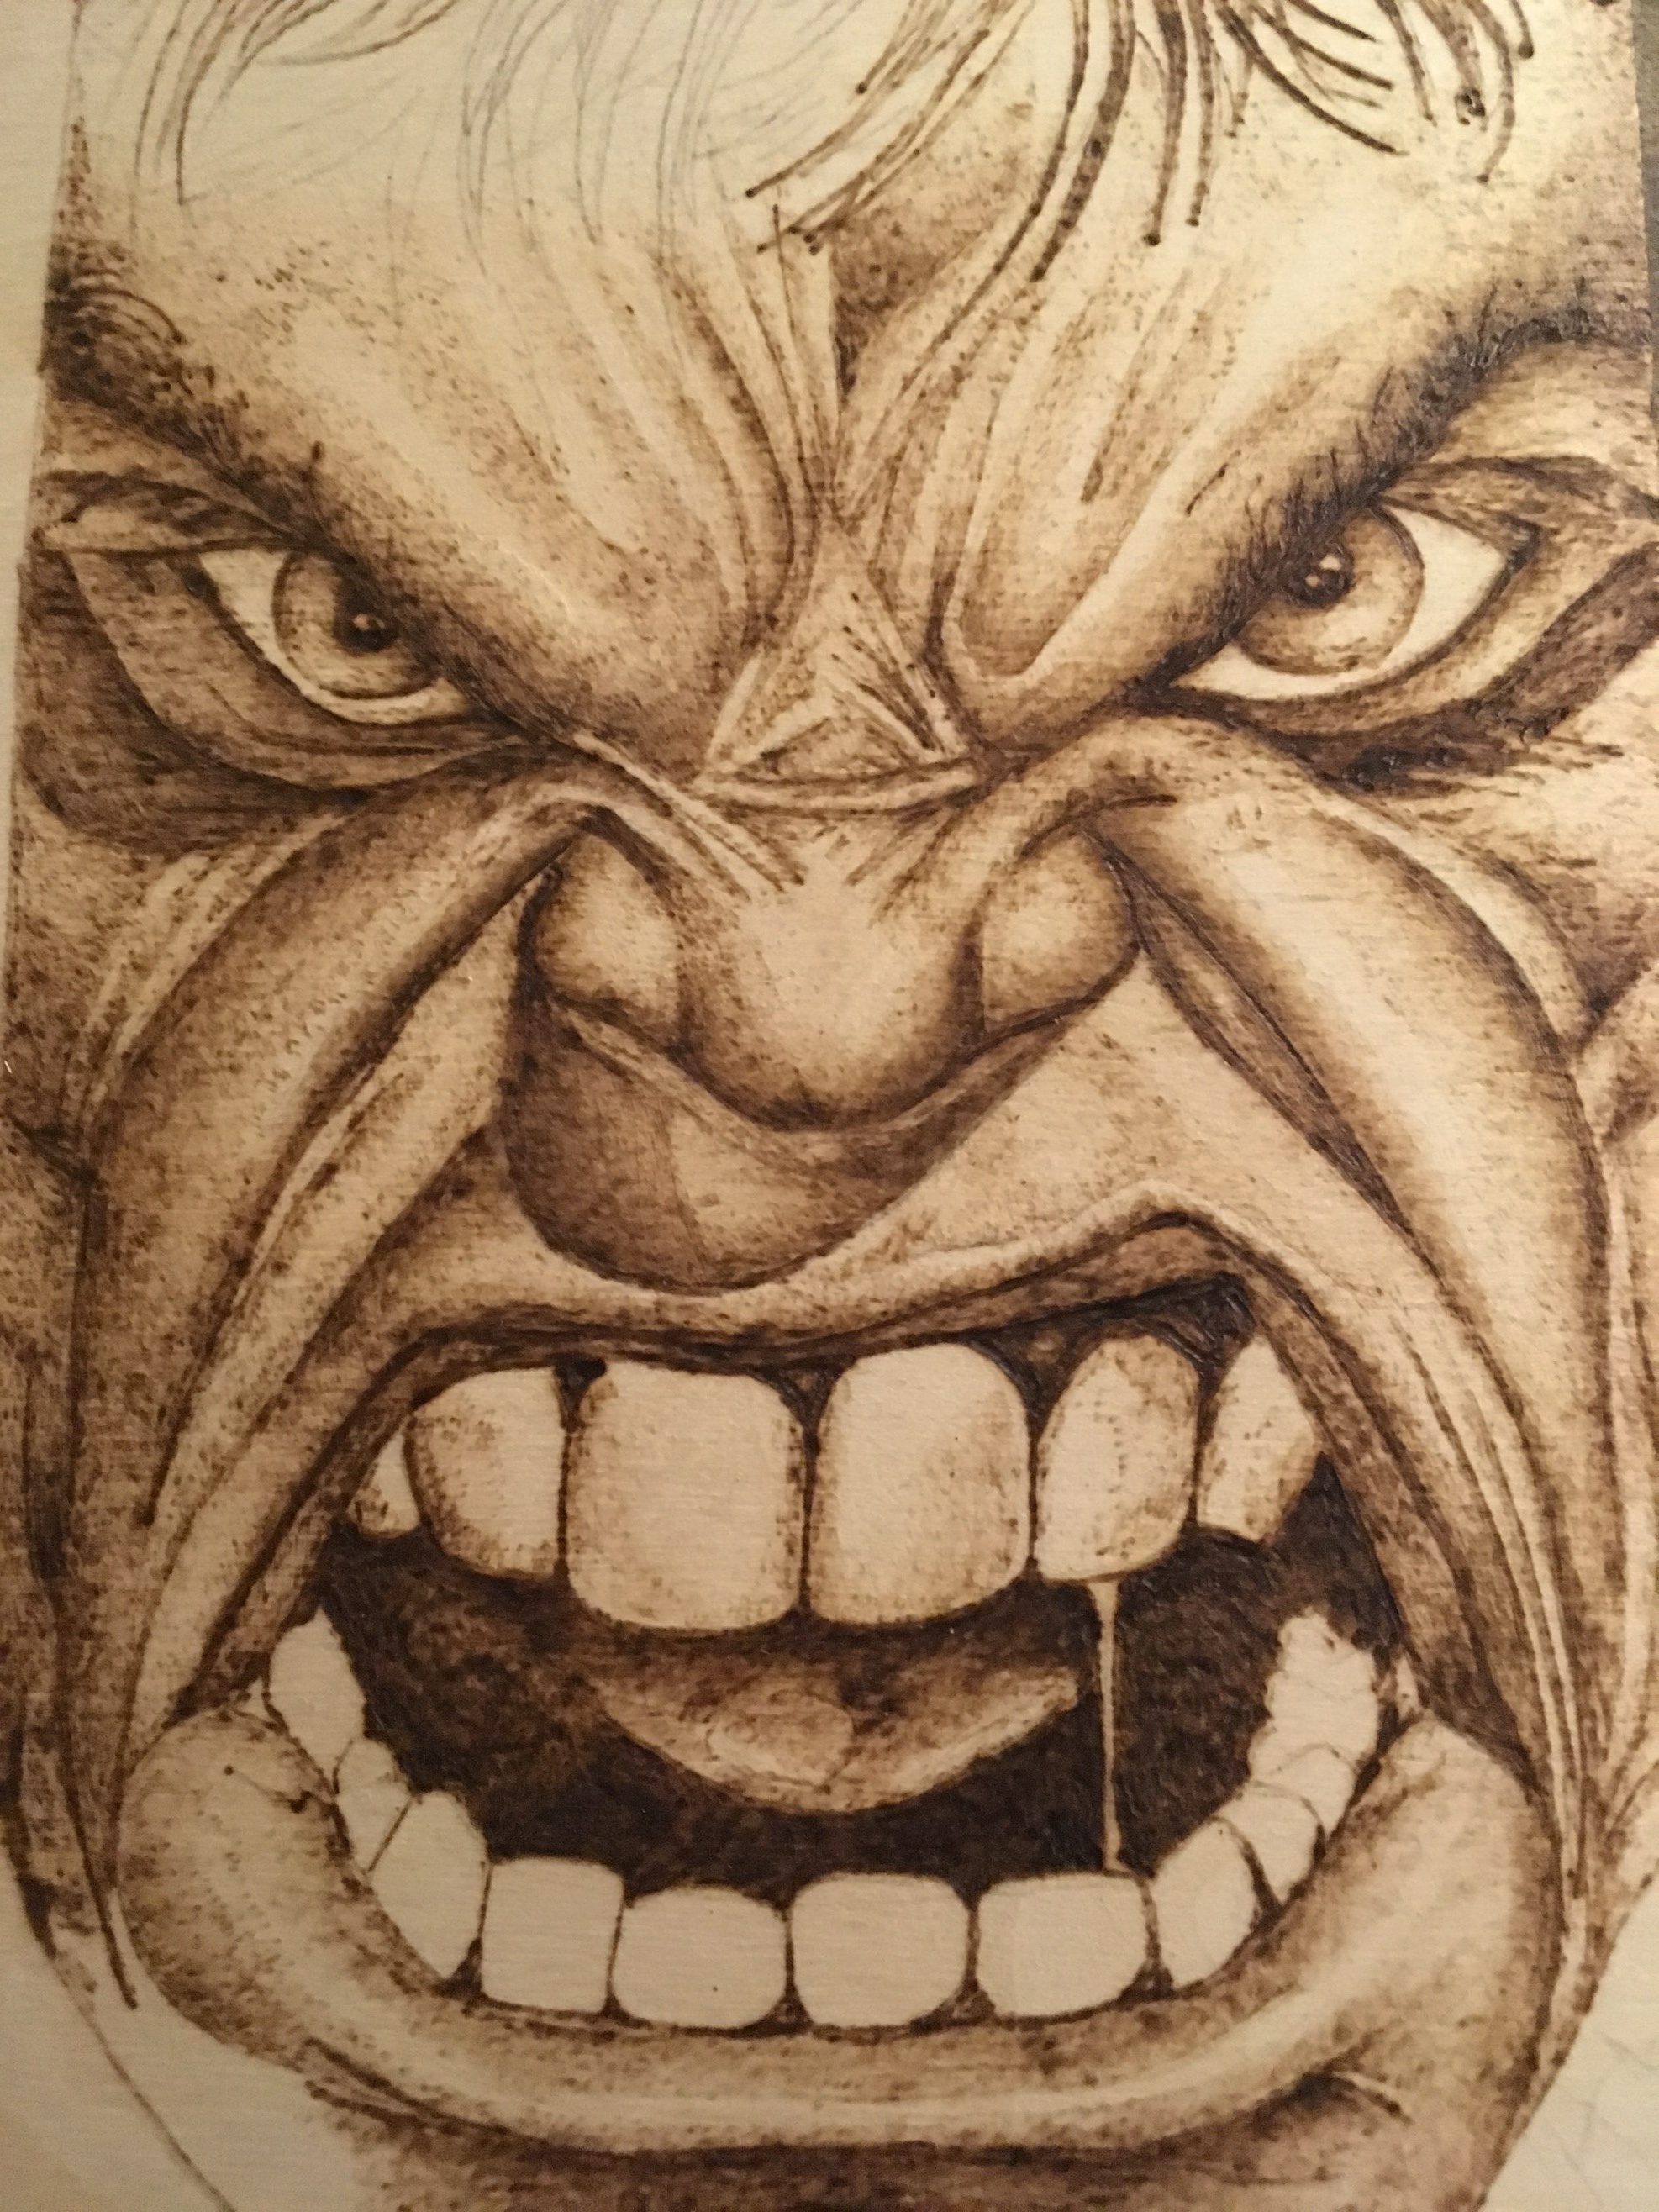
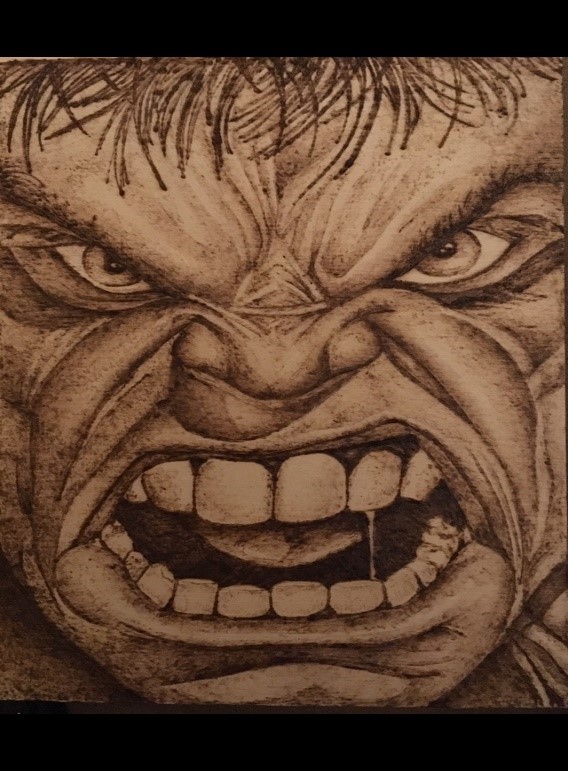
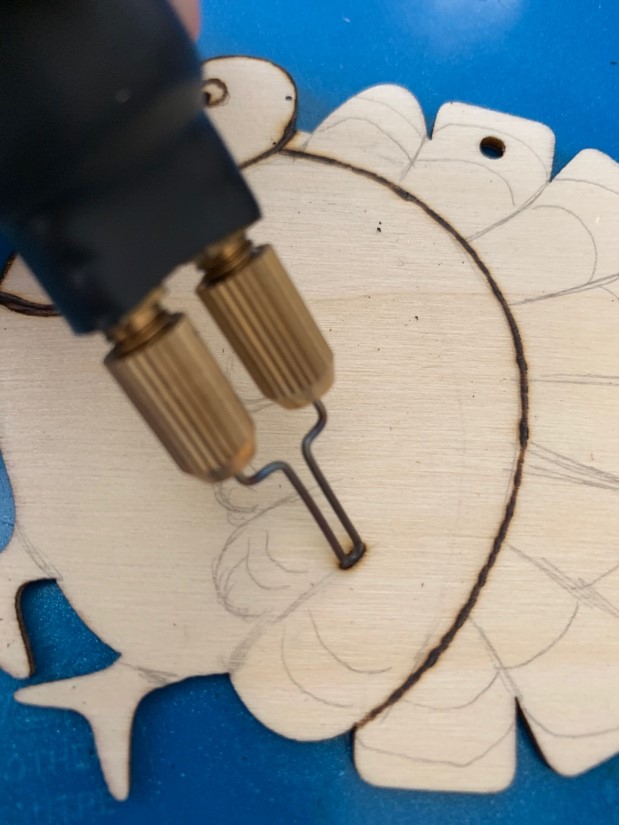
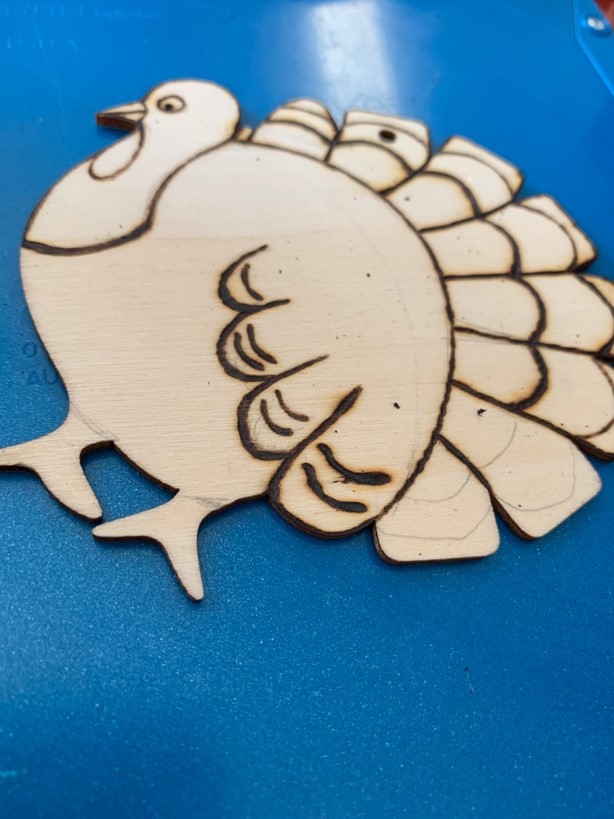
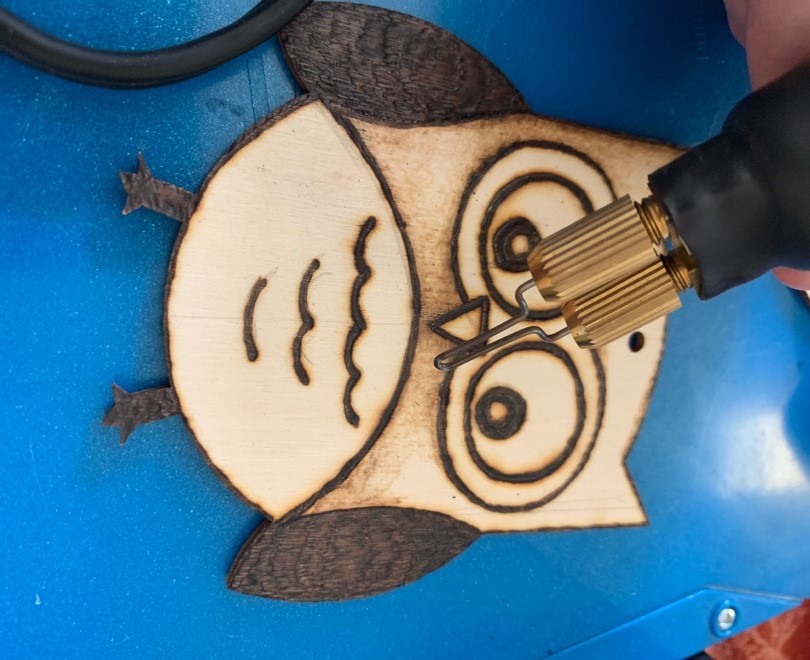
With my patterns picked and sketched on, I started the burning process.  I started with a thick bold burn outlining the outermost part of the wood and continued with a solid burn while tracing my pattern.

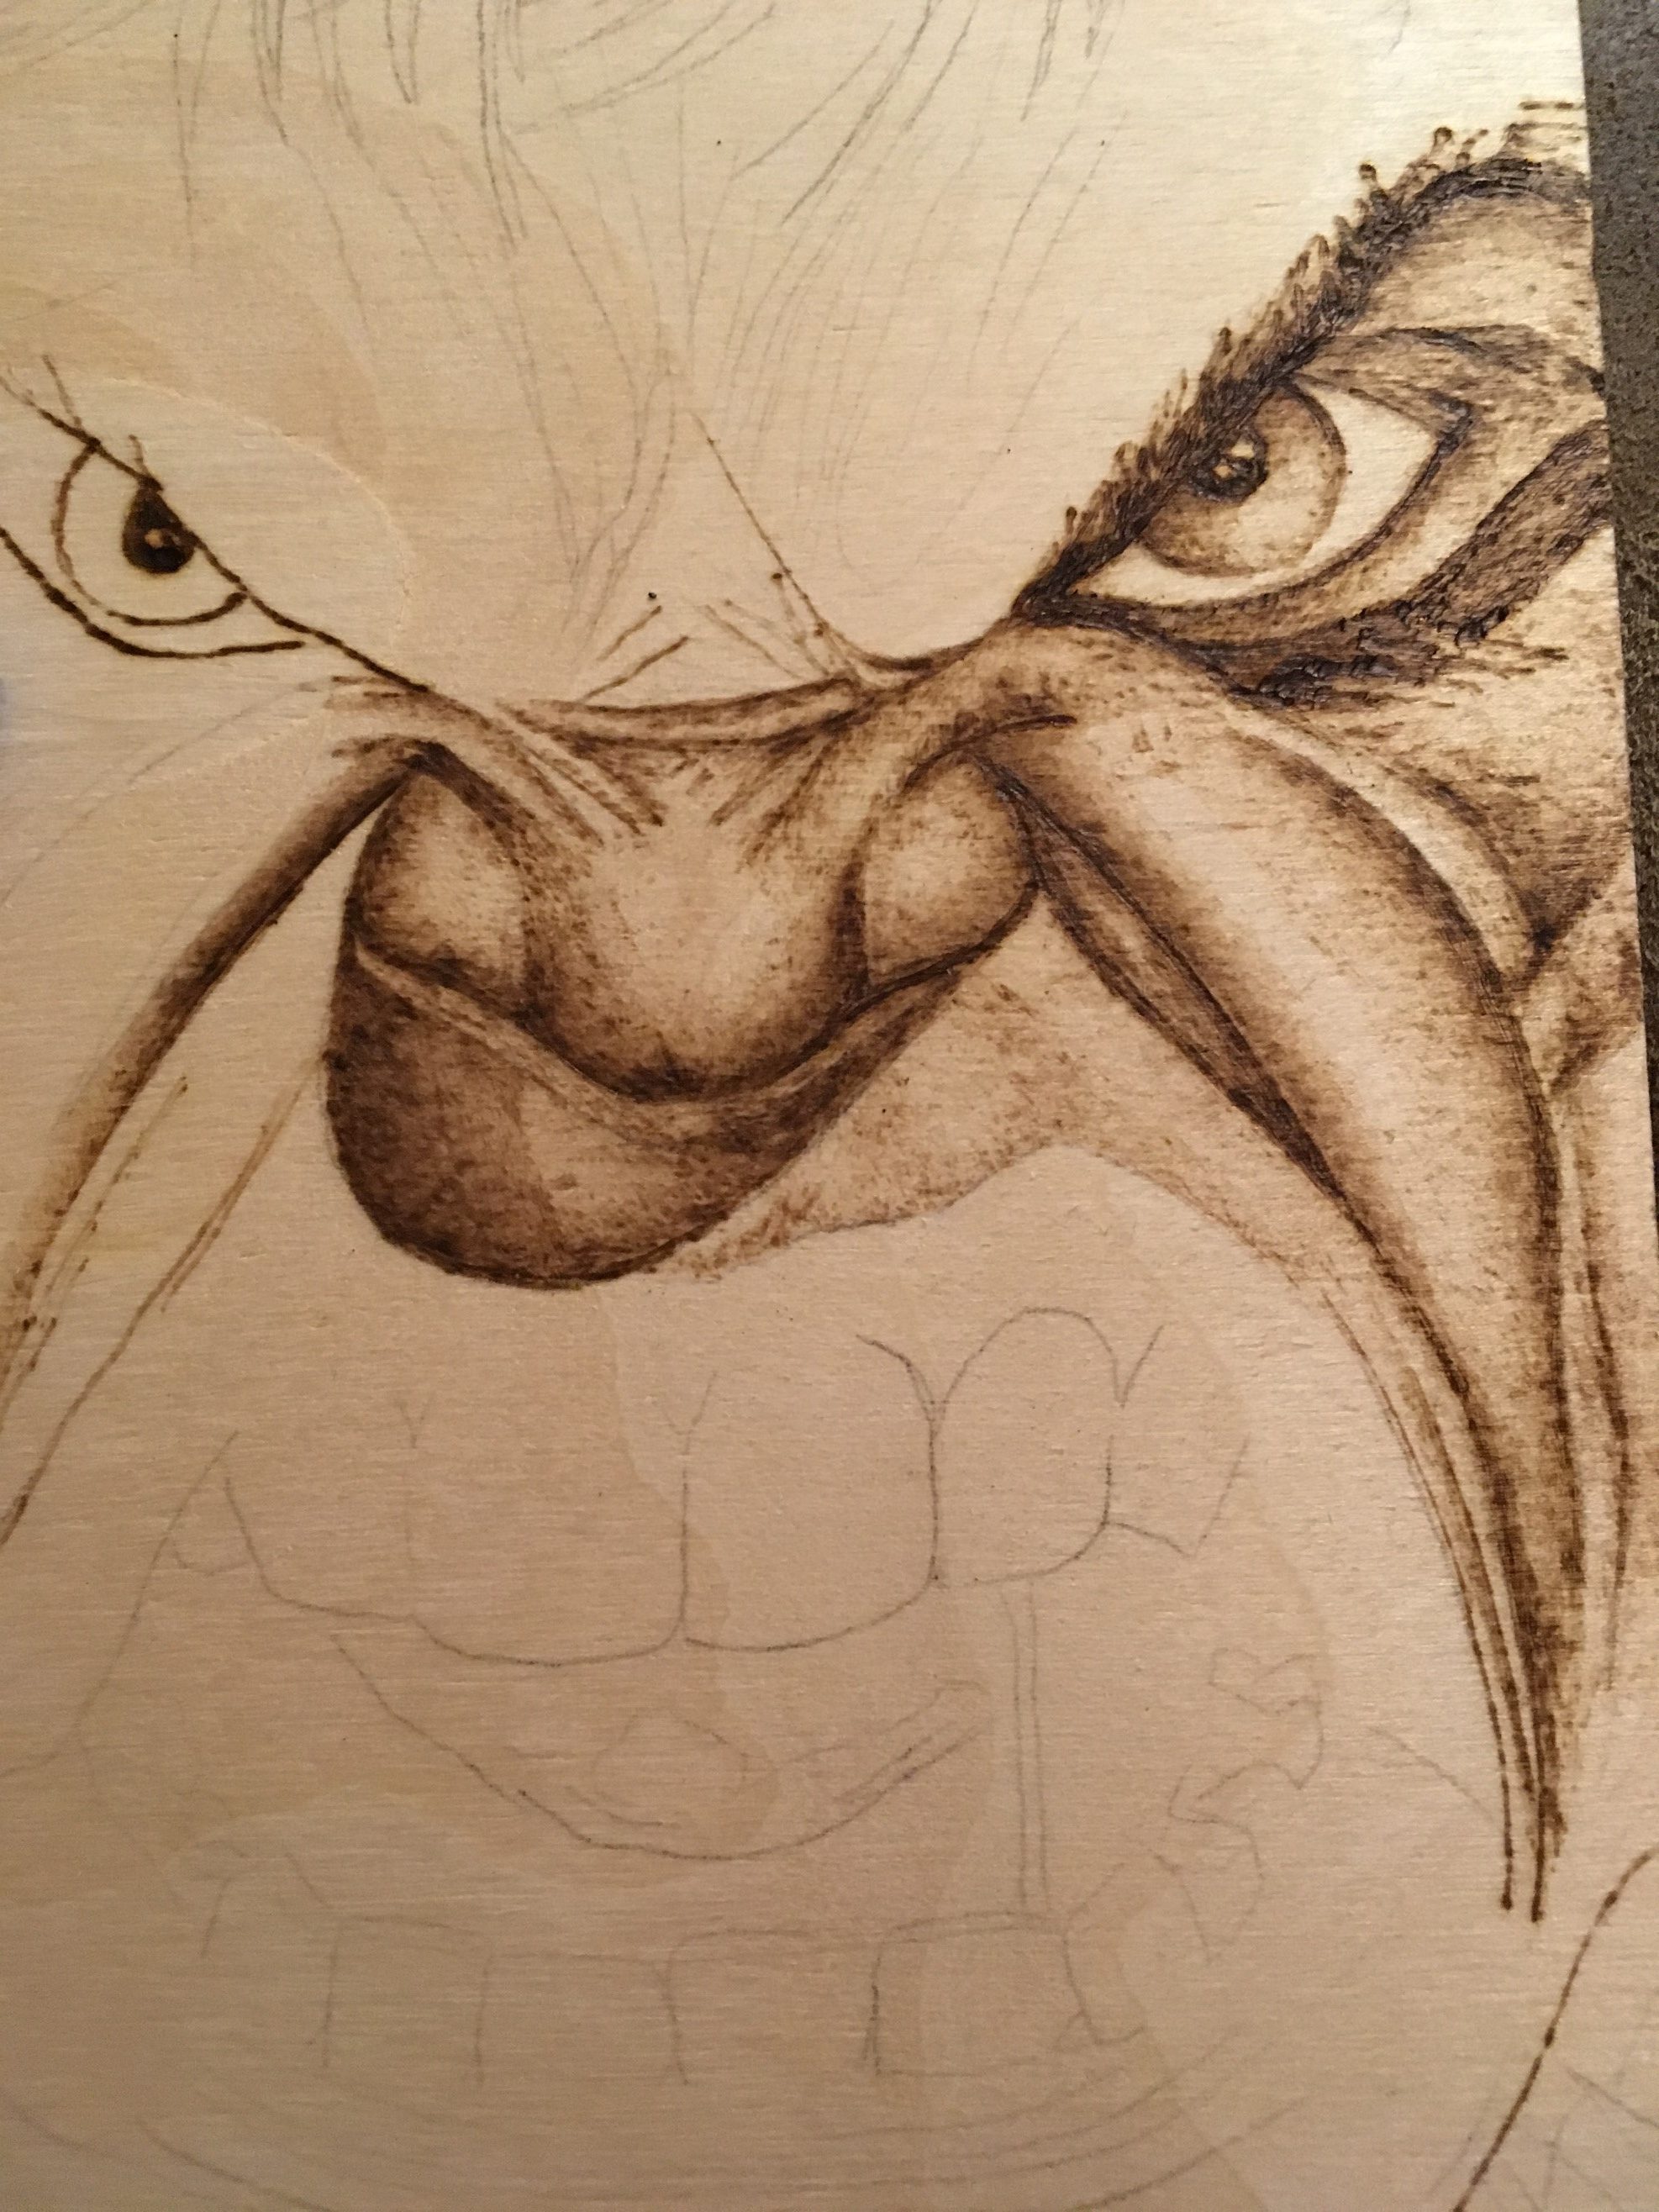
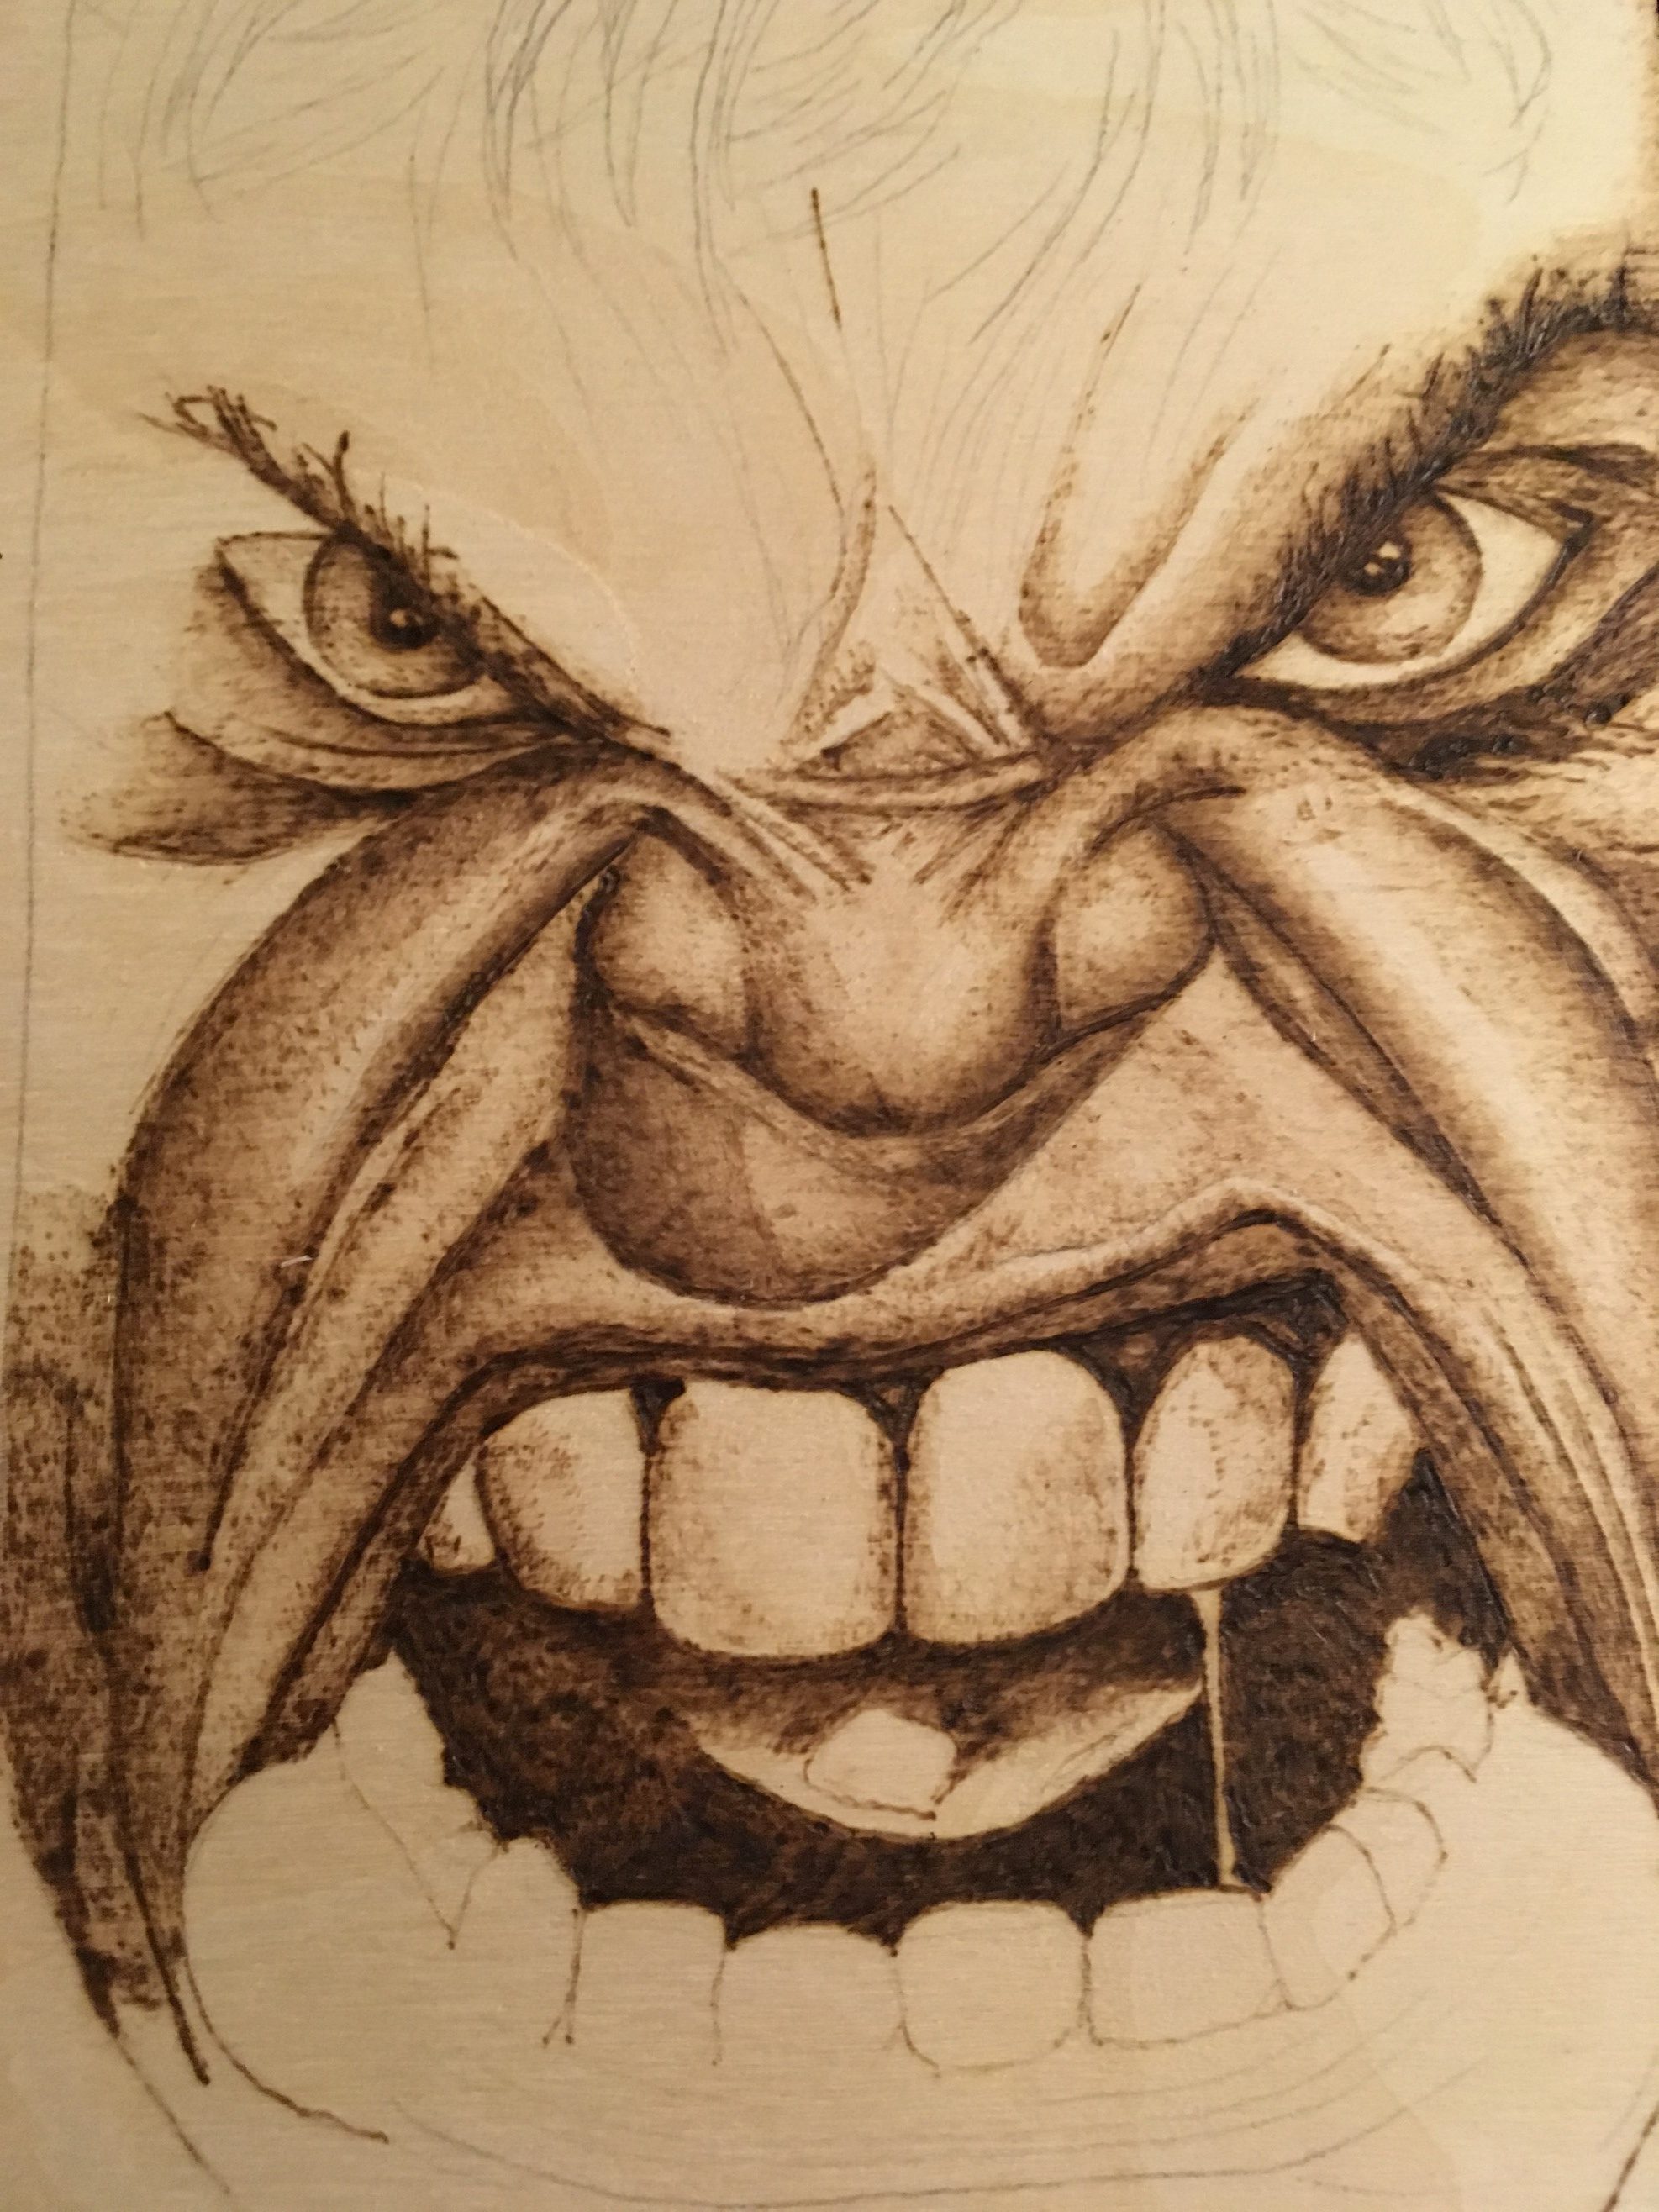
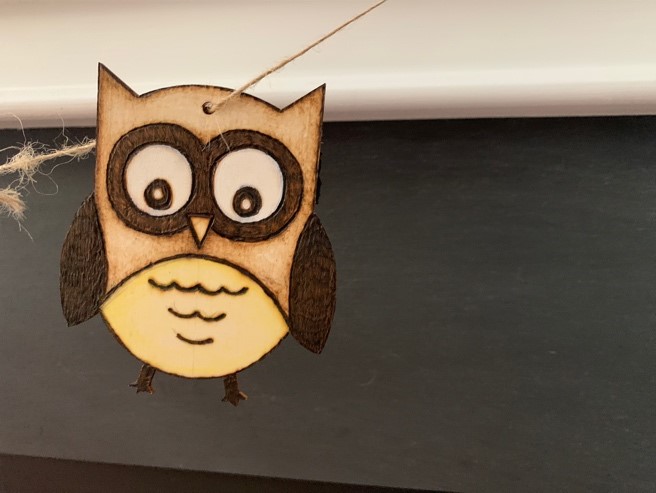
With the patterns completed, I began the shading process (please see previous post for shading instructions). If this technique is too difficult, you can always fill in the empty space with colored pencils.

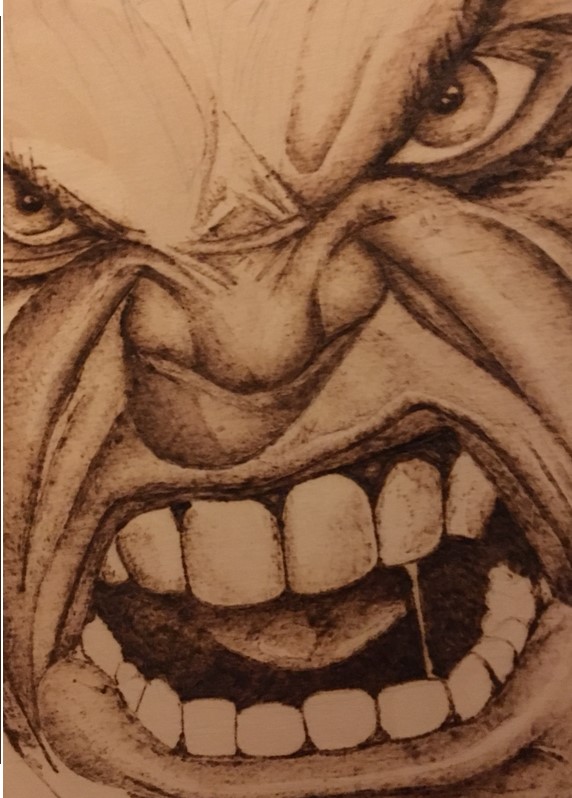
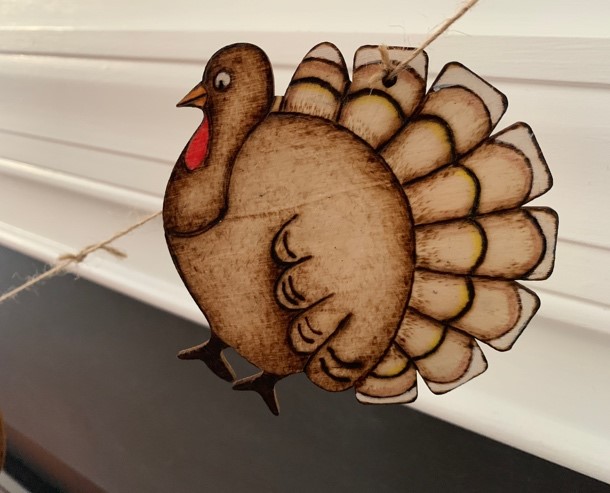
For the areas needing white, I used a white paint-based marker. The paint markers work great since they don’t tend to bleed when applied to the wood. I tried to keep my colors soft so I added touches of color with colored pencils to enhance each character.

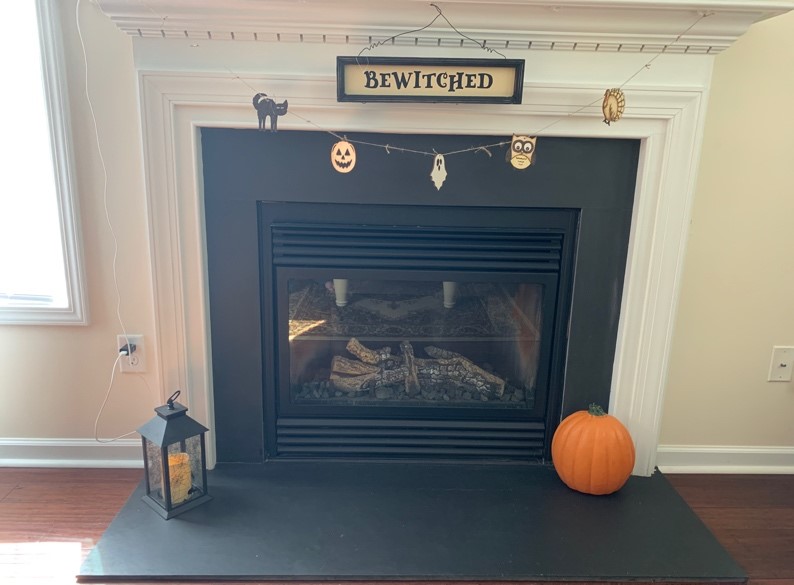
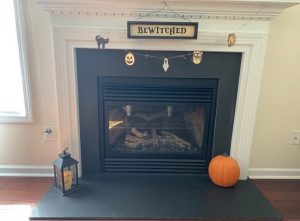
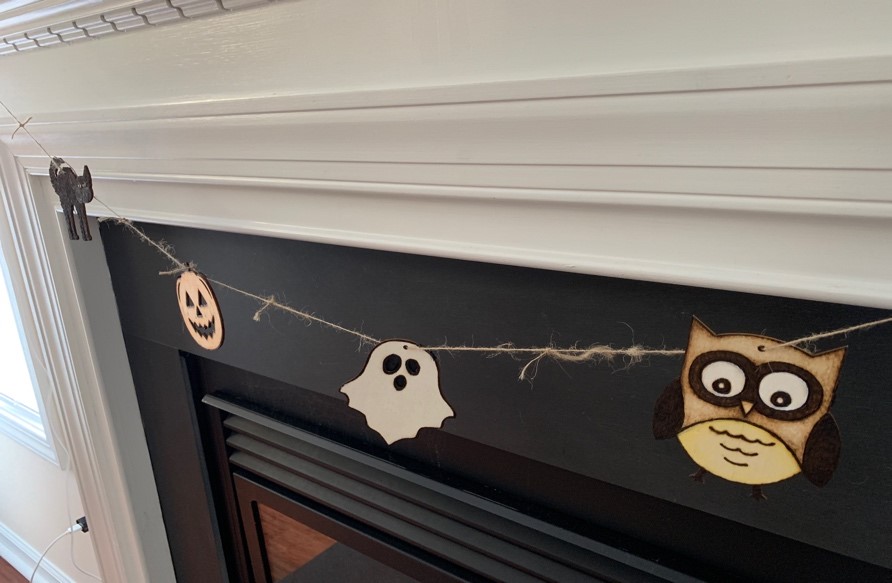
Once my cutouts were completed, I tied a string through small holes and displayed the garland over the fireplace. As an alternate choice, you can also tie a piece of string on the wood and use them for tags, gifts, or to wrap around a napkin for a cute Fall tablescape.


I hope this has given you some fun and very affordable wood burning ideas. This is going to be even greater when you get everyone involved in it. Ask your kids what they would like to work on and watch their imaginations fly! This is one the best times of the year to take your pyrography pen out. Start creating fun and amazing décor with everyone!

If you have any questions or would like to suggest other ideas, leave a comment below and I’ll get right back to you.

See you next time.
Andrea Pate
Pate’s Pyrography

Posted on 6 Comments

Shading Technique in Pyrography

Shading is a challenging but extremely rewarding technique to master.  Shading gives your drawing depth and illustrates the various levels of darkness.  When you use this technique, you can make a flat image instantly have the realism of a 3D image.

When practicing, use a sample piece of wood.  Practice your shading by using simple shapes or designs.  Another useful tip is to study black and white photographs to observe where the light and dark values land on the image.

To start, draw your image or design onto the wood.  With pyrography, there is no room for error.  All marks you make are permanent.  In general, you should start burning your image at a low temperature and gradually increase heat as needed.

When burning, always burn softly. To do this, do not press down hard with your pen or make solid harsh lines.  I like to burn on a low temperature and make small, tight, circular motions on the wood.  I continuously do this until I blend my markings into a light, even shade.  You should not be able to distinguish where the shading started or ended, you want it to all flow together. Do not outline your image completely with dark, solid lines.  The point of shading is to give your art realism and it also helps define an object.


When shading, you don’t want your dark value to be too similar of a shade to your lighter value. Sometimes, it helps to practice shading on paper with a pencil first.  This can help you get a feel of how to transition from dark to light values.

When burning, move your pen in a slow, even motion.  Add layers to your burning to give it depth. Increase your burner from a low temperature to a medium low temperature to the areas needing a darker value.


I hope these tips will help you master the art of shading.  Practice frequently and find what works for you.  Experiment with the different tips that are provided with your pyrography pen.  Different tips may help assist you with your technique. Most importantly, take your time. This is not an easy thing to do if you are not familiar with this skill.

If you have any questions regarding this technique or anything about pyrography shading, please leave them in the comments below and I’ll get back to it as soon as possible.

Good luck and see you next time.

Andrea Pate

Pate’s Pyrography