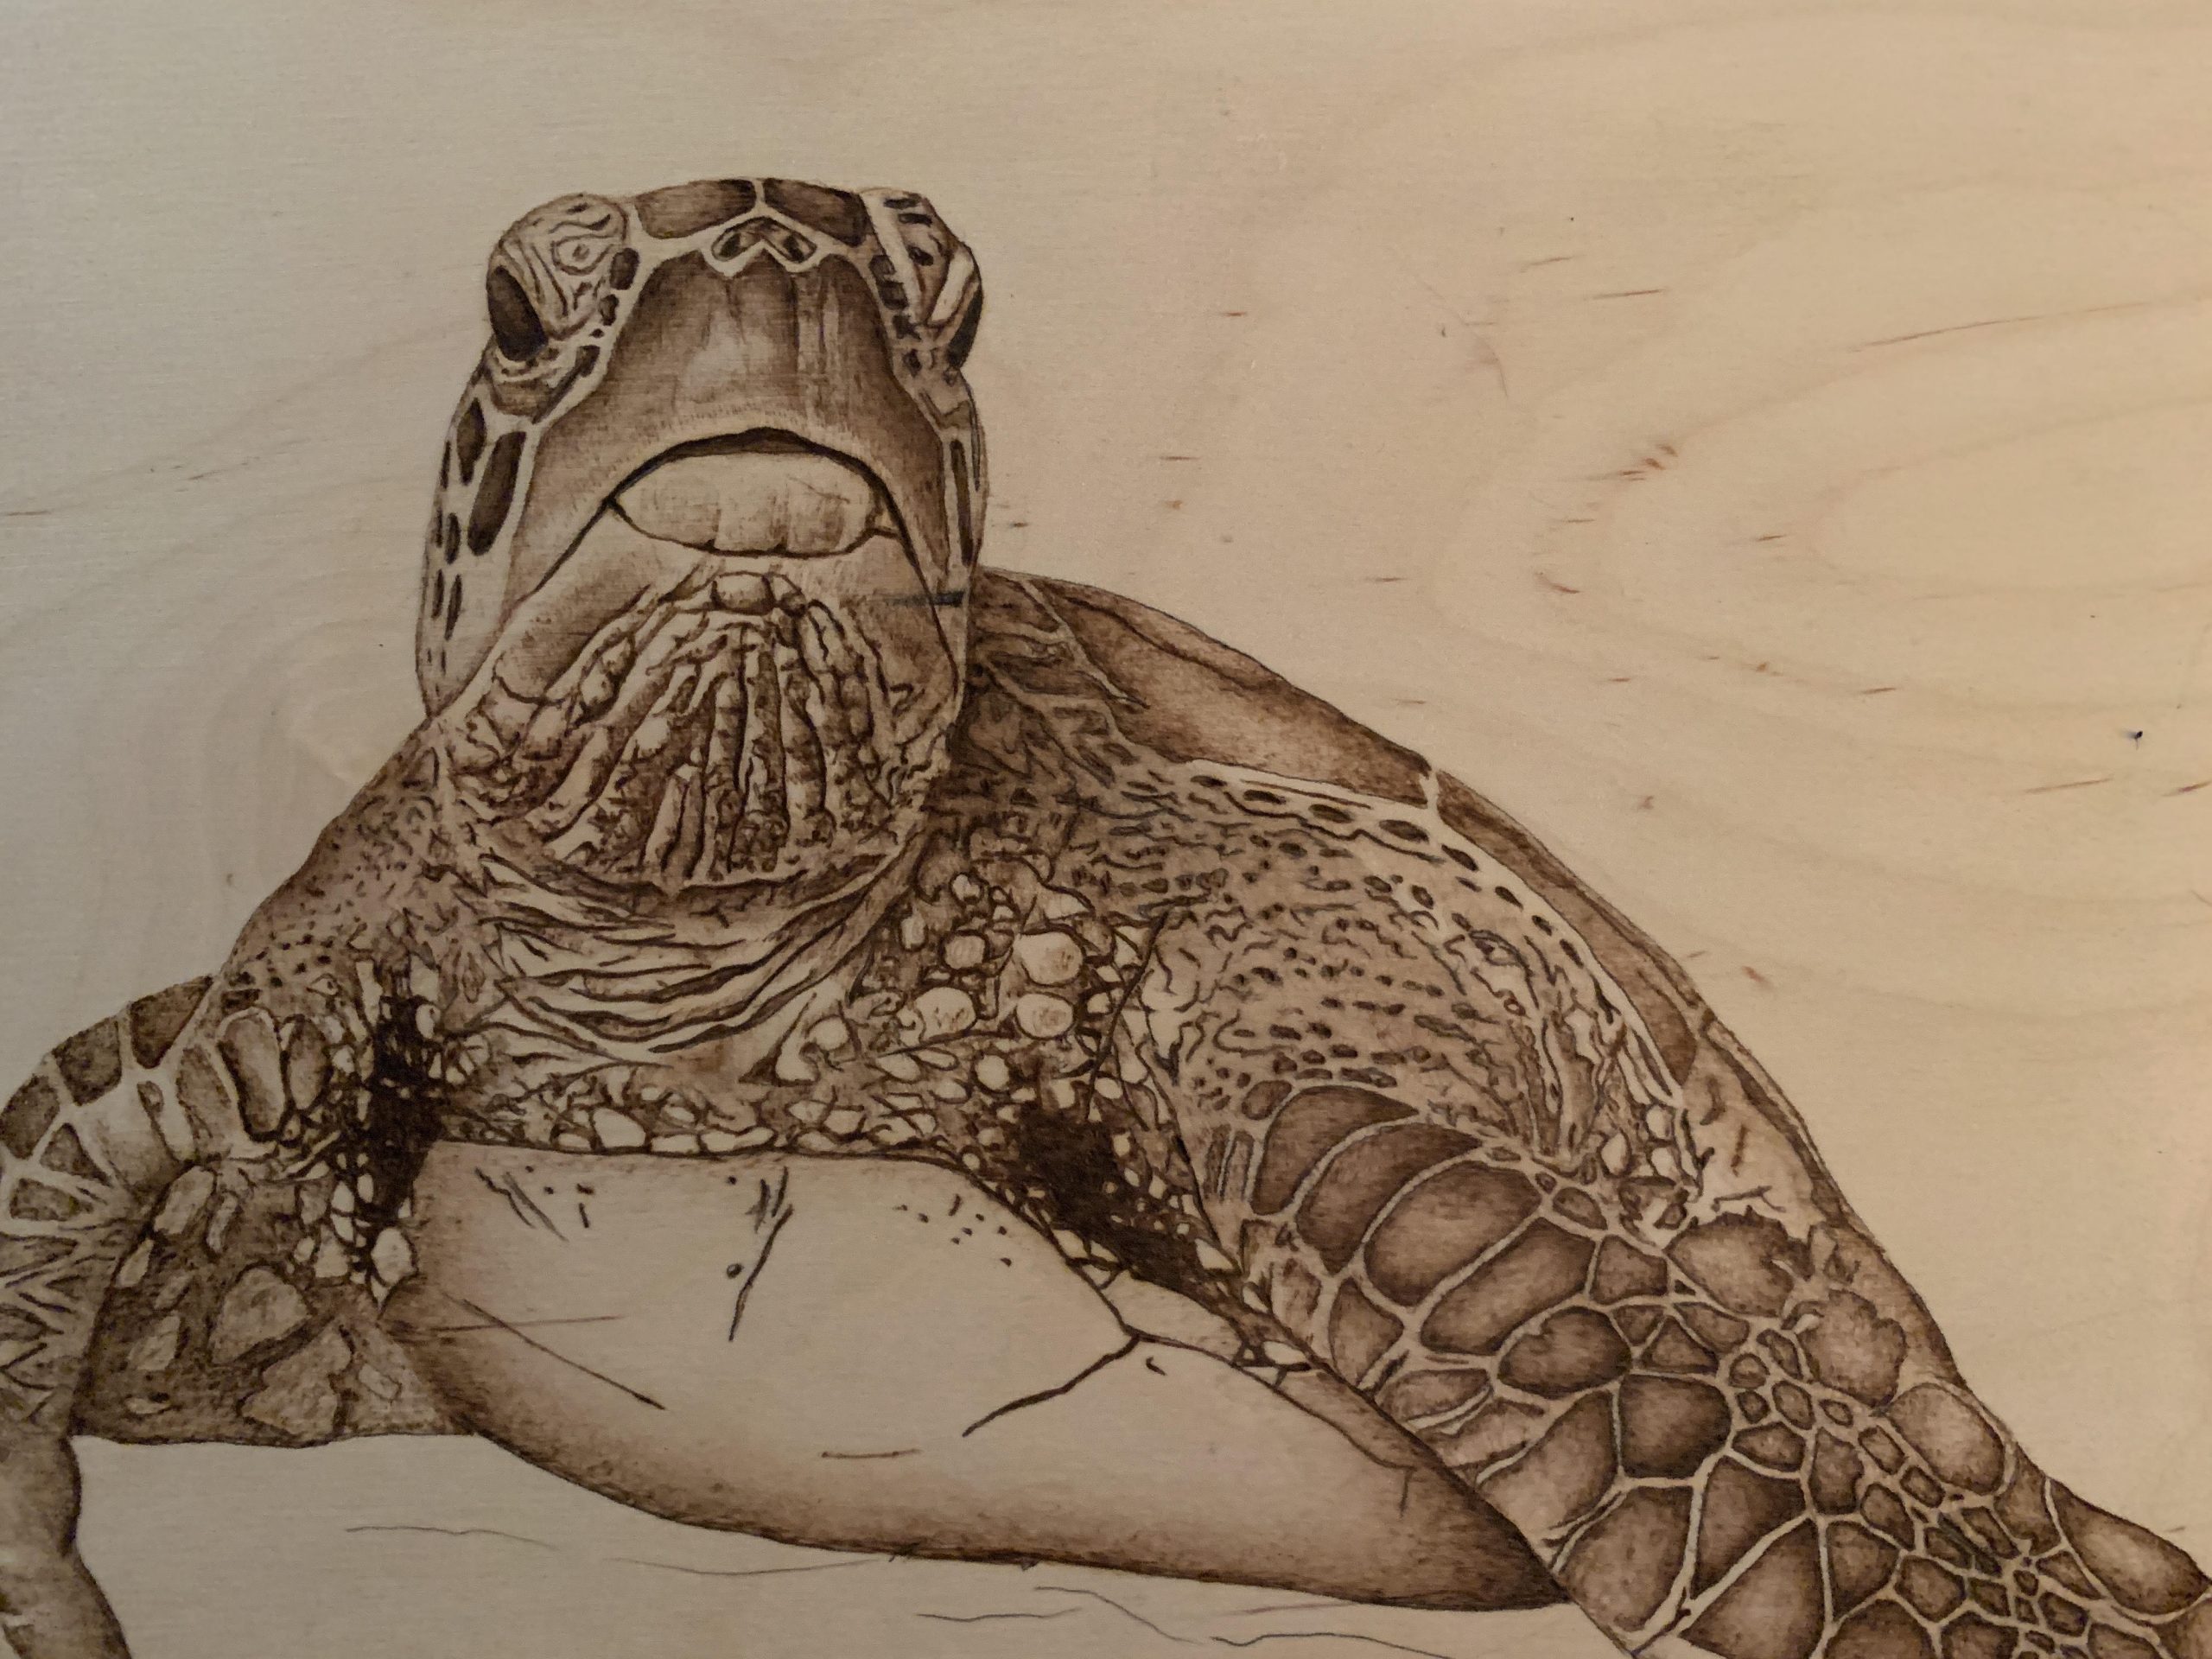
While the art of pyrography can be performed on various surfaces, different types of wood remain to be the most popular medium. This natural “canvas” comes with many characteristics that cannot be found in any other material. Grains of different shapes and sizes, various wood sap consistencies, and the plethora of hues can all pose different challenges for the artist. But when these challenges are overcome, the result is a unique and lasting piece of art.
It is therefore important that artists have at least a little understanding of the characteristics of wood and how to make the most of it be it your wire-nib pyrography pen or solid-point pyrography pen. This also includes knowing whether it is safe to work on certain pieces of wood or not.
Here we will cover the basics in relation to pyrography and these include:
- Hardwood
- Softwood
- Plywood
- Treated wood
- Untreated wood
- Wood tones
Hardwood
Hardwood comes from flowering, seed-producing trees that are from the angiosperm family. They are often from the deciduous species, which typically display annual growth rings. Oak, maple, walnut, and hickory are just a few examples of the various types of hardwood. Hardwood is generally difficult to burn images on and is not typically the wood of choice used for this medium. There are certain types of hardwood that are actually softer than some softwood. Poplar is an example of a type of hardwood that works well for pyrography.
|
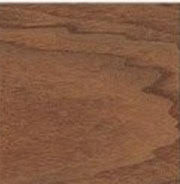
Walnut |
Oak |
Maple |

Softwood
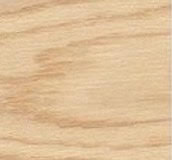
Softwood comes from the gymnosperm family and belongs to the seed-producing category as well. This is the preferred type of wood to use with pyrography. Basswood, birch, and pine are examples of some softwood that are excellent for wood-burning.
Logo is burned on pine
Plywood
Plywood consists of layers of wood veneers that are glued together to create a flat sheet. Plywood’s best features are its resistance to warpage, shrinkage, and water. Generally, it comes with both surfaces sanded. Since the Douglas fir is most commonly used throughout the US and Canada, this is another great wood source to burn your images on.

Treated wood
Before you start your burning you must first identify whether the wood you chose is treated or untreated. Treated wood consists of wood that has been painted, varnished, stained, and pressure treated. You also want to avoid any type of fibreboard. It is extremely dangerous to burn on treated wood. Inhaling the fumes that are produced by burning treated wood is toxic and harmful to your health. If at all possible, DO NOT burn on any treated wood.
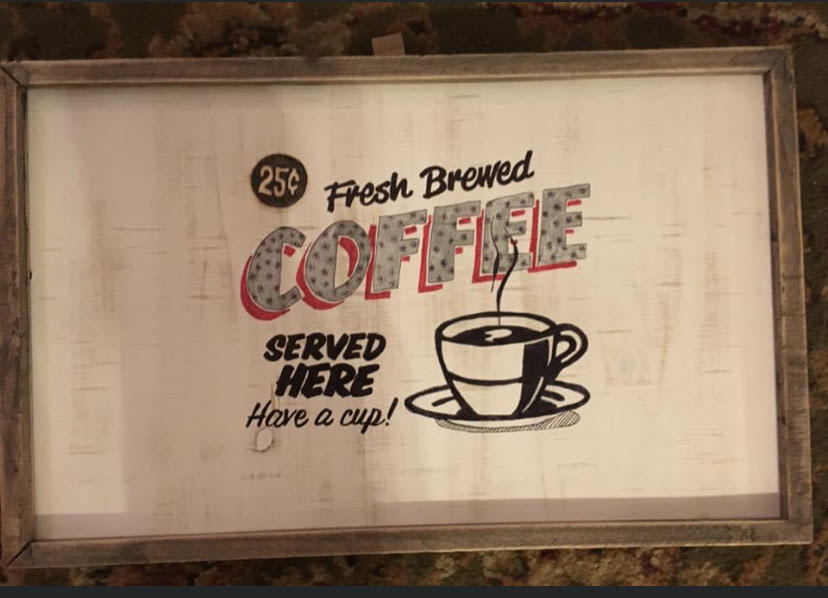
This Coffee sign had to be created with pen and markers because the wood is treated. Notice the wood is painted which was done prior to burning making this treated wood dangerous to burn on.
Untreated wood
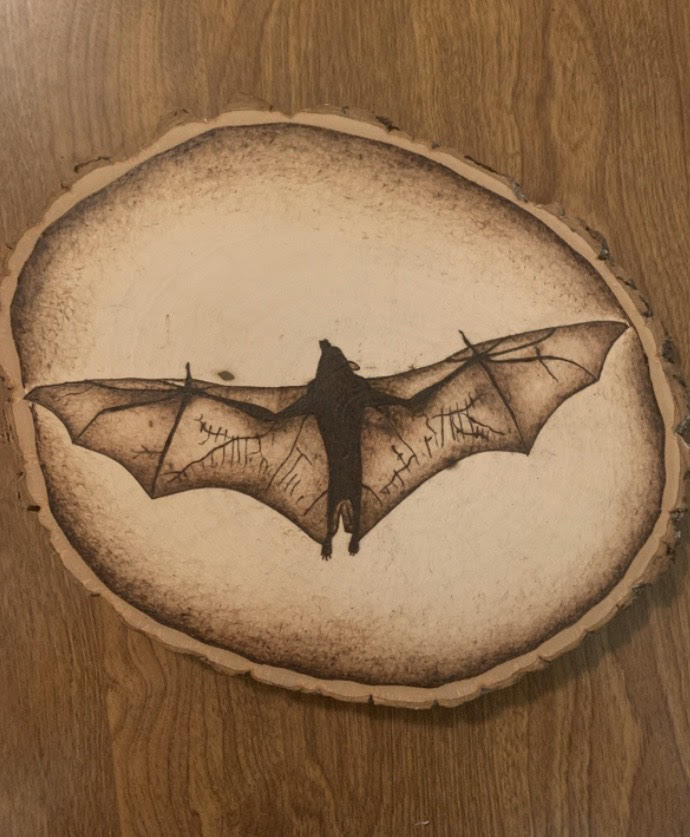
Untreated wood is wood closest to its natural state. You can find several pieces of untreated wood and your local craft and hardware store. Many craft stores have pre-cut wood pieces available for purchase to fit your needs. Lumber yards are also wonderful places to go to find freshly cut, seasoned, and reasonably priced wood pieces.
Wood color tones
The white soft layer of wood is called sapwood. Sapwood is formed between the heartwood and bark. Heartwood is the innermost part of the tree trunk. Heartwood color varies depending on the species. This is why we have a wide array of wood tones. Exposing cut, dry wood to light, specifically UV light, will darken the wood. Air, heat, and water exposure can also impact the color of the wood as it ages. Most wood will darken with age while others may change to a rust hue. Varnishes and oils can also impact the color of the wood. Working with a lighter shade of wood may prolong the effects of aging, however, there isn’t much we can do to prevent this natural process from happening.
Additional information
Gourds, leather, paper, and bones are alternative materials that you can successfully burn images onto. Burning plastic or rubber items will not only melt and cause burns but will create toxic fumes. If you are not certain, don’t do it. Err on the side of safety first and always do your research.
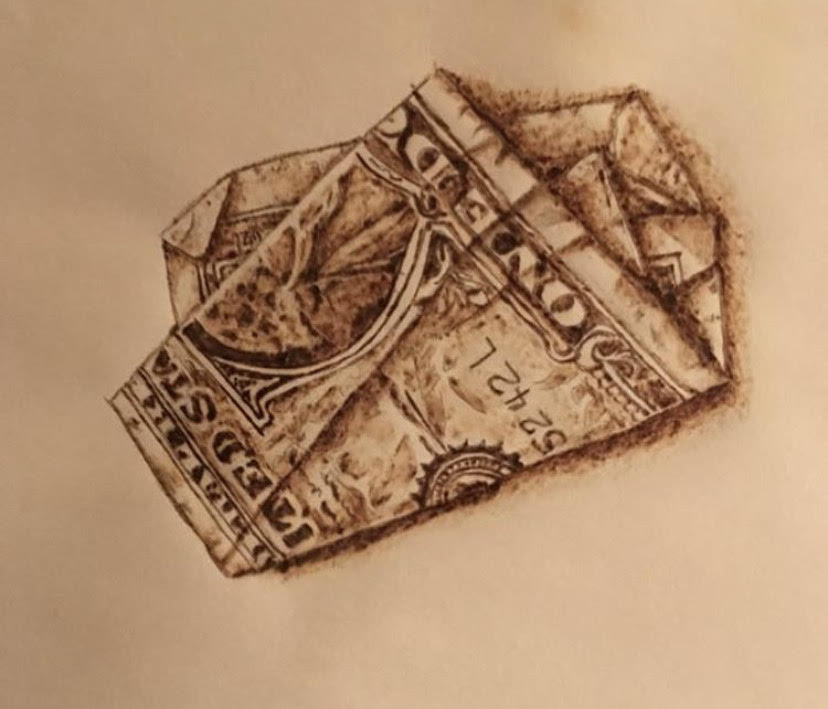
Dollar burned on paper
There is so much more to learn about wood but things like different shakes (a wood defect), rays, rings, and interlocking grains among others. These natural characteristics are very useful. Imagine whorls, swirls, and minute cracks inculcated into your wood-burning as accents or natural details of your burn subject. Your imagination is the only limit!
Andrea Pate
Pate’s Pyrography